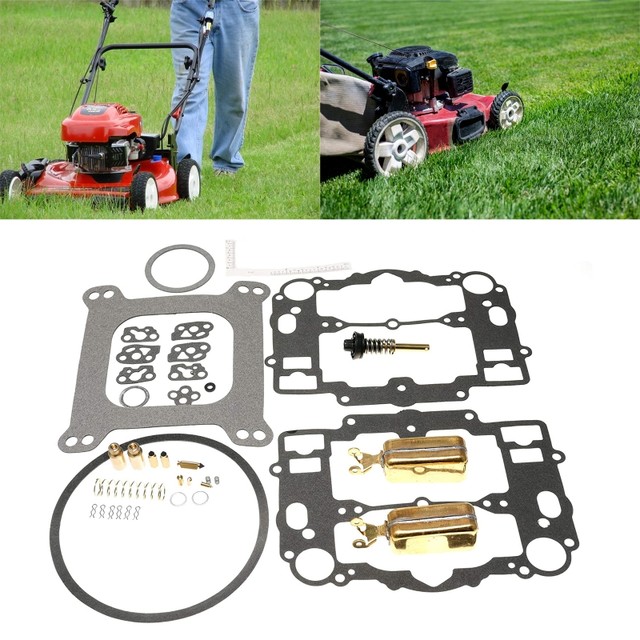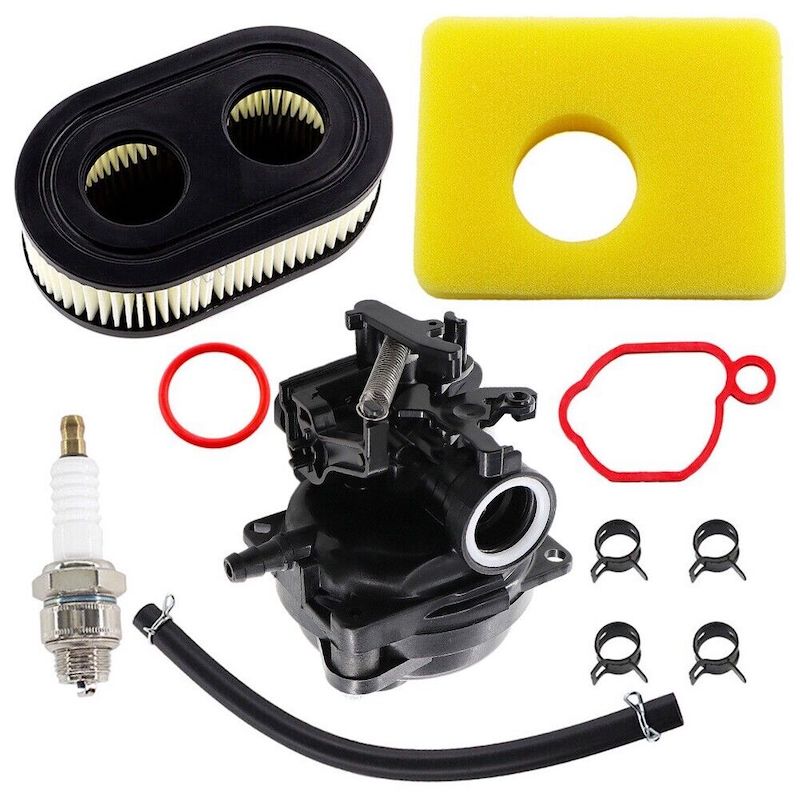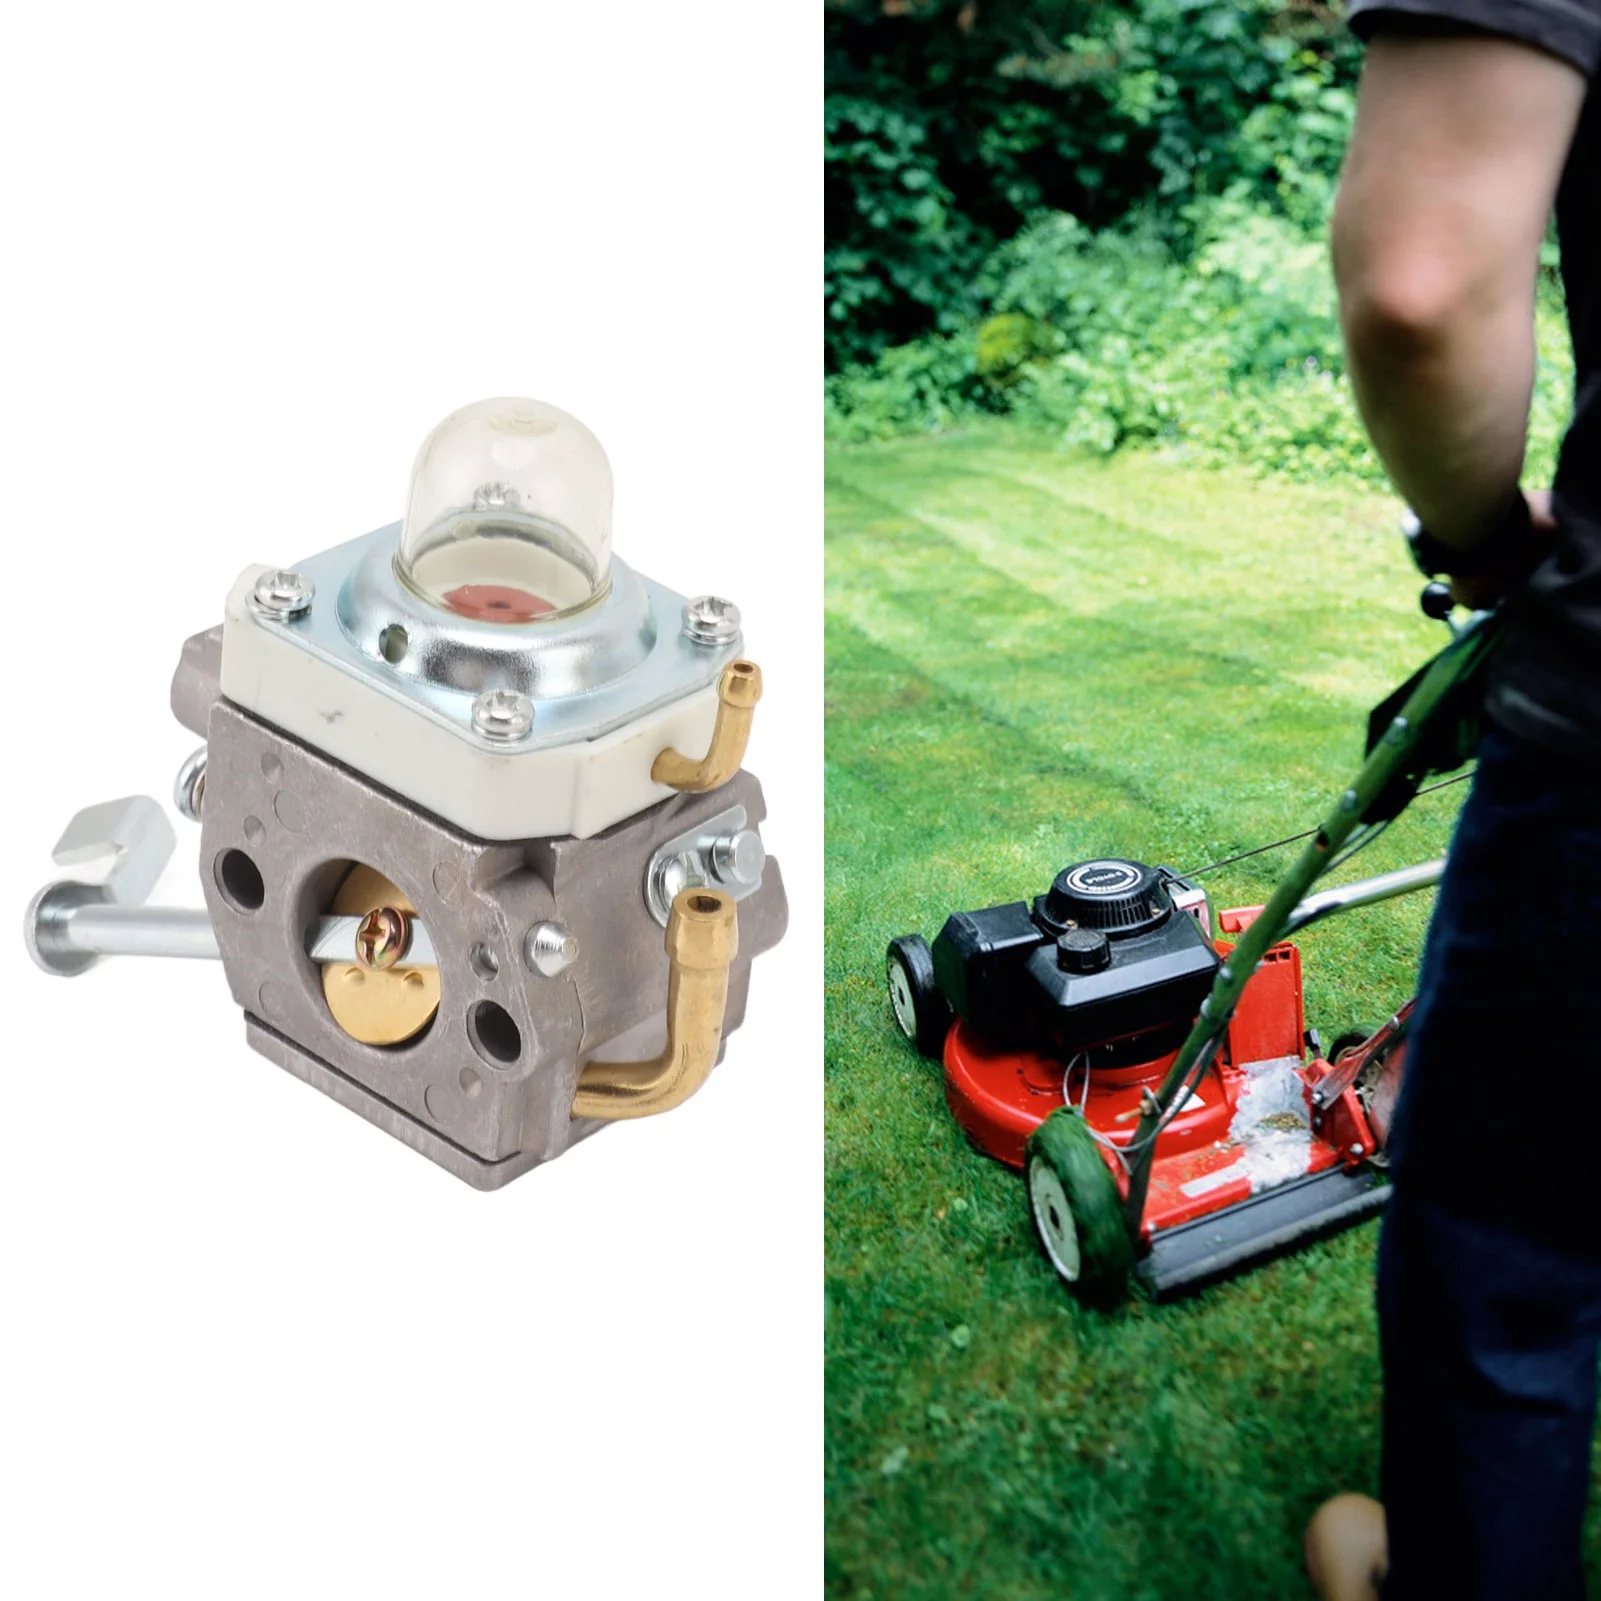
Carburetor Maintenance: Cleaning Lawn Mowers
Recognizing Symptoms of a Dirty Carburetor
When your lawn mower struggles to start, the carburetor may be dirty. This small device mixes air and fuel to power the engine. If it’s gummed up or corroded, the engine won’t start. Watch for signs like the engine stopping soon after it starts, black smoke from the muffler, increased fuel use, or rough running. Over time, a dirty carburetor can cause overheating and complete engine stoppage. If these signs are ignored, the lawn mower might not start or could die during use. How to clean carburetor on lawn mower? Regular cleaning and maintenance of the carburetor can prevent these issues. It’s a crucial step in keeping your lawn mower running smoothly. So, knowing the symptoms is the first step to tackling carburetor issues before they turn into bigger problems. A well-maintained carburetor helps ensure your lawn mower starts and runs as expected, cutting your lawn efficiently without added stress or cost.
Locating the Carburetor on Lawn Mowers
Before you can clean or check the carburetor, you need to find it. Typically, the carburetor is a small, metal part shaped like a box or cylinder. It’s located near the air filter and engine, held in place by screws or bolts.
To find the carburetor, follow the fuel line from the gas tank to where it connects to the engine. The connection spot is where the carburetor sits. If you’re still unsure, refer to your lawn mower’s owner manual. It should clearly state where the carburetor is located for your specific model.
Understanding the Function of the Carburetor
The carburetor on a lawn mower serves a crucial role. It mixes air and fuel for the engine to run. This mix is vital for combustion and, thus, the engine’s power. If the balance is off, the engine might not start or could run poorly. A clean carburetor ensures a smooth mix, which leads to efficient engine performance. Regular carburetor maintenance can prevent engine problems and prolong the mower’s life. Cleaning the carburetor is part of good lawn mower care. Without it, your mower may experience problems or stop running altogether. Remember, a fully functioning carburetor is key to a well-running lawn mower.
Preparing for Carburetor Cleaning
Before starting the carburetor cleaning process, prepare your workspace. Turn off the engine and ensure it has cooled down. This prevents burns during disassembly. Clean the external surface of the engine area to remove loose dirt and debris. This helps keep internal parts clean when you disassemble them.
Set up a well-lit, clean workbench. Organize your tools and supplies needed for the job. Items will include a screwdriver, nitrile gloves, carburetor cleaner, nut driver, socket set, needle-nose pliers, and a bucket for parts.
Disconnect the spark plug cable for safety. This ensures the engine does not start accidentally. Clear and secure your work area. This helps in keeping track of small parts and fasteners during disassembly. Preparations make the cleaning process smoother and safer.
Step-by-Step Process to Remove and Clean the Carburetor
Cleaning your lawn mower’s carburetor is vital for smooth operation. Here’s a simple guide to help you expertly remove and clean the carburetor.
- Turn Off the Mower: Ensure your mower is off and has cooled down. This reduces the risk of burns.
- Access the Carburetor: Start by removing the air filter to expose the carburetor. Depending on your model, you might need a screwdriver.
- Remove the Carburetor: Wear gloves for protection. Use a nut driver or socket set to undo the bolts securing the carburetor. Disconnect any linkage cables carefully.
- Clean External Parts: Spray carburetor cleaner over the exterior. This helps loosen grim and debris.
- Disassemble the Carburetor: Take apart the carburetor cautiously. Remember the arrangement of parts to ensure proper reassembly.
- Clean Internal Parts: Use carburetor cleaner to clean jets and other passages. You can soak the parts if they are very dirty.
- Reassemble and Reinstall: Once everything is clean and dry, put the carburetor back together. Reattach it to the mower, ensuring all connections are secure.
- Test the Mower: Start the mower to check if the carburetor functions well. Listen for smooth engine operation without interruptions.
Regular cleaning prevents common mower issues. Following these steps ensures your carburetor remains in good condition, improving your mower’s lifespan and performance.
Cleaning the Carburetor Without Removal
Cleaning your lawn mower’s carburetor doesn’t always require removal. Follow these steps for a quick clean.
- Turn Off the Mower: Ensure the mower is off and cooled down to avoid burns.
- Disconnect the Spark Plug: This prevents the engine from starting accidentally during the cleaning process.
- Remove the Air Filter: Check how it is attached—either by clips or screws—and remove it. Also, clean or replace the air filter as needed.
- Spray Carburetor Cleaner: Directly spray cleaner into the carburetor throat and over the jets. Manipulate the throttle and choke to work the cleaner into tough spots.
- Use Compressed Air: Following the cleaner, use compressed air to blow out debris from corners and jets.
- Reinstall the Air Filter and Spark Plug Wire: Once cleaning is complete, put the air filter and spark plug wire back in place.
By performing these steps, you help ensure your lawn mower runs efficiently without needing to remove the carburetor. Regular light cleaning can support optimal performance and extend the life of your mower.
Identifying When to Clean Your Lawn Mower Carburetor
Knowing when to clean your lawn mower’s carburetor is crucial. Look for signs of trouble. If you notice starting issues or inconsistent engine performance, consider cleaning. Also check for black smoke or excessive fuel consumption. These can indicate a dirty carburetor.
Remember, seasonal changes affect your lawn mower. After winter, give it a thorough cleaning. This prevents problems from prolonged inactivity. Also, if you use your mower frequently, more frequent cleanings may be needed.
Here are simple indicators that it’s time to clean the carburetor:
- The lawn mower is hard to start.
- The engine runs roughly or stalls during use.
- You see black smoke exiting the muffler.
- The mower consumes more fuel than usual.
Routine inspections can catch dirt buildup early. Visual checks of the carburetor may reveal grime and debris. If it’s been a year since your last cleaning, don’t wait for symptoms. Schedule a cleaning to maintain performance.
Remember, carburetor care is part of your mower’s overall health. Clean it regularly and your lawn mower will reward you with reliable service for years to come.
Conclusion and Final Maintenance Checks
In summary, keeping the carburetor on your lawn mower clean is essential for optimal performance. Follow the guide we provided to address common symptoms like rough running or trouble starting. You now know how to find and identify the carburetor, understand its critical role, and perform both removal cleaning and quick maintenance without removal.
After cleaning your lawn mower’s carburetor, there are a few final checks to ensure everything is in working order:
- Check the Engine: Start the mower and listen. A smooth, steady sound means a job well done.
- Look for Smoke: No black smoke should come from the muffler. If there is, recheck your work.
- Inspect Fuel Consumption: Over time, see if the mower uses fuel efficiently. Less consumption is better.
- Observe Mower Performance: The mower should start easily and run without stalling.
Timely carburetor maintenance, along with regular oil changes and blade sharpening, will help prolong the life of your mower. As you prepare for different seasons, remember to clean the carburetor after winter or before a period of long storage. Stick to a maintenance schedule and always address any issues promptly for lasting mower reliability.
How to clean carburetor on lawn mower? In conclusion, proper carburetor care is a crucial part of lawn mower maintenance. It guarantees fewer repairs and extends the life of your mower. With this knowledge and regular attention, you can ensure your lawn mower remains a dependable tool for your gardening needs.

How to clean carburetor on lawn mower
Introduction
As the heart of your lawn mower’s engine in 2024, the carburetor plays a crucial role in ensuring smooth operation and optimal performance. Responsible for mixing fuel and air to create the combustible mixture that powers the engine, a clean and functioning carburetor is essential for keeping your lawn mower running efficiently. However, over time, dirt, gum, and debris can accumulate in the carburetor’s delicate passages and jets, leading to a range of performance issues, from difficulty starting to rough idling and reduced power.
Regular carburetor cleaning is an essential part of preventive maintenance for your lawn mower, helping to extend its lifespan and maintain its peak performance. While the process may seem daunting, it can be easily accomplished with basic tools, readily available supplies, and a bit of mechanical know-how. In this comprehensive guide, we’ll walk you through the step-by-step process of cleaning your lawn mower carburetor, ensuring your engine runs smoothly and efficiently for years to come.

The Importance of Carburetor Maintenance in Lawn Mowers
Before diving into the cleaning process, it’s essential to understand the significance of maintaining your lawn mower’s carburetor. As a critical component of the engine, the carburetor is responsible for mixing fuel and air in the correct proportions, creating the combustible mixture that powers the engine. When the carburetor becomes clogged or dirty, the fuel-air mixture is disrupted, leading to a range of performance issues that can significantly impact your mowing experience.
Difficulty starting the lawn mower is a common symptom of a dirty carburetor. Even with a fully charged battery and good spark plugs, the engine may struggle to turn over due to the improper fuel-air mixture. Rough idling, characterized by an uneven or surging engine RPM, is another telltale sign of a clogged carburetor. This occurs because the carburetor is unable to regulate the fuel flow consistently, resulting in fluctuations in engine speed.
Perhaps the most noticeable consequence of a dirty carburetor is power loss. As the fuel-air mixture becomes compromised, the engine’s ability to generate power is diminished, making it difficult for the lawn mower to maintain its speed or tackle challenging mowing conditions. To prevent these performance issues and keep your lawn mower running smoothly, regular carburetor cleaning is essential.

Understanding the Signs of a Dirty Carburetor
As mentioned earlier, a dirty carburetor can manifest itself in several ways, affecting the lawn mower’s starting, idling, and overall power. Recognizing these signs early on can help you determine when it’s time to clean the carburetor and prevent further complications.
One of the most obvious signs of a dirty carburetor is difficulty starting the lawn mower. Even with a fully charged battery and good spark plugs, the engine may struggle to turn over or require repeated attempts to start. This is because the carburetor is unable to deliver the proper fuel-air mixture to the engine, making it difficult for the combustion process to initiate.
Rough idling, characterized by an uneven or surging engine RPM, is another common symptom of a clogged carburetor. This occurs because the carburetor is unable to regulate the fuel flow consistently, resulting in fluctuations in the engine’s air-fuel ratio. As the mixture varies, the engine RPM rises and falls, creating a rough and unstable idle.
Perhaps the most noticeable consequence of a dirty carburetor is power loss. As the fuel-air mixture becomes compromised, the engine’s ability to generate power is diminished. This can manifest in several ways, such as the lawn mower struggling to maintain its speed, bogging down when encountering thicker grass, or having difficulty tackling inclines. If you notice any of these signs, it’s a good indication that your lawn mower‘s carburetor needs cleaning.
How to Clean a Dirty Carburetor on a Lawn Mower
Gathering the Necessary Tools and Materials
Before embarking on the carburetor cleaning process, it’s crucial to gather the necessary tools and materials to ensure a smooth and efficient task. Safety should always be paramount, so make sure you have the appropriate protective gear, including safety glasses, gloves, and a well-ventilated workspace.
Essential tools for carburetor cleaning include a socket wrench set, screwdrivers (including a flathead screwdriver), a funnel, a container for old fuel, and a small brush for removing stubborn debris. Additionally, you’ll need carburetor cleaner, lint-free cloths or paper towels, and a clean workspace.
Locating the Carburetor
The carburetor’s location can vary depending on the specific lawn mower model and brand, so it’s important to consult your owner’s manual for precise instructions. However, in general, the carburetor is typically situated near the top of the engine, close to the air intake and fuel line.
Once you’ve identified the general area, look for a small metal box with multiple hoses and connections attached. This is usually the carburetor. If you’re still unsure, refer to your owner’s manual or seek assistance from a knowledgeable mechanic.
Disassembling the Carburetor with Safety Precautions
Now that you’ve located the carburetor and gathered the necessary tools, it’s time for disassembly. However, safety remains a top priority. Remember to work in a well-ventilated area where there are no open flames or sparks. Keep cleaning materials away from children and pets, and ensure the engine is completely cool and turned off before proceeding.

Removing Components Carefully:
Start by carefully disconnecting the air intake filter. Locate the hose or clamp securing it to the carburetor and detach it gently. Next, proceed to disconnect the fuel line by pinching the clamp with pliers and pulling the hose free from the carburetor nipple. Depending on your specific model, there may be additional hoses or electrical connections attached to the carburetor. Identify and disconnect them carefully, taking note of their location for reassembly later.
Unscrewing the Carburetor:
With all the hoses and connections removed, carefully locate the bolts or screws that secure the carburetor to the engine block. Use the appropriate socket wrench or screwdriver size to loosen and remove these fasteners. Be mindful of any washers or spacers located between the carburetor and the engine block, as these need to be reinstalled during reassembly.
Gently Handling the Carburetor:
Once the bolts or screws are removed, gently lift the carburetor from its position on the engine. Handle it with care to avoid damaging any delicate components or internal parts. Place the carburetor on a clean, flat surface to prevent any loose components from falling out.
Cleaning the Carburetor for Optimal Performance
Now that the carburetor is disassembled, it’s time for the cleaning process itself. This involves removing dirt, debris, and any accumulated gunk that may be hindering its proper functioning.
Draining Old Fuel:
Before proceeding, ensure you have a container ready to collect the old fuel. Carefully place the carburetor upside down over the container, allowing any remaining fuel to drain out. Dispose of this old fuel responsibly according to local regulations.
Cleaning with Carburetor Cleaner:
With the old fuel drained, it’s time to utilize the carburetor cleaner. Following the specific instructions on the cleaner’s label, carefully spray the cleaner into the carburetor’s jets, passages, and chambers. The cleaner will help to loosen and dissolve any dirt, gum, or debris that may be present.
Soaking for Effective Cleaning:
After spraying the carburetor cleaner, allow it to soak for the recommended time specified on the product label. This soaking period is crucial for the cleaner to effectively dissolve and loosen any built-up grime.
Scrubbing with a Gentle Touch:
Once the soaking period is complete, use the small brush provided in your cleaning kit to gently scrub the carburetor’s components. Focus on areas where debris is likely to accumulate, such as the jets, passages, and needle valve. However, avoid using harsh materials or wire brushes, as these can damage delicate parts within the carburetor.
Reassembling the Carburetor for Proper Functioning
With the carburetor thoroughly cleaned, it’s time to reassemble it for proper reinstallation onto the engine. Here’s a breakdown of this process:
Inspecting and Replacing Gaskets:
Before reassembly, take a moment to inspect the gaskets or seals that will be reused. These gaskets ensure a proper seal between the carburetor and the engine block, preventing leaks. If any of the gaskets appear damaged, worn, or cracked, it’s crucial to replace them with new ones to avoid leaks after reinstallation.
Reinstalling Components:
Now, carefully begin reassembling the carburetor. Meticulously reattach any internal components that may have been removed for cleaning, ensuring they are positioned and secured correctly. Once internal components are in place, proceed to reconnect the hoses and electrical connections that were previously disconnected during disassembly. Use pliers to tighten any hose clamps securely.

Reinstalling the Carburetor Back on the Engine
With the carburetor fully reassembled, it’s time to return it to its original position on the engine block.
Securing the Carburetor:
Carefully lift the carburetor and place it back in its designated location on the engine. Secure it with the bolts or screws that were removed during disassembly. Remember to tighten these fasteners to the specified torque using a torque wrench to ensure a proper and secure fit. A loose carburetor can lead to leaks and performance issues.
Reconnecting Electrical Connections (if applicable):
If your carburetor had any electrical connections attached, such as for a throttle solenoid, carefully reconnect them now. Ensure all connections are secure and properly seated.

