I. Introduction
A. The Allure of Paving Molds: Enhancing Your Outdoor Spaces
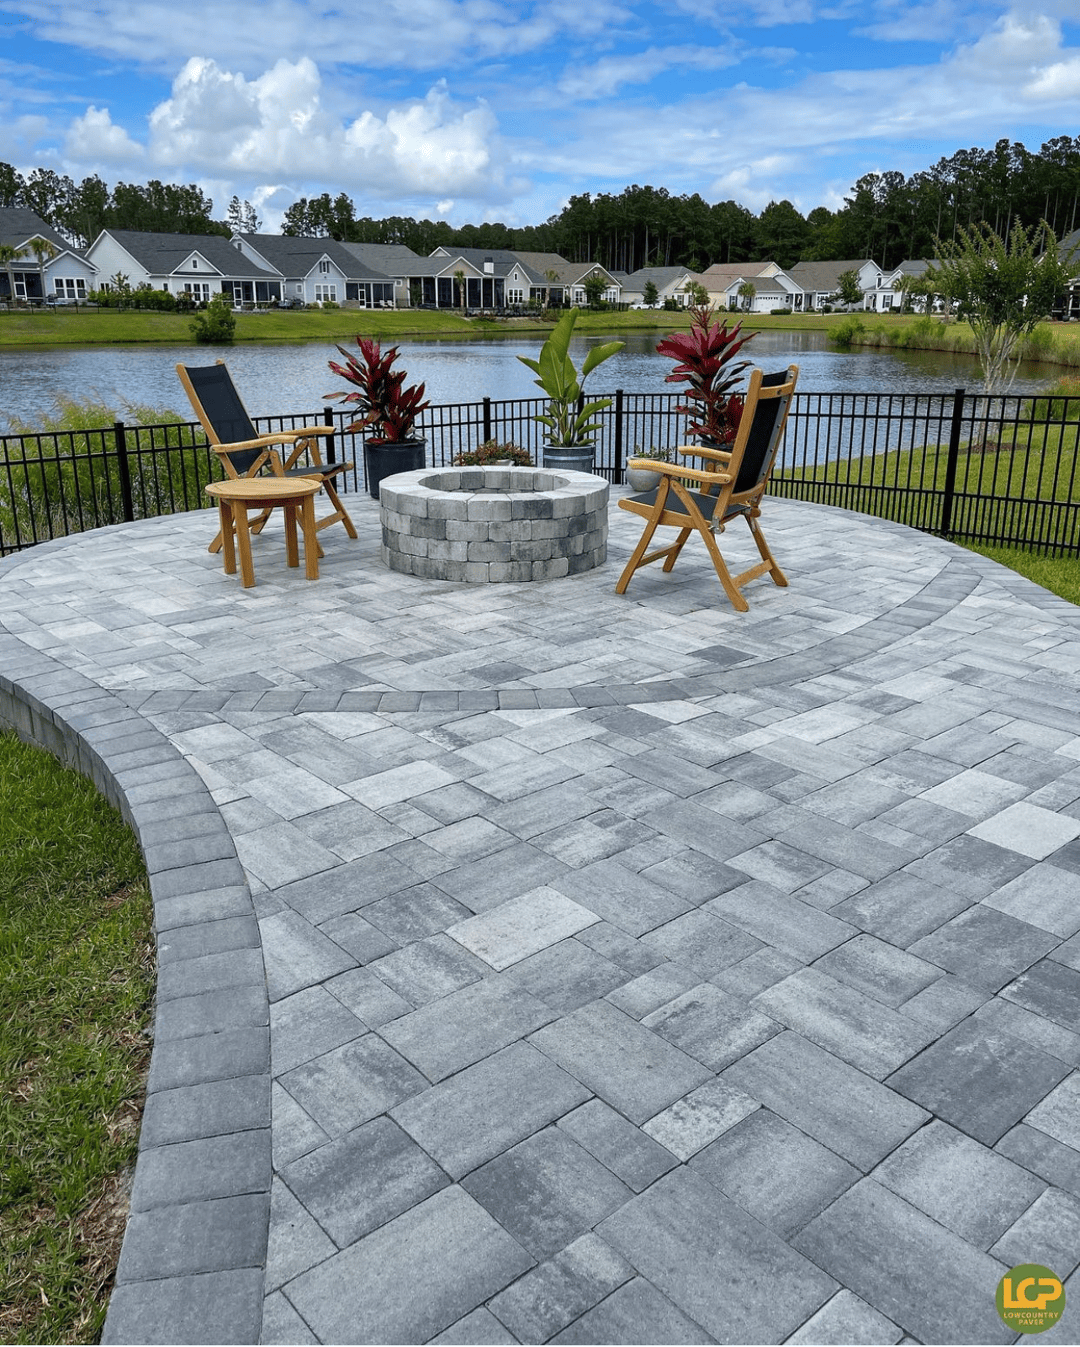
The allure of outdoor spaces lies in their ability to extend our living areas, creating tranquil havens where we can relax, entertain, and connect with nature. Paving stones, those versatile elements that transform ordinary pathways and patios into visually appealing and functional areas, have long been a popular choice for homeowners seeking to enhance their outdoor spaces. With their wide range of colors, shapes, textures, and patterns, paving stones can complement any architectural style and seamlessly integrate into any landscaping design.
In recent years, paving stone molds have emerged as a popular and cost-effective alternative to traditional paving stones. These ingenious tools empower DIY enthusiasts to create their own custom paving stones, offering a multitude of advantages:
-
Affordability:
-
Paving stone molds are significantly more affordable than purchasing pre-made paving stones, allowing you to save money on your landscaping project without compromising on quality or style.
-
Versatility:
-
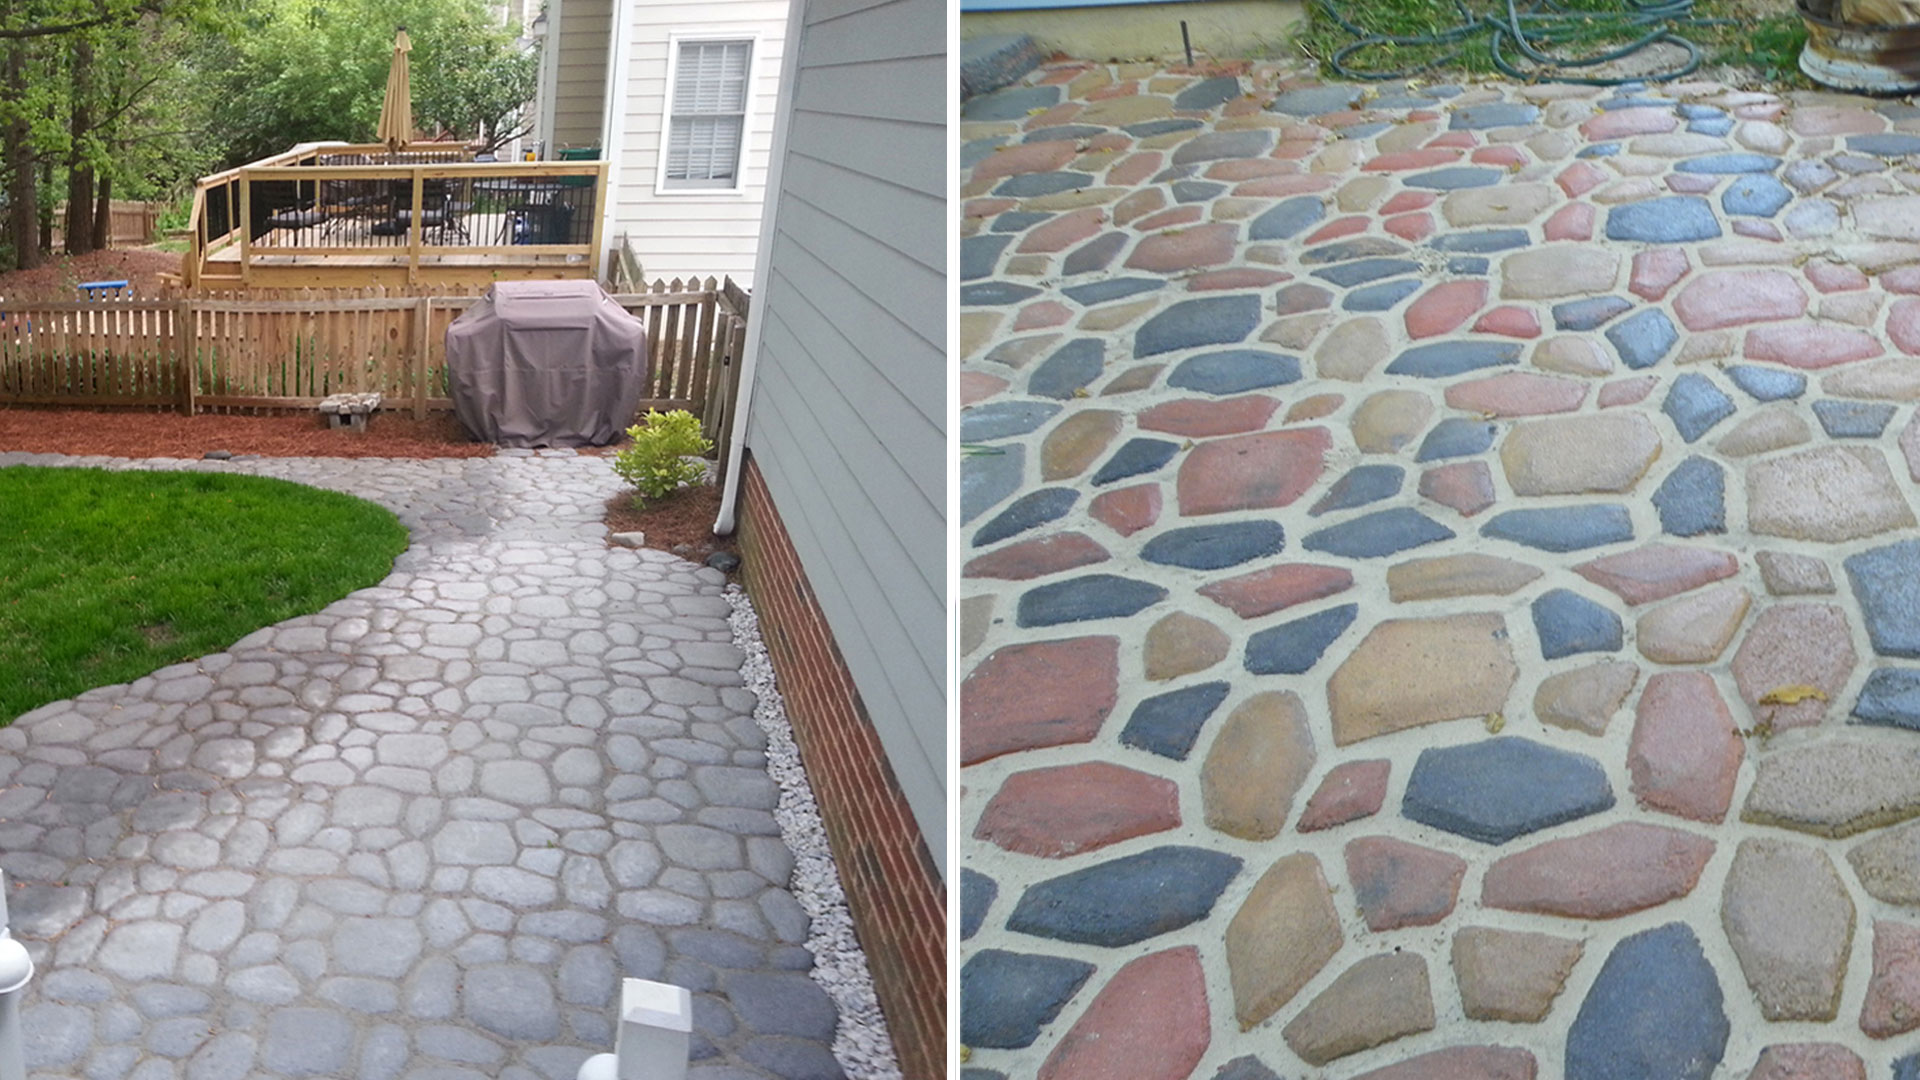
Paving stone molds come in a vast array of shapes, sizes, and patterns, giving you the freedom to create unique and customized designs that perfectly match your desired aesthetic and landscaping vision. Whether you prefer the timeless elegance of classic brickwork, the natural charm of cobblestone patterns, or the contemporary appeal of geometric designs, there’s a mold to suit your taste.
-
Durability:
-
Concrete, the primary material used with paving stone molds, is renowned for its strength and resilience. This ensures that your DIY paving stones can withstand heavy foot traffic, harsh weather conditions, and the wear and tear of time, providing long-lasting beauty and functionality for your outdoor spaces.
-
Easy Installation:
-
The DIY nature of paving stone molds makes them simple to install, even for those with limited experience in home improvement projects. With careful preparation, the right tools, and a bit of patience, you can transform your outdoor spaces with beautiful and durable paving stones without the need for professional assistance.
B. Unveiling the Importance of Proper Installation
As you embark on your paving stone mold adventure, selecting the right material is crucial for ensuring the success and longevity of your DIY creations. The choice of material will significantly impact the durability, appearance, and overall performance of your paving stones. Here are the key factors to consider when making your decision:
-
Durability: The material should be able to withstand heavy foot traffic, harsh weather conditions, and the wear and tear of time. If you envision your paving stones adorning high-traffic areas like walkways, patios, or driveways, prioritize durability.
-
Appearance: The material should complement the overall style and aesthetic of your outdoor space. Consider the desired color, texture, and finish when selecting the material. Whether you seek the classic elegance of concrete, the versatility of resin, or the lightweight appeal of gypsum, choose a material that harmonizes with your landscaping vision.
-
Ease of Use: If you are a DIY enthusiast with limited experience in concrete work, consider the ease of mixing, pouring, and releasing the material from the molds. Some materials, like gypsum, offer a quicker and simpler process, while others, like concrete, may require more experience and technique.
-
Cost-Effectiveness: Evaluate the cost of the material and the overall project scope. For large-scale projects, concrete may be a more cost-effective option, while resin or gypsum can be suitable for smaller projects or those with tighter budgets.
II. Gathering the Essentials: Preparing for Your Paving Mold Project
Now that you’ve explored the top contenders, it’s time to delve into selecting the ideal material for your specific paving stone mold project. Here are some key considerations to guide you:
Considering the Intended Use: Matching Material to Purpose
The intended use of your paving stones should be the primary factor influencing your material choice. Here’s a breakdown to help you decide:
-
High-Traffic Areas:
-
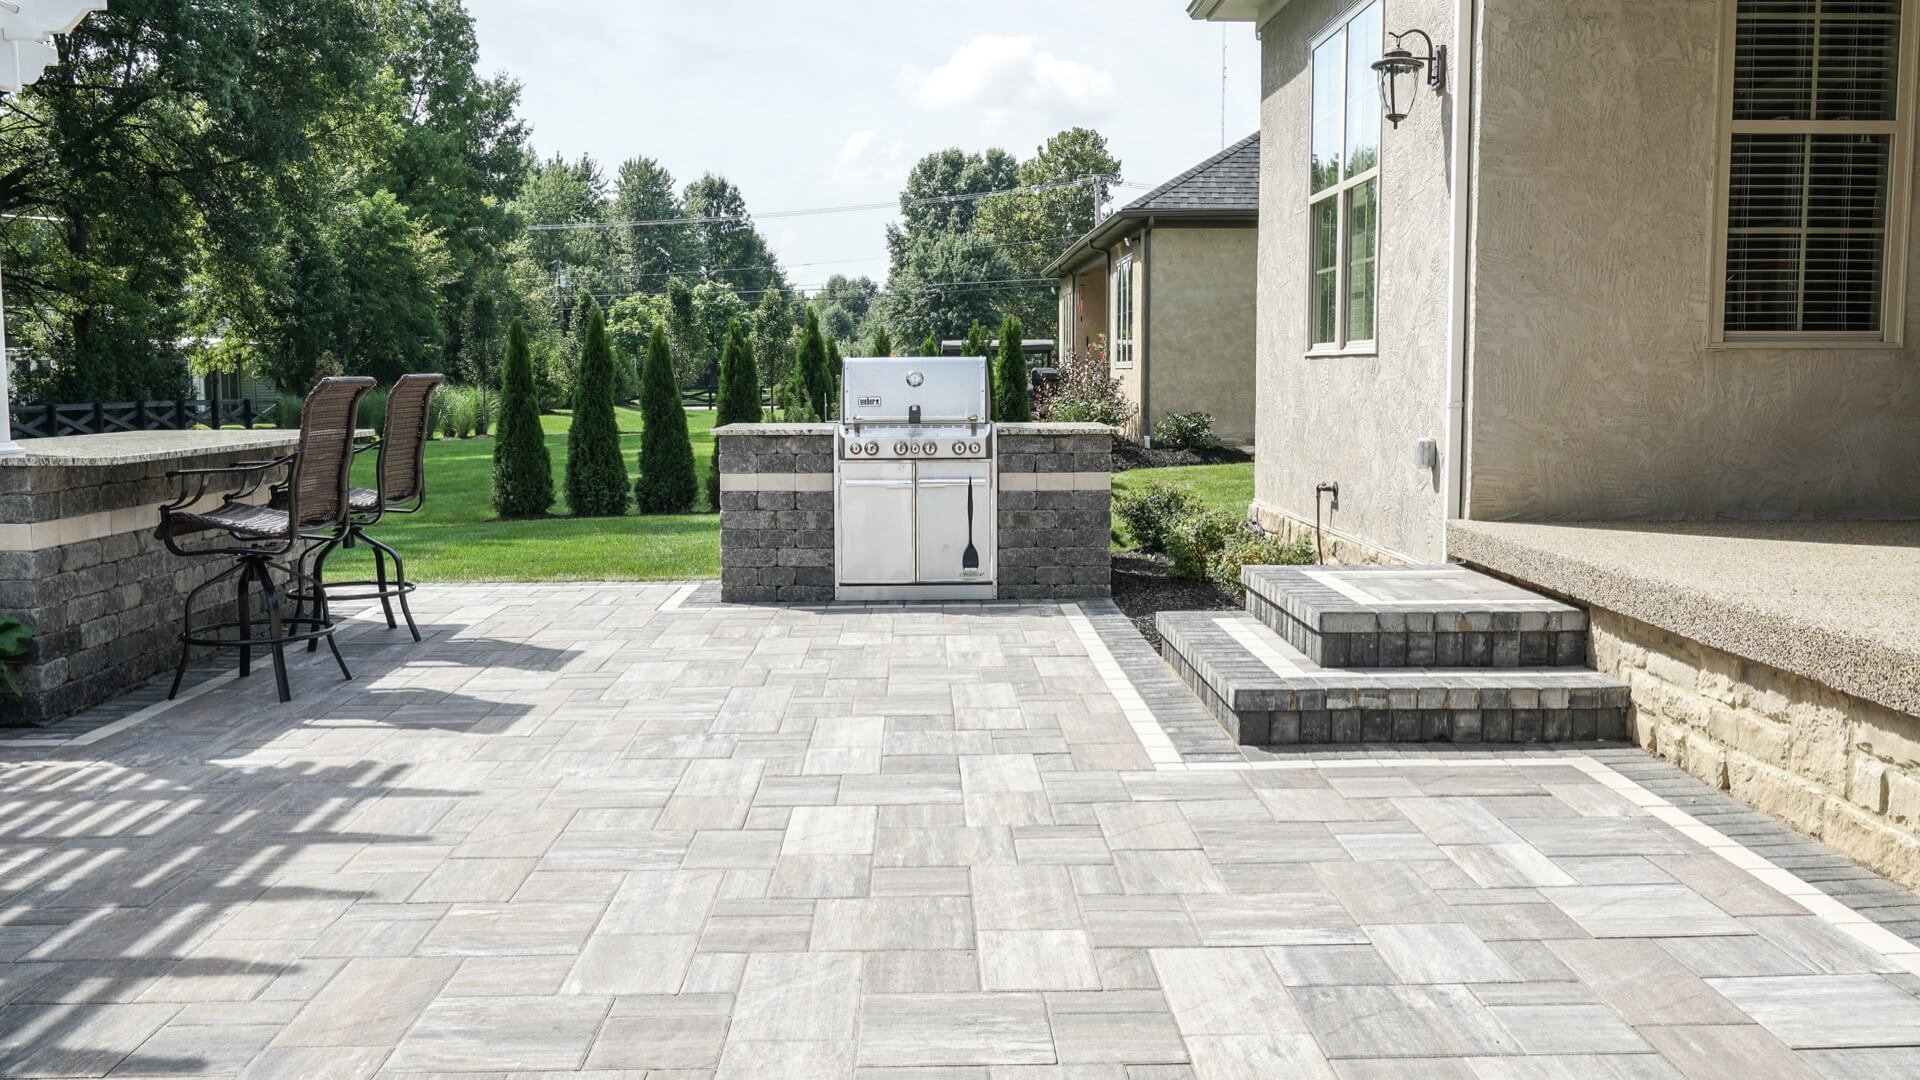
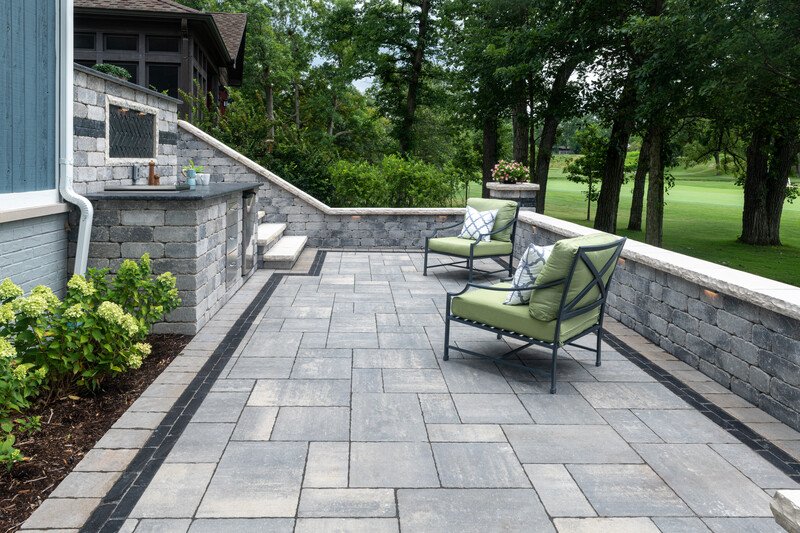
For walkways, patios, and driveways that experience frequent foot traffic or vehicle use, prioritize durability. Opt for concrete or a high-strength resin to ensure your paving stones can withstand the wear and tear.
-
Decorative Accents:
-
For garden paths, stepping stones, or indoor applications where aesthetics reign supreme, you have more flexibility. Gypsum or resin can be suitable options, offering a wider range of colors and finishes for a decorative touch.
-
Clear the Area:
-
Remove any debris, vegetation, or uneven surfaces from the area where you will be installing your paving stones. This ensures a clean and stable base for the concrete.
-
Excavate the Site:
-
Dig out the soil to create a level base for your paving stones. The depth will depend on the thickness of your chosen molds and the desired final height of your paved area. Ensure the base is well compacted to prevent future settling or shifting.
Selecting the Right Molds: Choosing the Perfect Design for Your Space
Once you’ve chosen your material, the next step is selecting the perfect paving mold set. Here are some key considerations to guide you:
-
Style and Aesthetics:
-
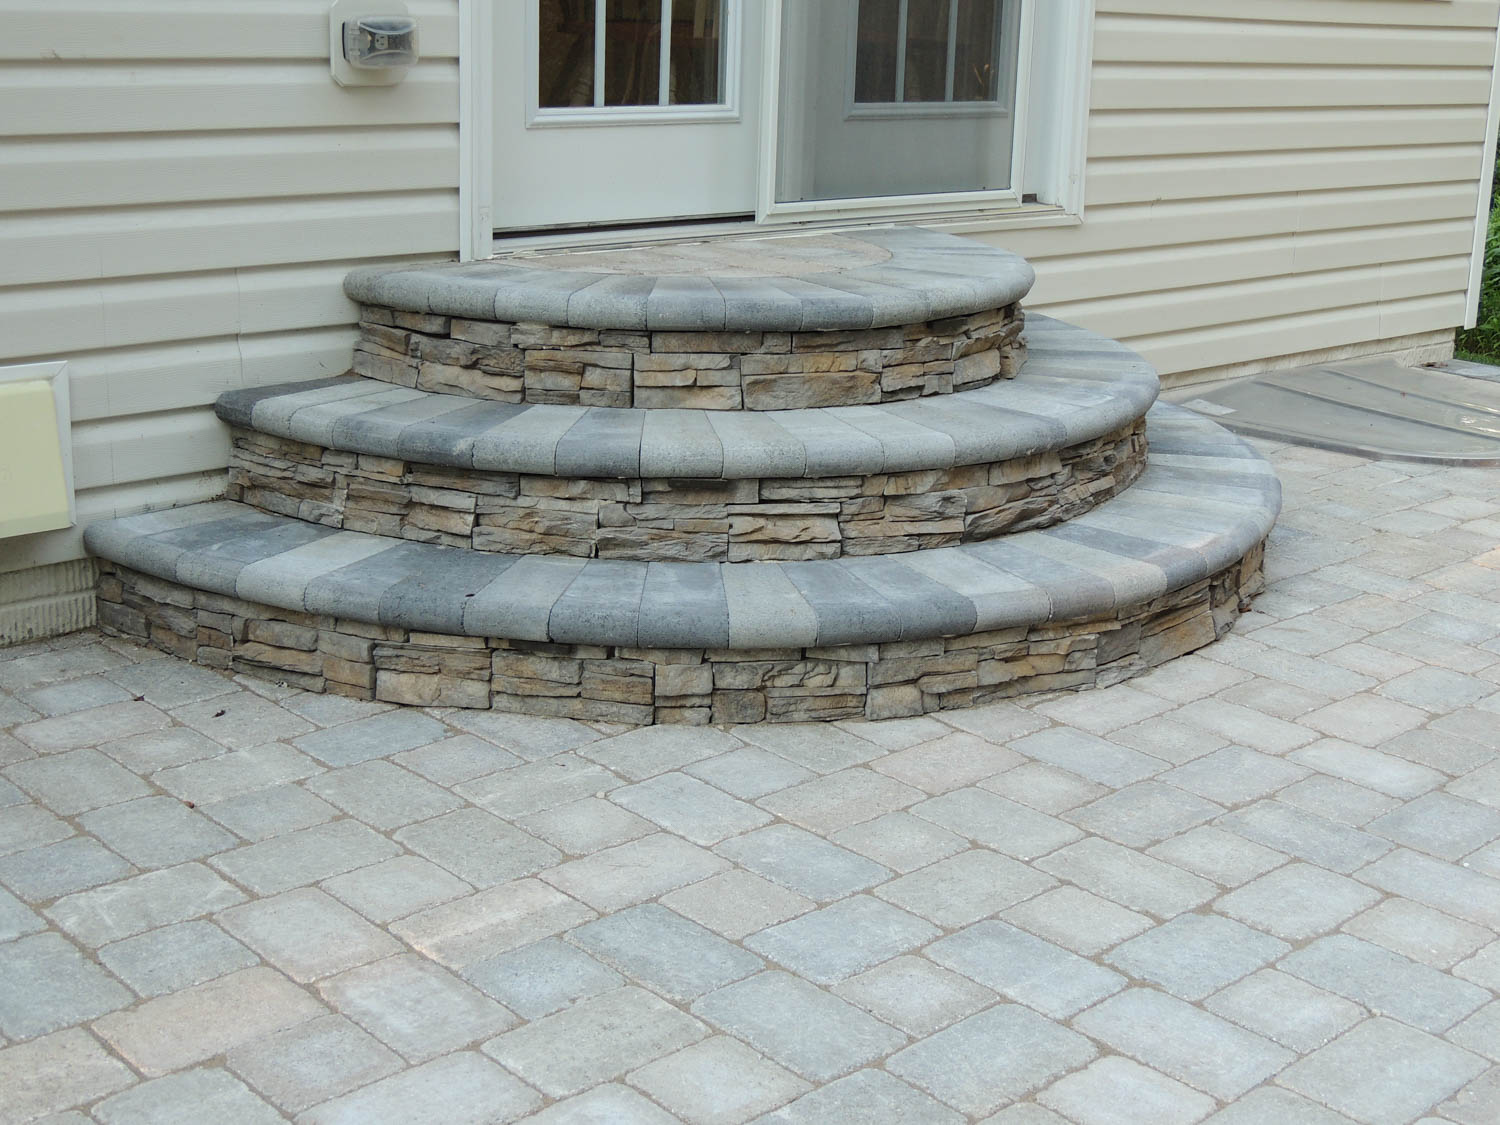
Consider the overall style and aesthetic of your outdoor space. Do you envision classic elegance, a natural look, or a modern vibe? Paving mold sets come in a vast array of shapes, patterns, and textures to complement any design preference. Classic brickwork patterns offer a timeless look, while cobblestone designs create a natural charm. For a contemporary touch, explore geometric or modern mold options.
-
Intended Use:
-
Think about the intended use of the paved area. Will it be a high-traffic walkway, a relaxing patio, or a decorative garden path? Choose mold sizes and materials that suit the purpose. Larger, thicker molds are ideal for high-traffic areas, while smaller, thinner molds may be sufficient for decorative accents.
-
Mold Material:
-
Paving mold materials can vary, with plastic being the most common choice. Plastic molds are lightweight, affordable, and relatively easy to find. However, they may not be as durable as heavier options like metal molds, which can be a better choice for high-volume projects or frequent use.
-
Number of Molds:
-
Estimate the square footage of your desired paved area and the size of the individual molds you’ve chosen. This will help you determine how many molds you need to complete your project efficiently.
Necessary Materials: Ensuring You Have Everything You Need
With your molds selected, it’s time to gather the necessary materials for your paving stone project. Here’s a checklist to ensure you have everything on hand:
-
Concrete Mix: Choose a high-quality concrete mix suitable for outdoor use. The bag will specify the recommended thickness for your project, so ensure you select a mix that creates the desired depth for your paving stones.
-
Mold Release Agent: A mold release agent prevents the concrete from sticking to the molds, allowing for easy removal after curing. This is typically a spray or liquid product readily available at home improvement stores.
-
Mixing Tools: A shovel, bucket, and mixing stick are essential for preparing the concrete mixture. For larger projects, consider using a drill with a mixing paddle to achieve a more consistent mix.
-
Safety Gear: Safety is paramount. Wear gloves, safety glasses, and a dust mask to protect yourself during the concrete mixing and pouring process.
-
Edging Materials: Install edging materials around the perimeter of the paved area to contain the concrete and create a clean edge. This can be done with plastic edging, landscape timbers, or even bricks.
-
Trowel or Screed: A trowel or screed is a flat tool used to level the concrete within the molds and smooth out the surface.
-
Water Source: Have a readily available water source nearby to adjust the consistency of the concrete mix if needed.
III. The Art of Concrete Paving: Step-by-Step Instructions
Now that you’ve gathered your materials, it’s time to embark on the exciting process of creating your own paving stones! Here’s a step-by-step guide to ensure a successful and rewarding experience:
A. Preparing the Site: Creating a Smooth and Level FoundationInstall Edging Materials:
-
-
Before pouring the concrete, install edging materials around the perimeter of the excavated area. This will contain the concrete and create a defined shape for your walkway, patio, or path.
-
Filling Gaps: After the paving stones have cured completely, you may notice small gaps or unevenness between them. Use a sand mixture specifically designed for pavers to fill these gaps. Sweep the sand mixture into the gaps and then use a stiff brush to push it down firmly.
-
Compacting the Sand: Once the gaps are filled, use a compactor tool or a tamper to compact the sand. This ensures a stable and secure base for your paving stones.
-
Curing Time: Once you’ve filled and leveled the concrete in all the molds, allow it to cure undisturbed. Refer to the specific curing recommendations on the concrete mix packaging. Curing times can vary depending on the brand and weather conditions, but typically range from 24 to 48 hours.
-
Moisture Control: During the curing process, it’s important to maintain moisture in the concrete to prevent cracking. You can achieve this by covering the filled molds with plastic sheeting or burlap. Mist the surface with water periodically, especially in hot weather, to keep it damp.
-
Demolding: After the designated curing time has elapsed, carefully remove the molds. Start by gently lifting and wiggling the mold to break the bond with the concrete. If the concrete seems stuck, avoid forcing it – wait a few more hours for further curing.
-
Mold Release Agent: Apply a thin and even coat of mold release agent to the inside of each mold. This ensures the concrete won’t stick and allows for easy removal after curing.
-
Mold Placement: Carefully place the molds on the prepared base, ensuring they are level and properly spaced. Use a level to check for any unevenness and adjust the molds as needed. Maintain consistent spacing between the molds to create a seamless look for your paving stones.
-
-
-
-