Elephant Watering Can: A Quirky Gardening Trend & Functionality
What is an Elephant Watering Can?
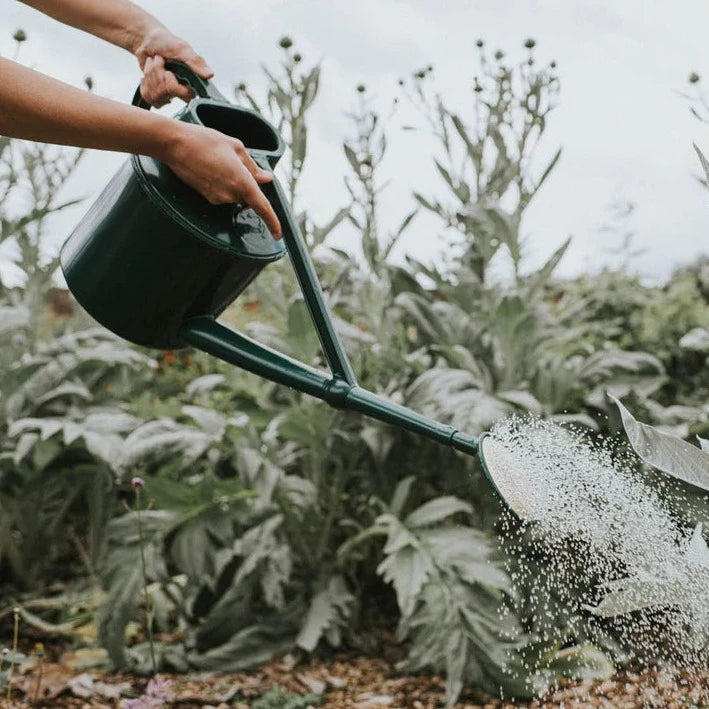
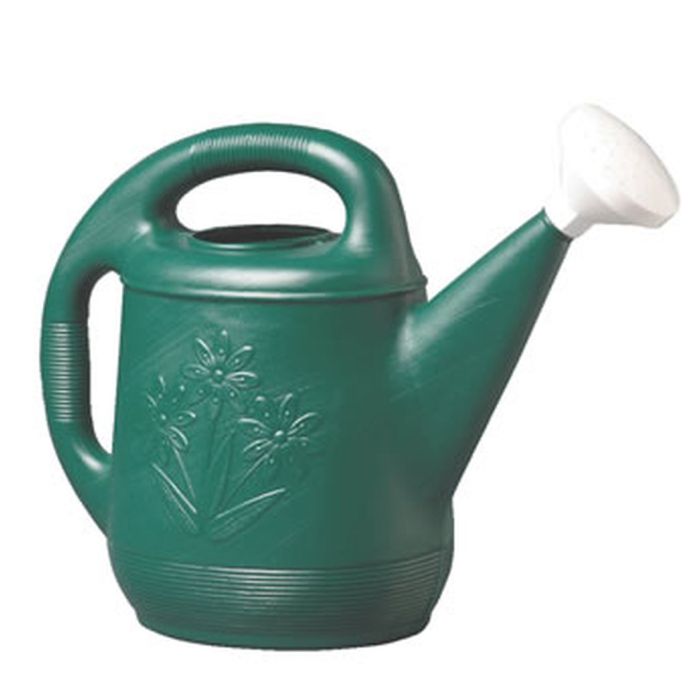
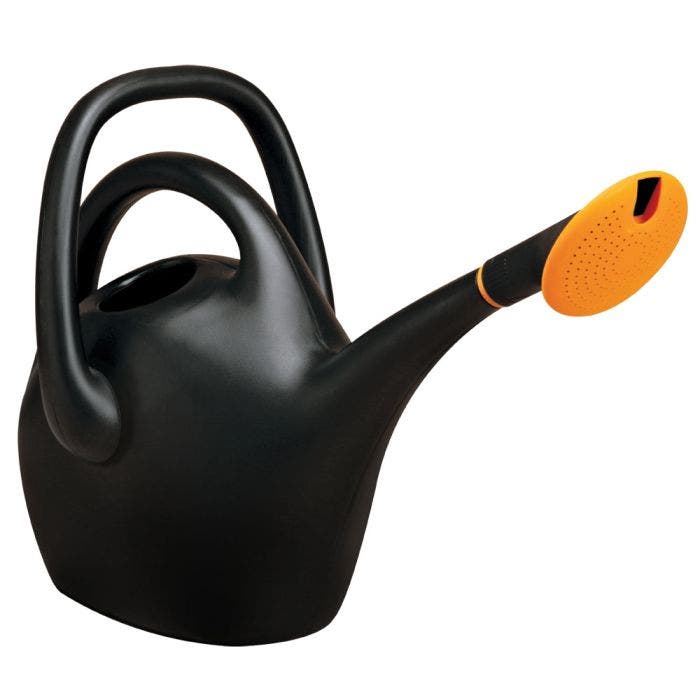
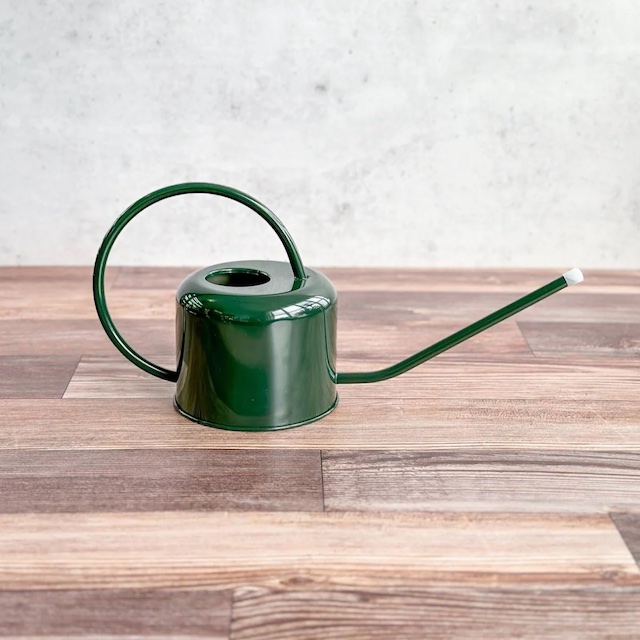
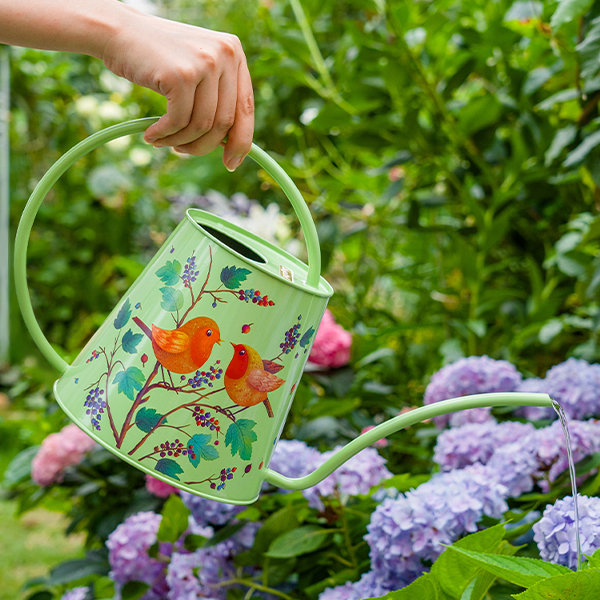
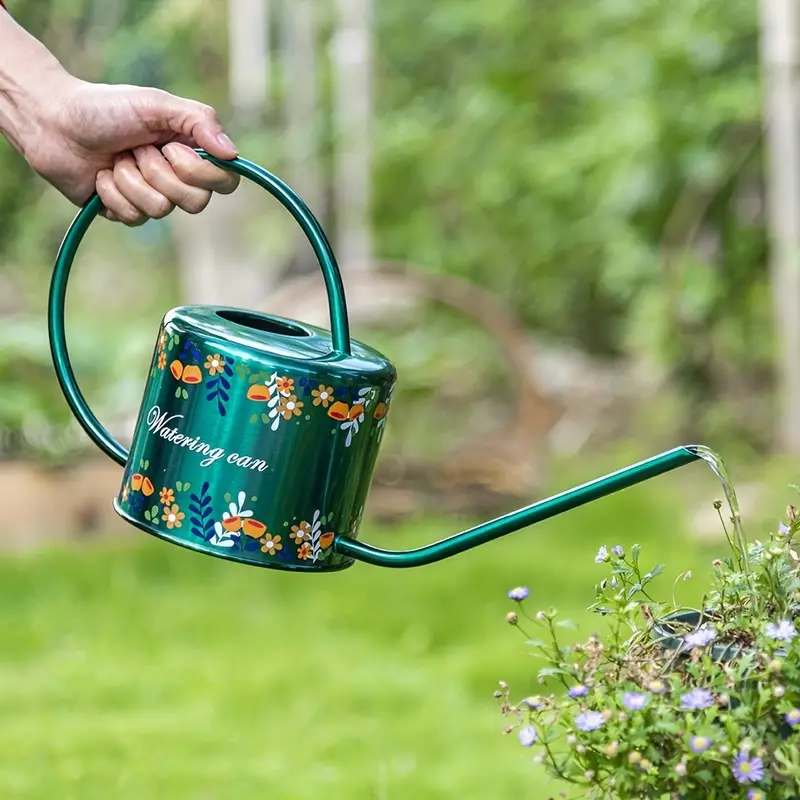
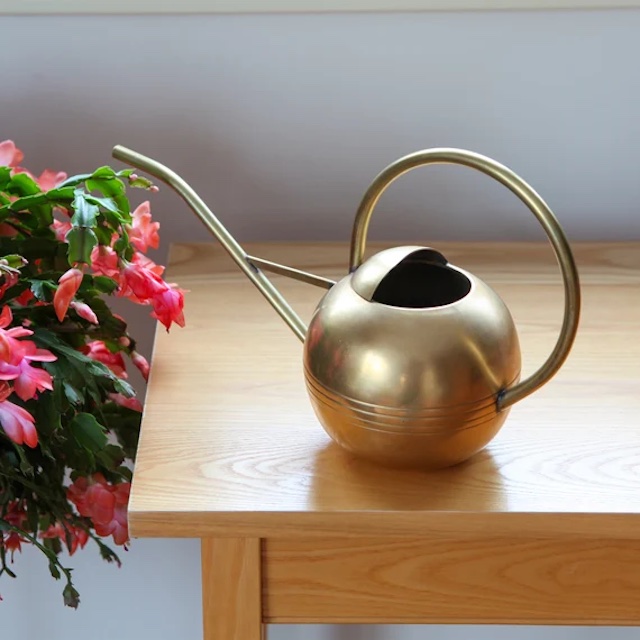
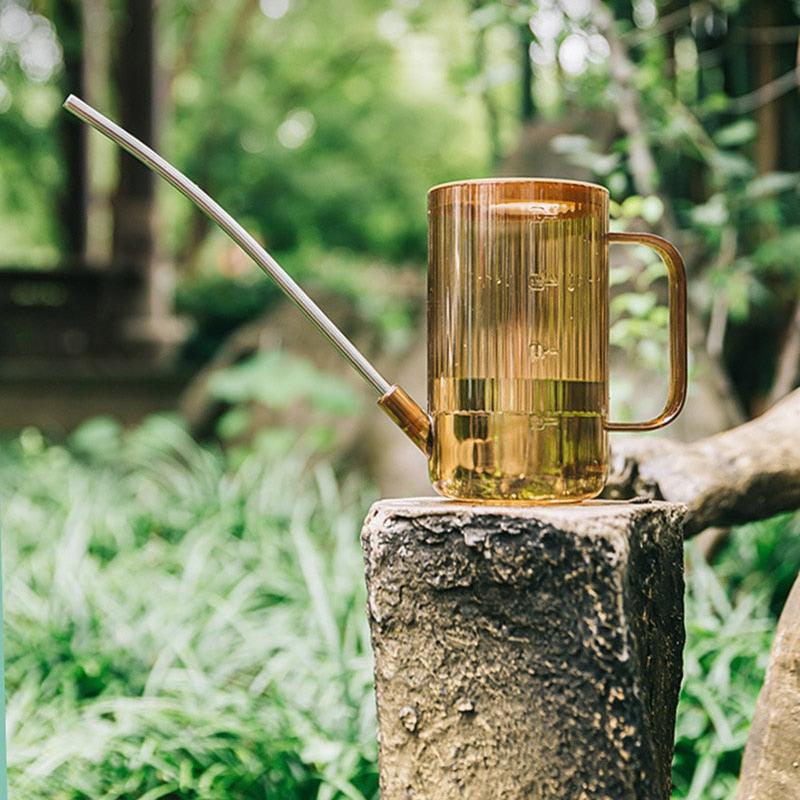
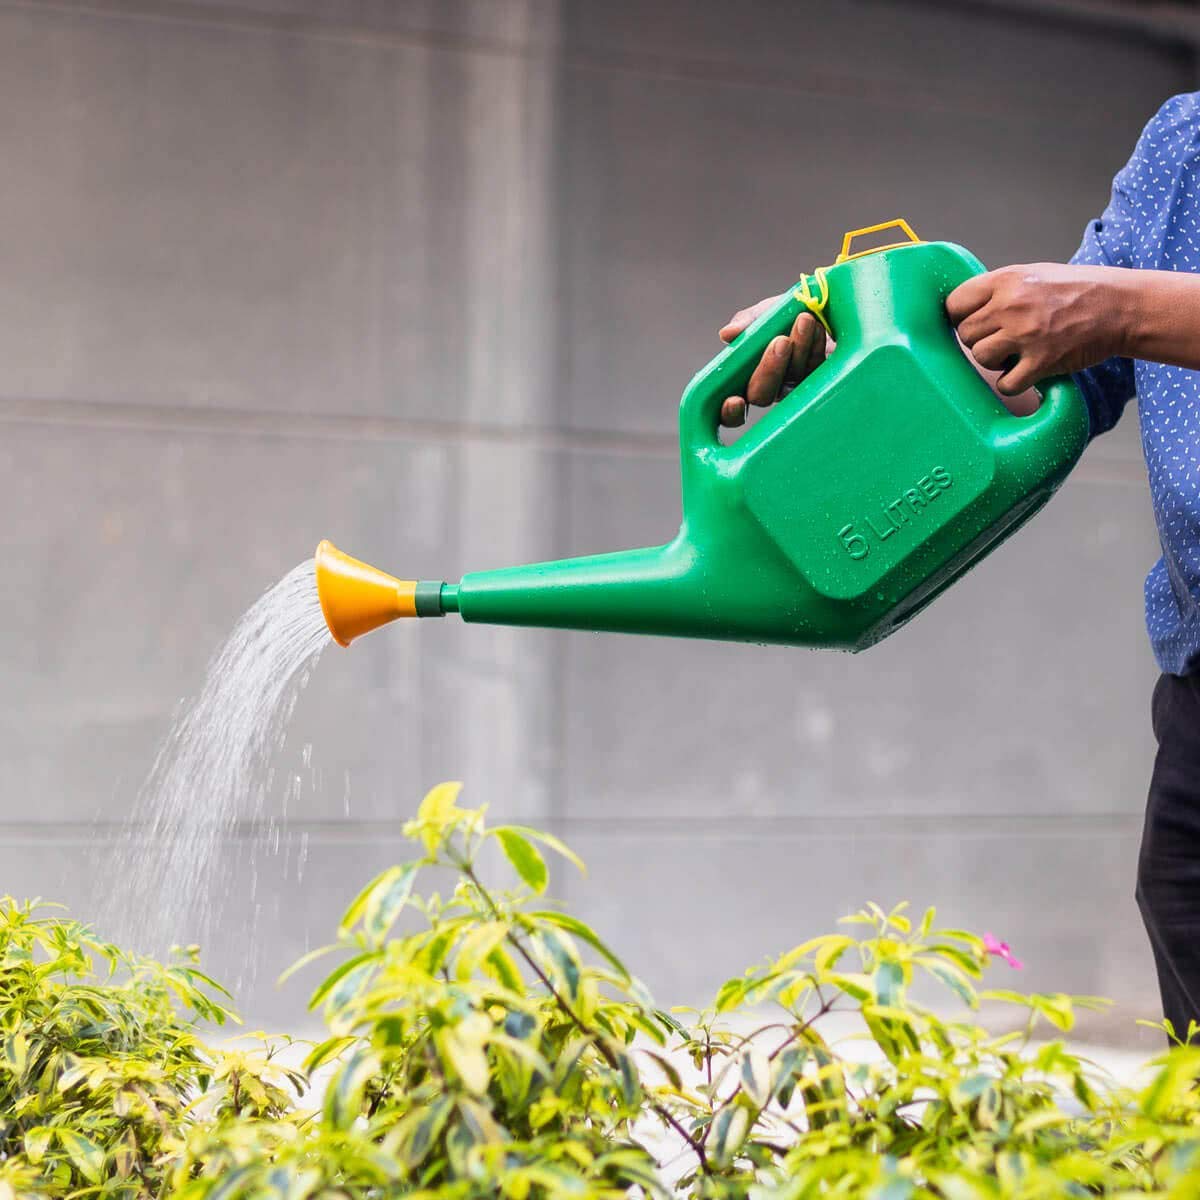
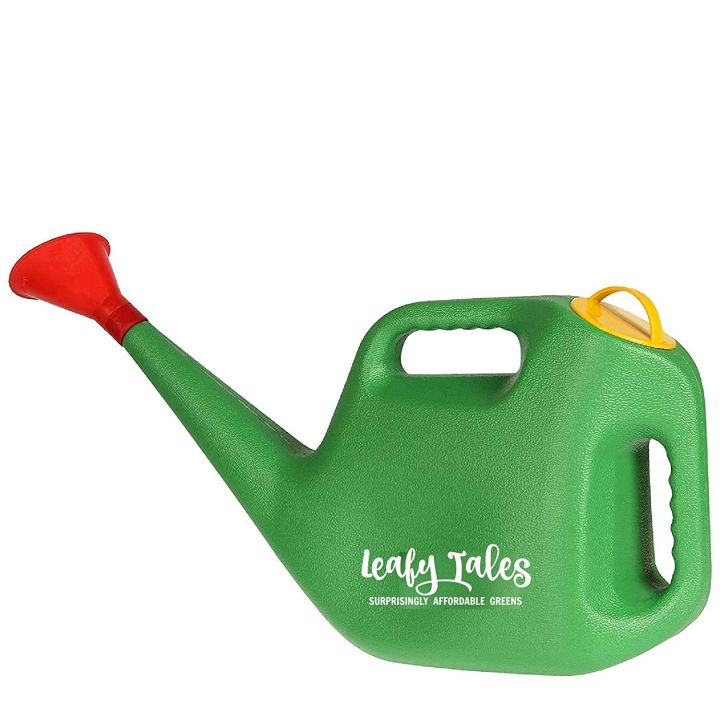
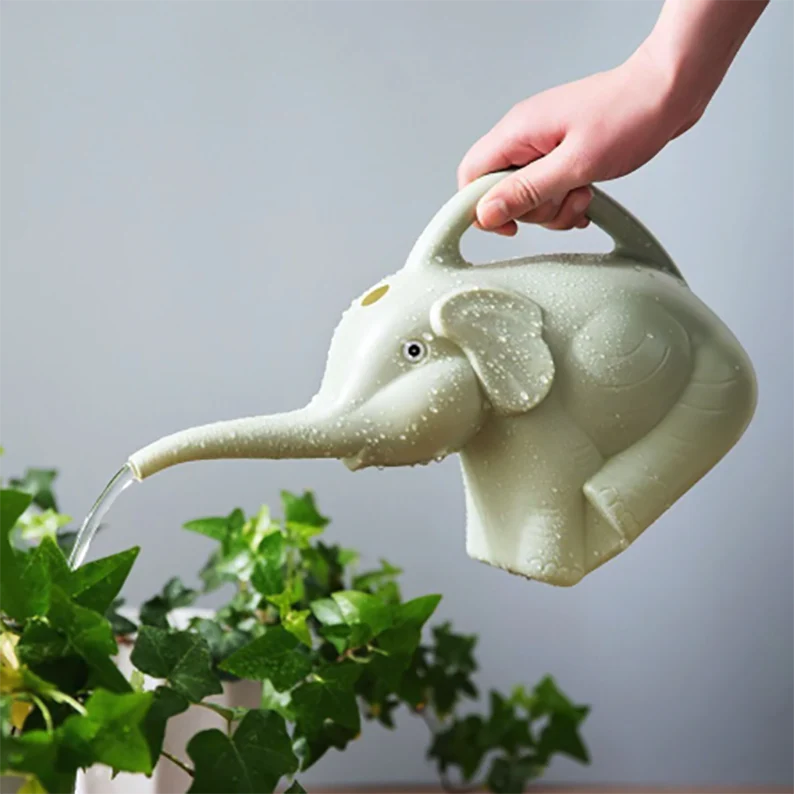
An elephant watering can is a unique garden tool. It’s designed to look like an elephant. The trunk serves as the spout. This design gives a playful touch to your gardening tasks. Such cans come in various sizes and colors. They are often made from plastic or metal. Some have realistic features, while others are more stylized. Gardeners of all ages can enjoy using an elephant watering can. It combines fun with functionality. These watering cans add a whimsical note to the practical act of watering plants. They can lift your spirits as they help your garden thrive.

The Appeal of Quirky Garden Accessories
Quirky garden accessories, like the elephant watering can, are gaining popularity. They bring character to gardens. People enjoy adding a personal touch to their outdoor spaces. Accessories that stand out make gardening more fun. They also act as conversation starters. Visitors often notice unique items, such as elephant watering cans. These items offer a visual treat apart from their practical use. They reflect the gardener’s personality. Many favor these playful elements. They blend gardening with creative expression. Gardeners take pride in their choices. These unique accessories show off their sense of humor and style. In short, quirky garden tools brighten up the routine of tending to plants.
How to Choose the Perfect Elephant Watering Can
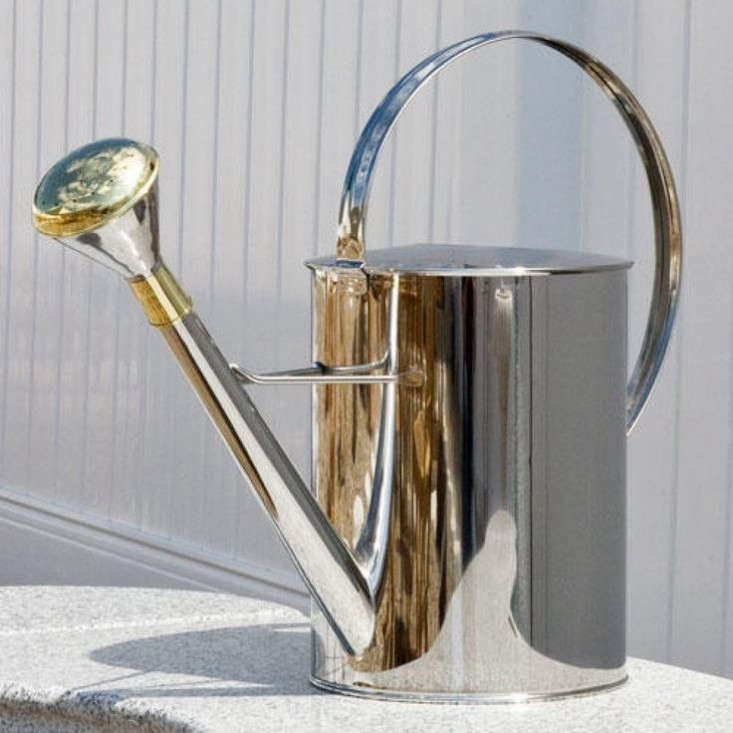
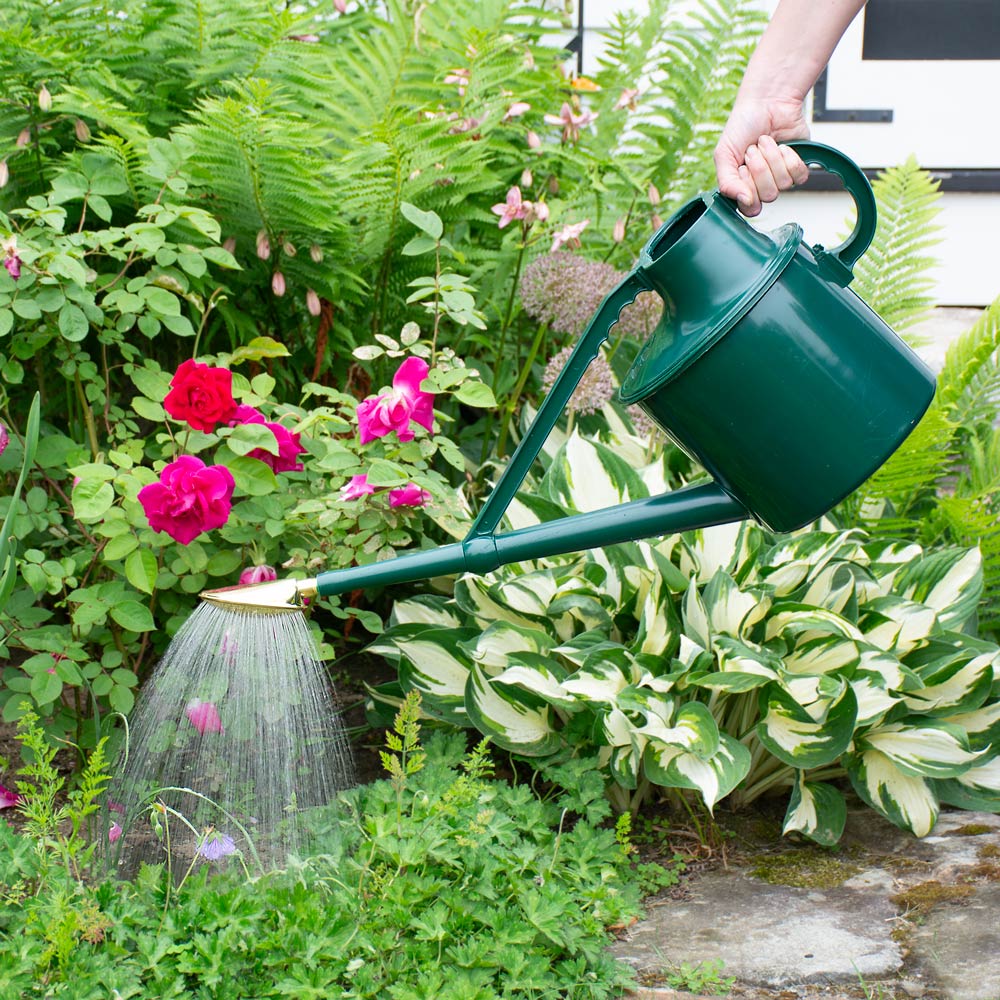
Choosing the perfect elephant watering can is easy with these tips. First, consider the material. Plastic cans are lightweight and often more affordable. Metal cans are sturdier but heavier. Next, think about size. A larger can means fewer refills for big gardens. A smaller one is easier to handle and great for indoor plants. Also, check the design. Look for a spout that allows a smooth water flow. This will prevent overwatering. Then, decide on style. Some prefer a realistic look, while others go for a stylized design. Color is key too. Pick one that complements your garden palette or stands out boldly. Lastly, don’t forget durability. A good can should last several seasons. Take care to choose one that is not only cute but also built to last.
Creative Uses for Your Elephant Watering Can
Elephant watering cans aren’t just for watering plants. They’re versatile and can serve several creative purposes. Try using your elephant watering can in these unique ways:
- As a Centerpiece: Fill your elephant watering can with fresh blooms. It can become a charming table centerpiece for outdoor gatherings.
- For Children’s Play: Kids love pretending and exploring. An elephant watering can become a treasured part of playtime, sparking imagination.
- In Art Projects: The unique shape makes this watering can great for art. Use it to pour paint or water over paper for interesting effects.
- To Cool Drinks: During summer barbecues, pack the can with ice. It can chill bottled beverages whimsically.
- As a Bath Toy: Lighten up bath time for little ones. An elephant watering can adds splashy fun to the routine.
- As a Novelty Gift: Fill it with goodies and gift it. It’s a creative way to package presents for gardening friends.
These are just a few ways to enjoy your elephant watering can beyond the garden. It merges fun and function in all parts of home life.
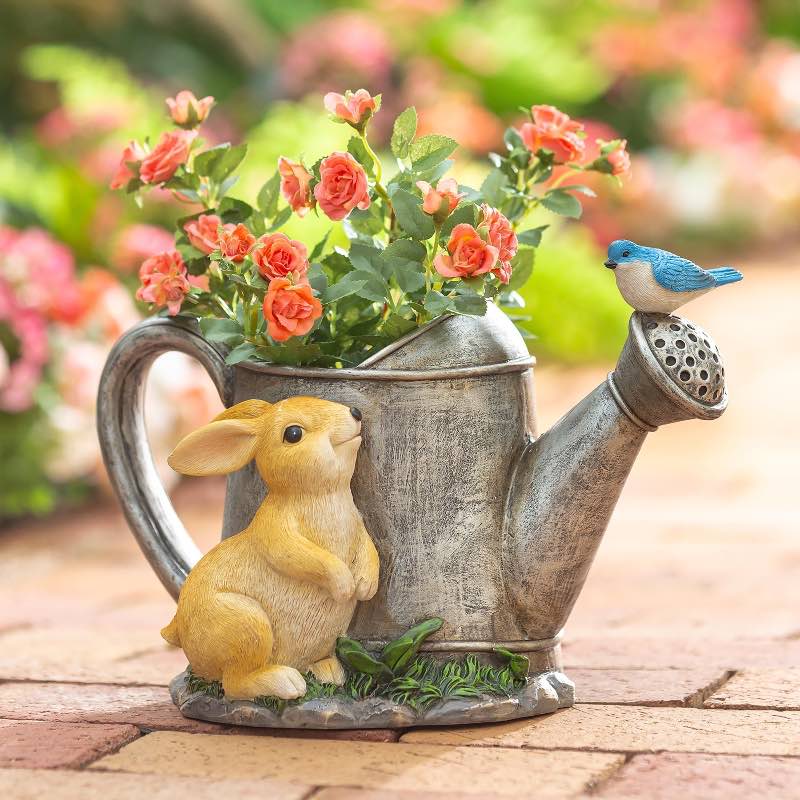
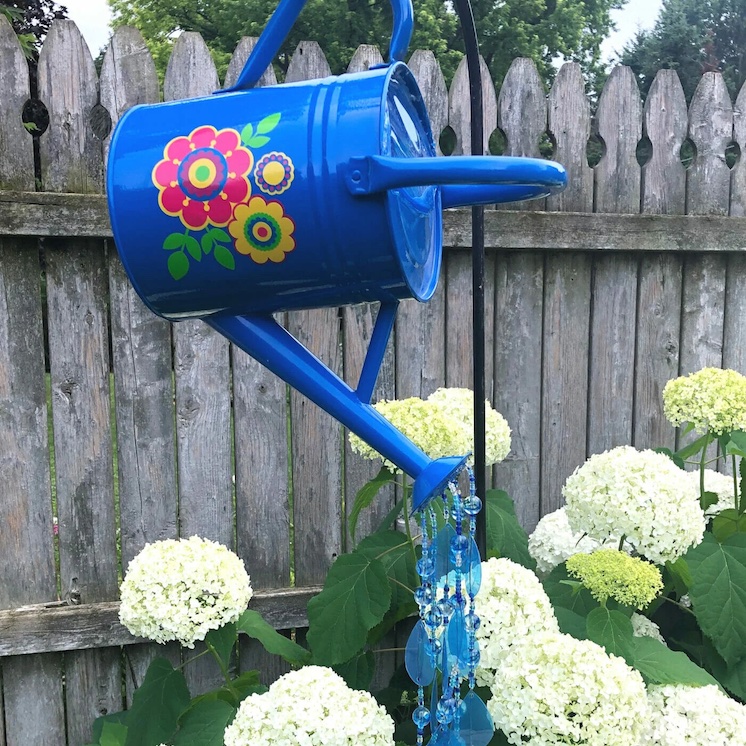
Integrating Elephant Watering Cans into Garden Decor
Elephant watering cans add a playful touch to garden decor. These whimsical tools fit well amidst flowers and greenery. Here are some tips on how to weave them into your garden decor seamlessly:
- Place them among potted plants as a decorative piece when not in use.
- Use a collection of different colors to create a visually appealing display.
- Set up a small corner in your garden dedicated to quirky garden items. Feature the elephant watering can as a star attraction.
- Position your elephant watering can near a water feature or pond for a thematic touch.
- Hang smaller sized cans from tree branches or hooks to add height to your garden decor.
Remember to keep these cans clean and in good shape. This will ensure they look attractive and function properly. With creativity, your elephant watering can becomes more than just a tool. It’s a statement piece that showcases your unique gardening style.

The Best Plants to Water with an Elephant Watering Can
Elephant watering cans work best for a variety of plants. Consider using them for these favorites:
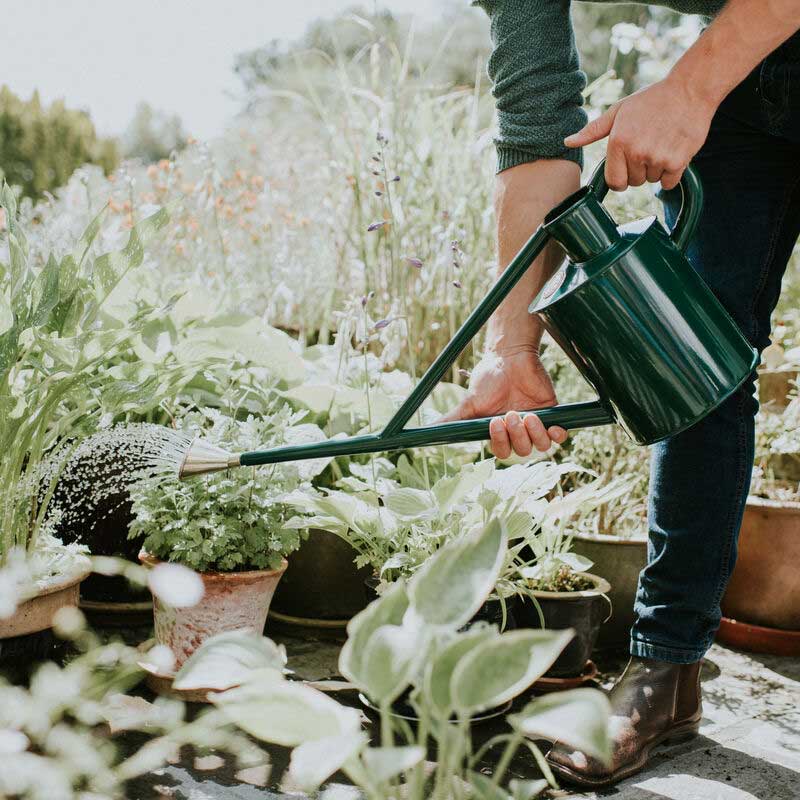
- Small Potted Plants: Their delicate flow is ideal for tabletop flowers and herbs.
- Seedlings: Gentle watering helps seedlings grow without washing them away.
- Hanging Baskets: Reach high plants easily without over-watering or making a mess.
- Bulb Gardens: Provide even moisture to bulbs without disturbing the soil too much.
- Terrariums: Their precise pour can hydrate intricate setups of miniature landscapes.
When using an elephant watering can, aim for the base of your plants. This prevents water from sitting on leaves and causing fungus. The can’s design also helps in spreading water evenly. This mimics natural rainfall, which plants love. For a thriving garden, match the watering needs of your plants with the right tool. An elephant watering can could be the perfect match for your gardening routine.
Caring for Your Elephant Watering Can
Keeping your elephant watering can in top shape is crucial. This extends its life and keeps it looking great. Here is how to care for it:
- Clean Regularly: After each use, rinse it out with clean water. This prevents buildup of dirt and algae. Especially in the spout, where debris can lodge.
- Store Properly: Keep it in a dry place away from direct sunlight. This helps prevent fading and cracking.
- Check for Leaks: Inspect the can now and then for any signs of leaks. Fix them early to avoid water waste.
- Handle with Care: Although they’re sturdy, handle your elephant watering can gently. Avoid dropping it which can cause dents or breaks.
- Use Right Water: Fill it with clean water, free from chemicals. This is better for your plants and the can’s material itself.
- Winter Care: If it’s a metal can, empty it before frost hits. Water expands when frozen, which can damage the can.
Following these simple steps ensures that your elephant watering can stays functional and fun for a long time. With proper care, it will continue to bring joy and a quirky charm to your gardening activities.
Where to Buy Elephant Watering Cans
Finding the right place to buy an elephant watering can is easy. Here are some options:
- Local Garden Centers: They often carry a variety of garden tools, including quirky ones like elephant watering cans.
- Online Retailers: Websites like Amazon, Etsy, or eBay offer a wide selection of these cans. You can compare prices and designs from the comfort of your home.
- Specialty Stores: Look for shops that focus on gardening or home decor. They may have unique styles not found elsewhere.
- Craft Fairs: Artisans sometimes create handmade elephant watering cans. These are great for those who appreciate craftsmanship.
- Big Box Stores: Places like Walmart or Target might stock them as well, especially during the gardening season.
When shopping for an elephant watering can, check reviews before purchasing. Choose a reputable seller who provides clear product descriptions and good customer service. Also, look out for deals or discounts that can save you money. By exploring these options, you can find a can that suits your style and needs. It’s a simple yet enjoyable addition to any gardening toolkit.