The Best Watering Can for Indoor Plants for Indoor Gardeners
Importance of Proper Watering for Indoor Plants
Proper watering is vital for indoor plants. It ensures they grow healthy and strong. Over-watering can lead to root rot, a common issue many indoor plant owners face. It kills roots, leaving plants unable to absorb nutrients. On the other hand, under-watering causes plants to wilt and can stunt growth. Soil needs the right balance of moisture. Without it, plants can’t perform photosynthesis well, affecting their overall health.
When choosing the best watering can for indoor plants, consider how its design helps with proper watering. A good can delivers water evenly. It avoids water logging and helps prevent dry spots. Consider cans with a long spout for reaching tight spaces. Such cans promote even watering at the plant’s base without wetting the leaves too much. Wet leaves can attract pests and diseases. Thus, proper watering tools are key to plant health and should be a top priority for indoor gardeners.
Factors to Consider When Selecting a Watering Can
When searching for the best watering can for indoor plants, several factors are key. Your choice impacts how well you can manage the watering needs of your plants. Here are important factors to consider:
Size and Capacity
Choose a size that fits your indoor garden. Large cans hold more water but could be too heavy when full. Small cans are lighter, easier to handle, but need more refills. Reflect on the number of plants and their water requirements before you decide.
Material and Durability
Watering cans come in different materials such as plastic, metal, or ceramic. Plastic is lightweight and often more affordable. Metal is more durable but can be heavy. Ceramic adds a decorative touch but can break easily. Pick a material that meets your balance of durability and ease of use.
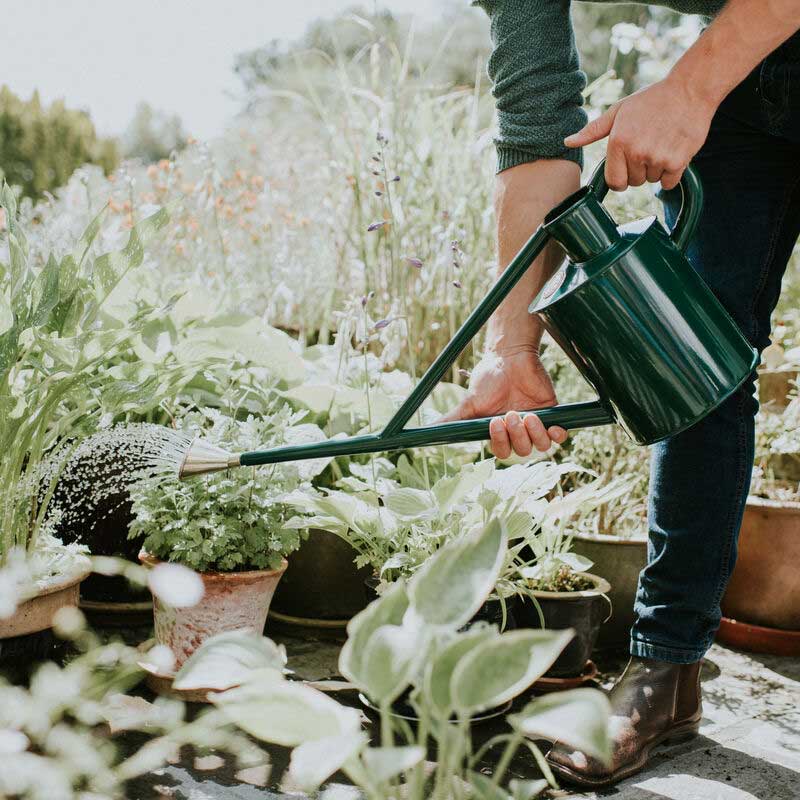
Spout Design and Water Flow Control
A long spout can reach plants at the back of shelves or in tight spots. Look for a can with a detachable rose or adjustable nozzle. Such features allow you to control the water flow, reducing spillage and ensuring a gentle watering for delicate plants.
Comfort and Ergonomics
Comfort matters for regular use. Handles should offer a good grip and not strain your wrist. A balanced design prevents tipping when pouring. Opt for ergonomically designed cans for ease during longer watering sessions.
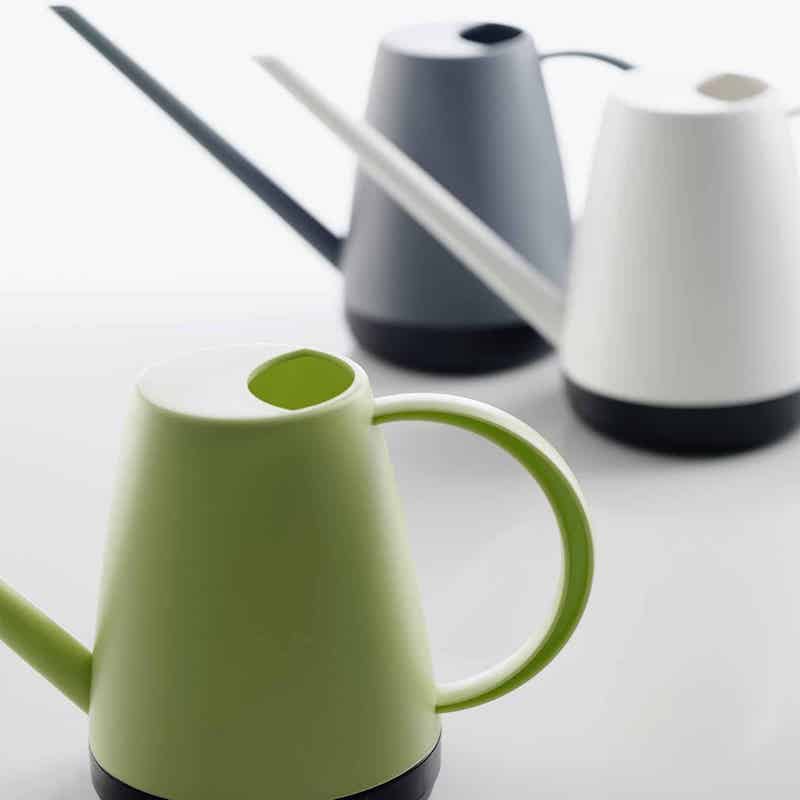
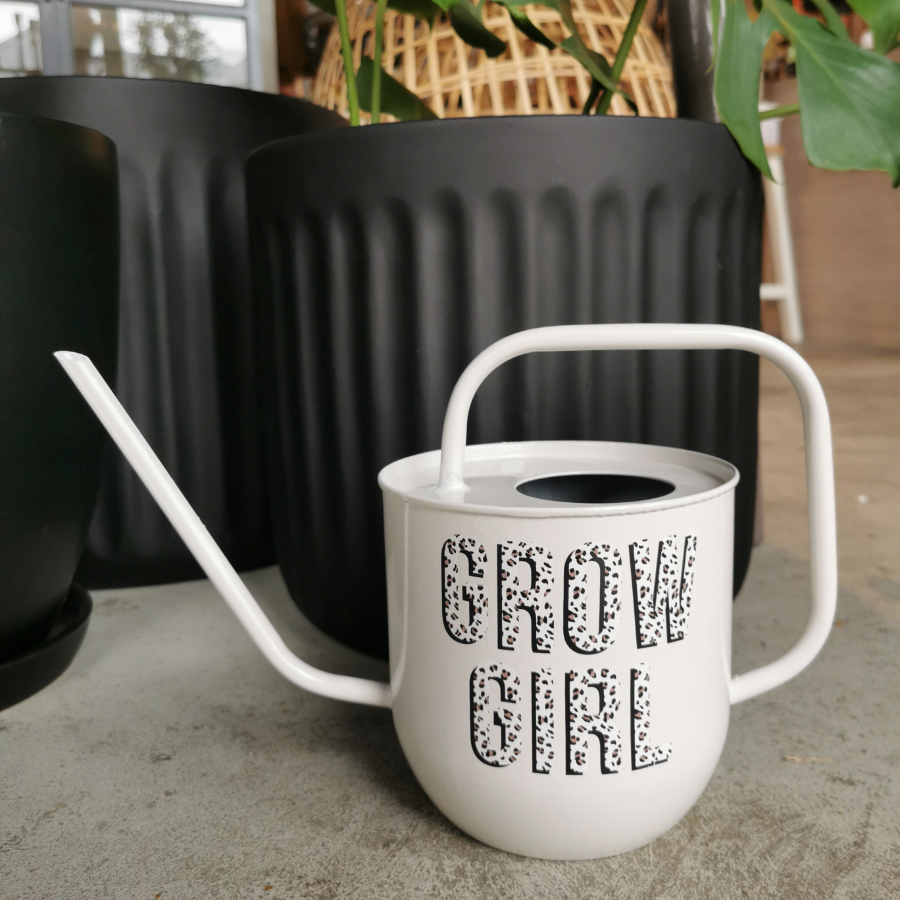
Aesthetics and Design
The look of the watering can may also be important. Pick a design that complements your interior decor. Many stylish options are available that serve both function and form. A good-looking watering can add charm to your plant care routine.
Top Watering Cans for Indoor Plant Care
Finding the best watering can for indoor plants depends on quality, functionality, and design. We have looked at several factors that play a role in choosing the right watering can. Now, let’s explore some of the top options that cater to the needs of your indoor garden.
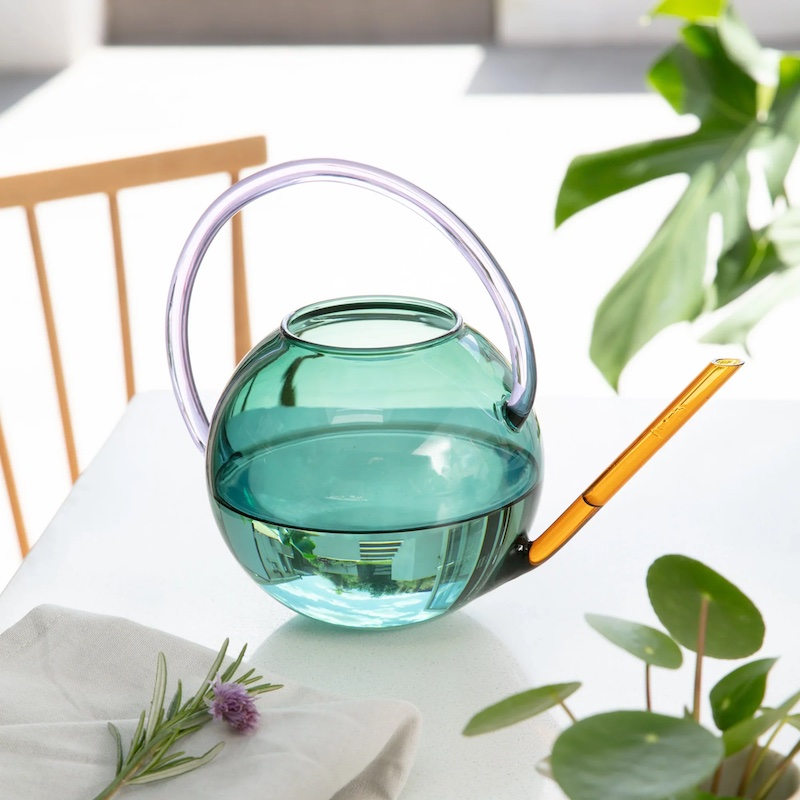
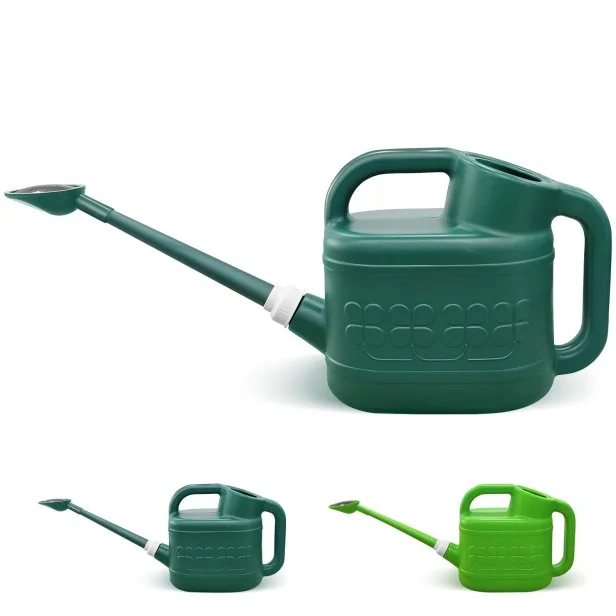
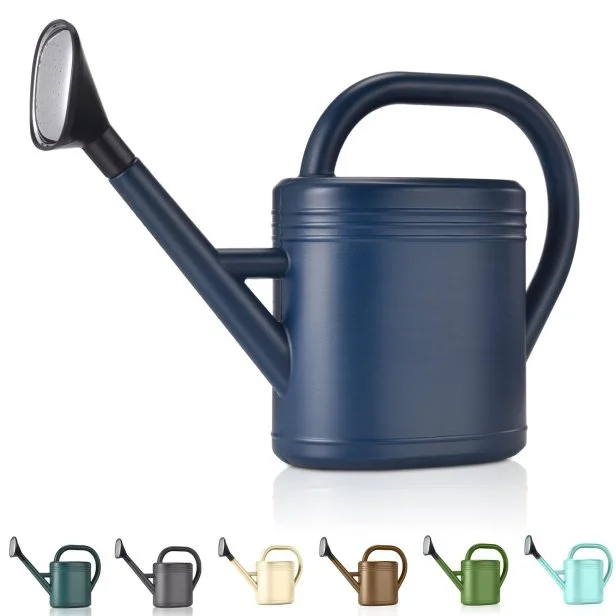
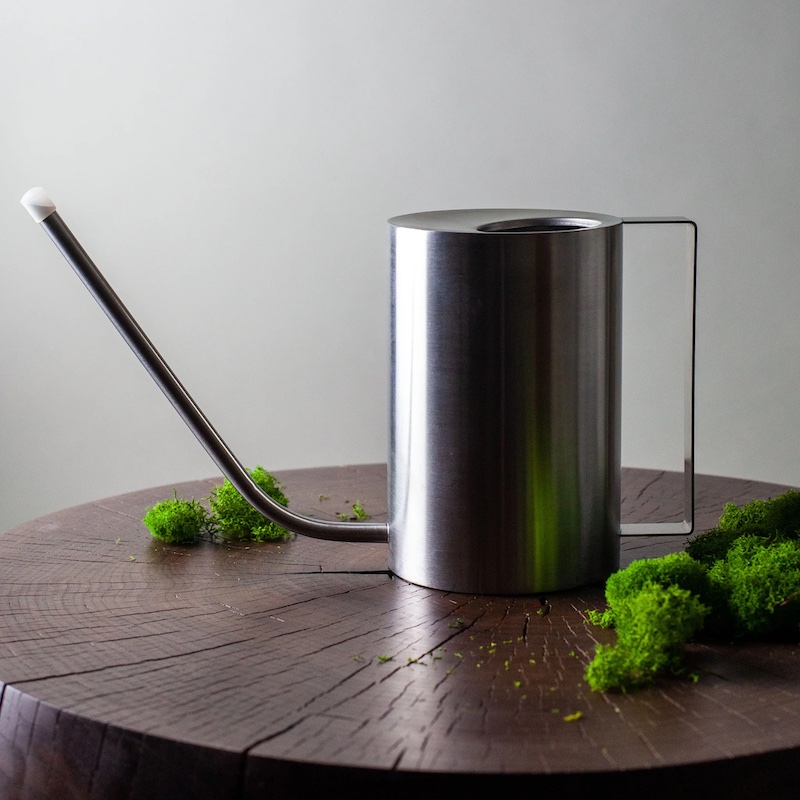
Plastic Watering Cans
Plastic watering cans are a great lightweight option. They come in various sizes, making it easy to find one that suits your indoor space. Look for one with a detachable spout to control water flow, vital for delicate plants. Plus, they’re usually more cost-effective, offering a practical solution without compromising on functionality.
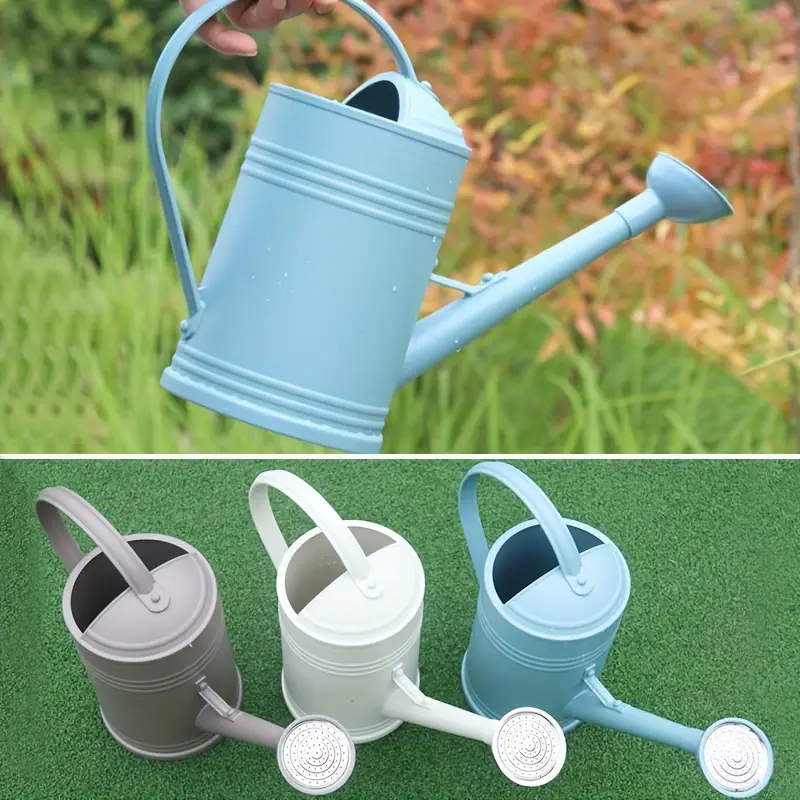
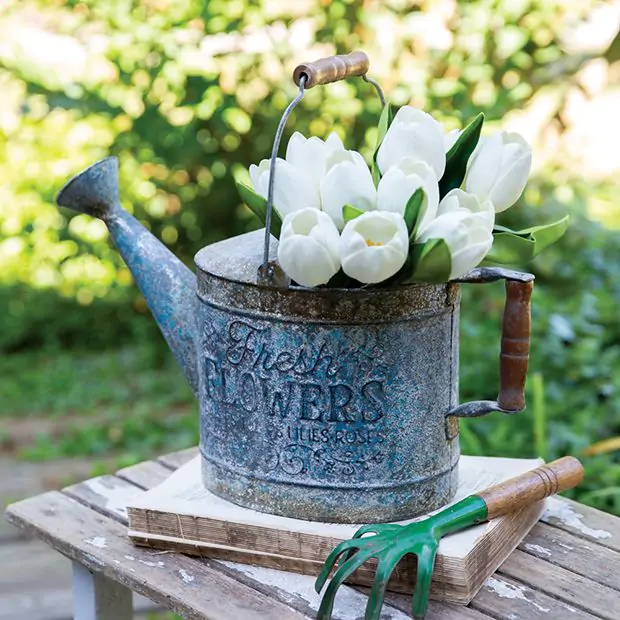
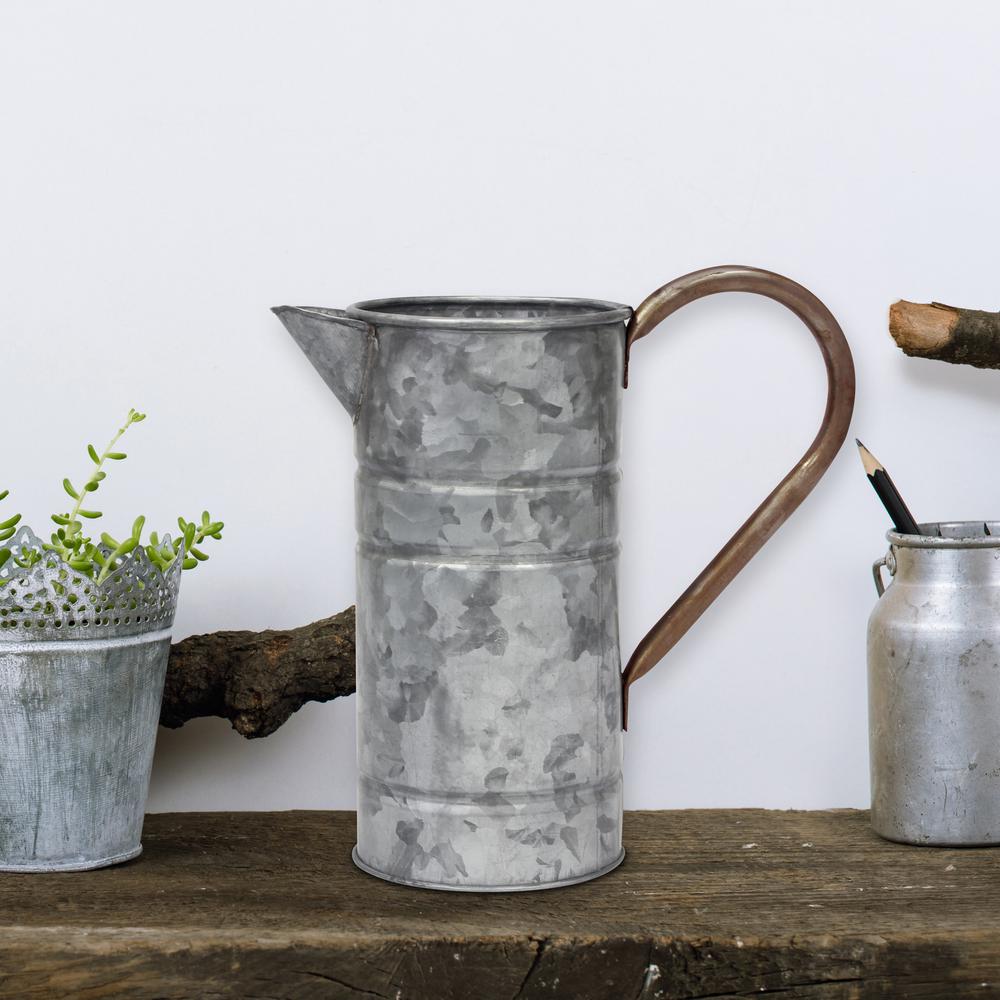
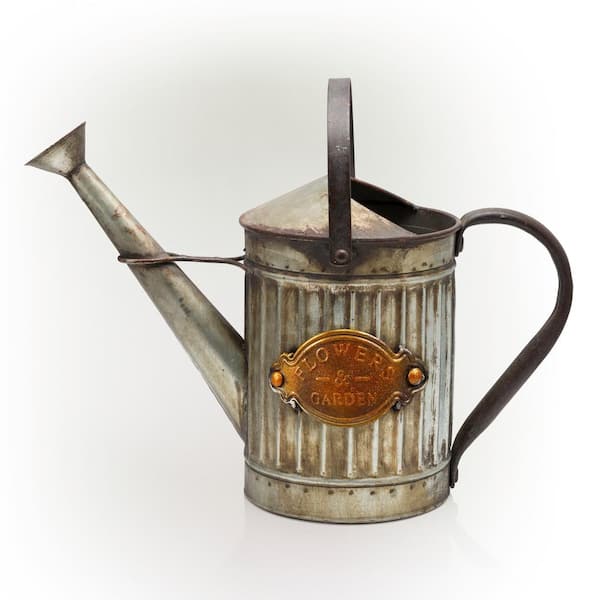
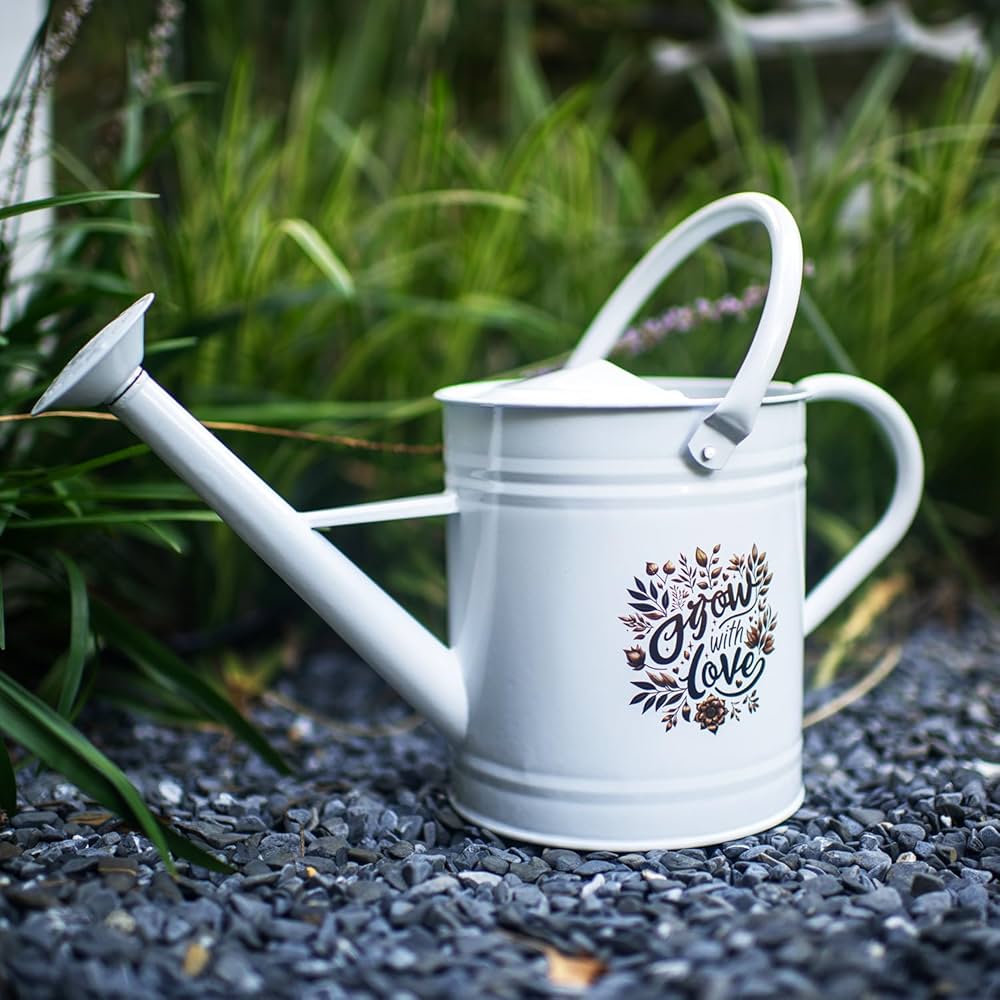
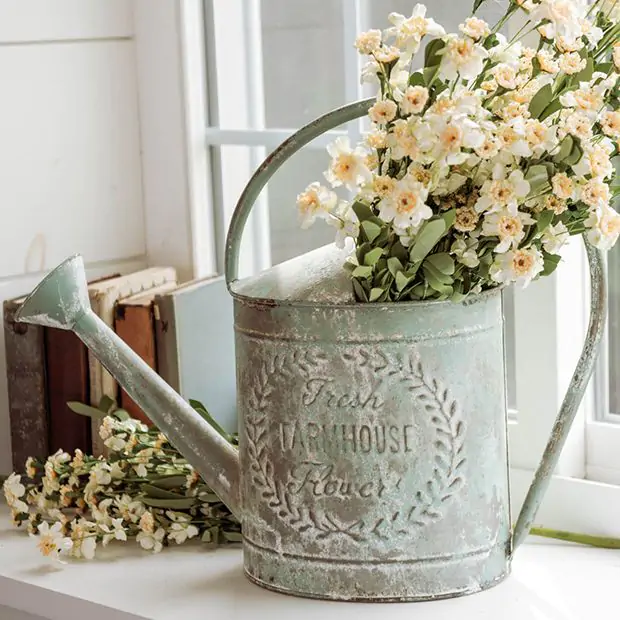
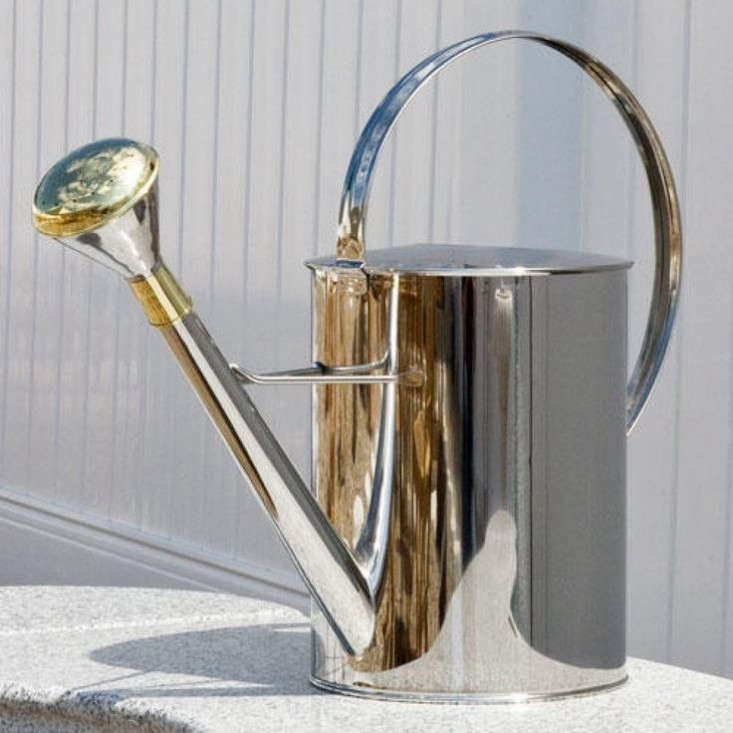
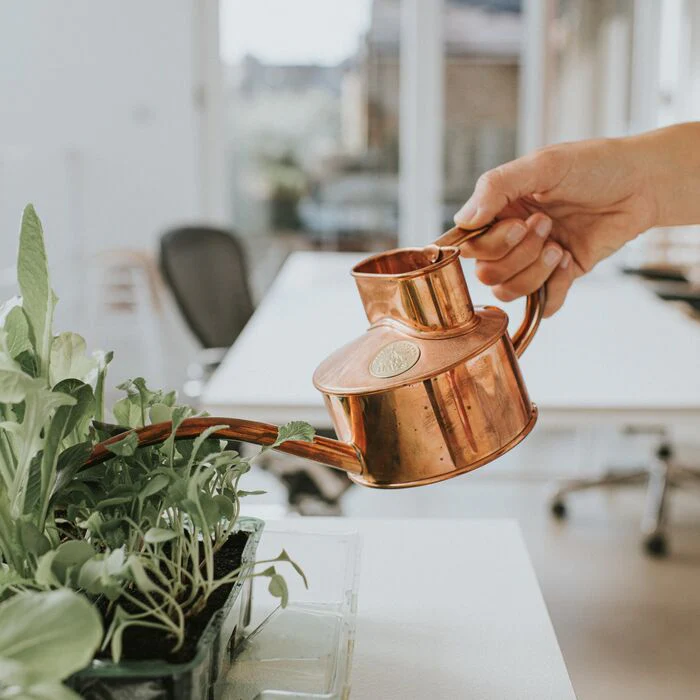
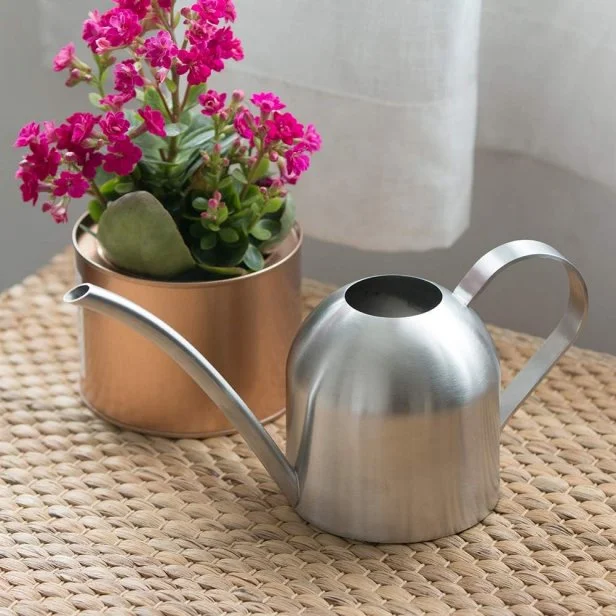
Metal Watering Cans
Metal watering cans boast durability and sturdiness. They stand out as long-term investments for your garden. Choose a can with a comfortable handle to ease the strain on your wrist. If you go for a metal option, ensure it has a coating to prevent rust, keeping your can functional for years to come.
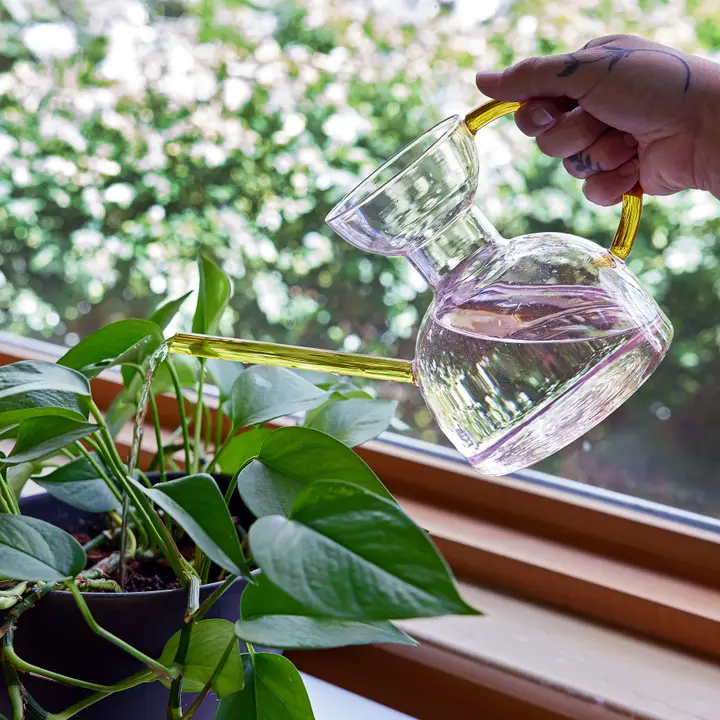
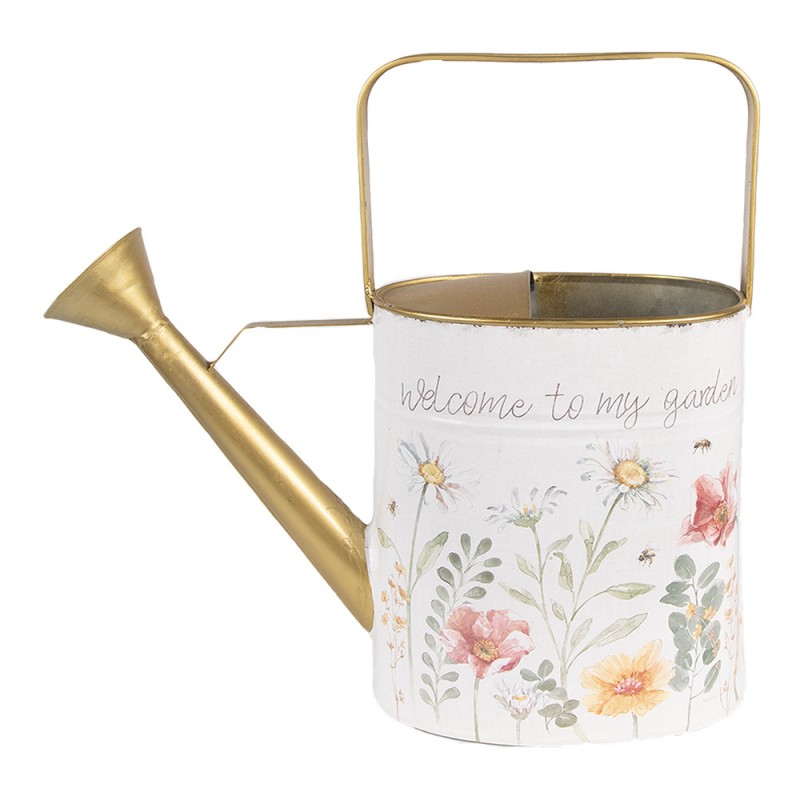
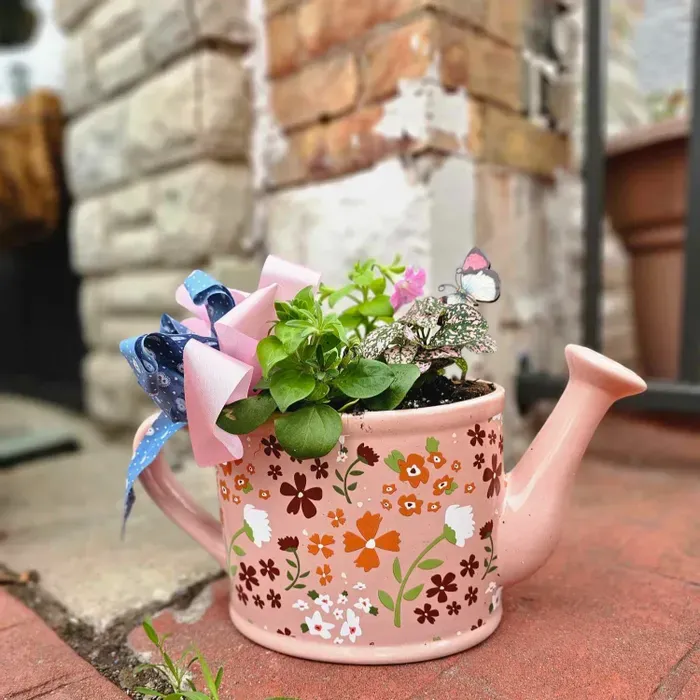
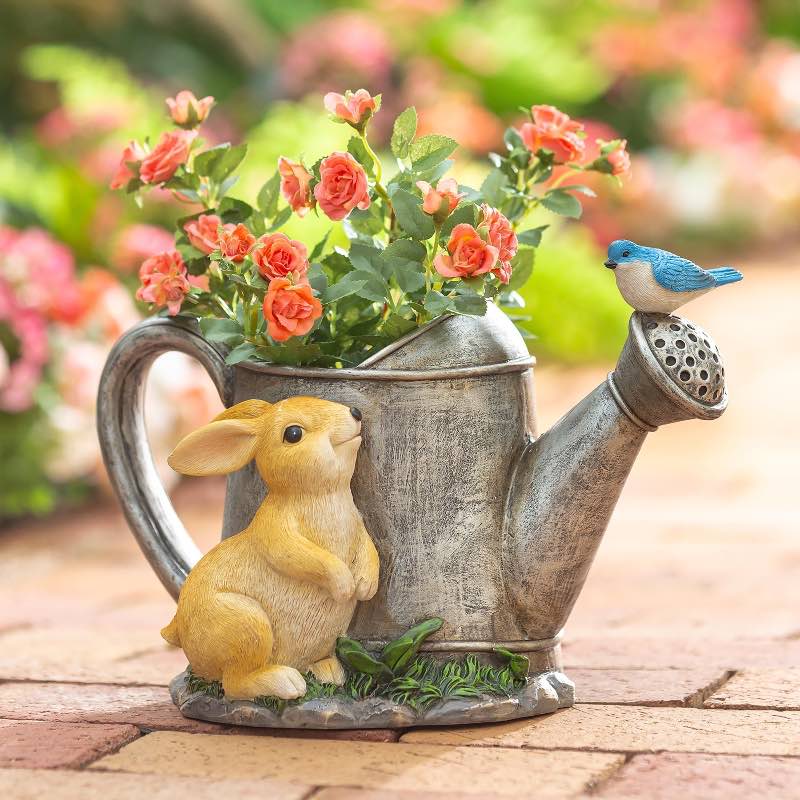
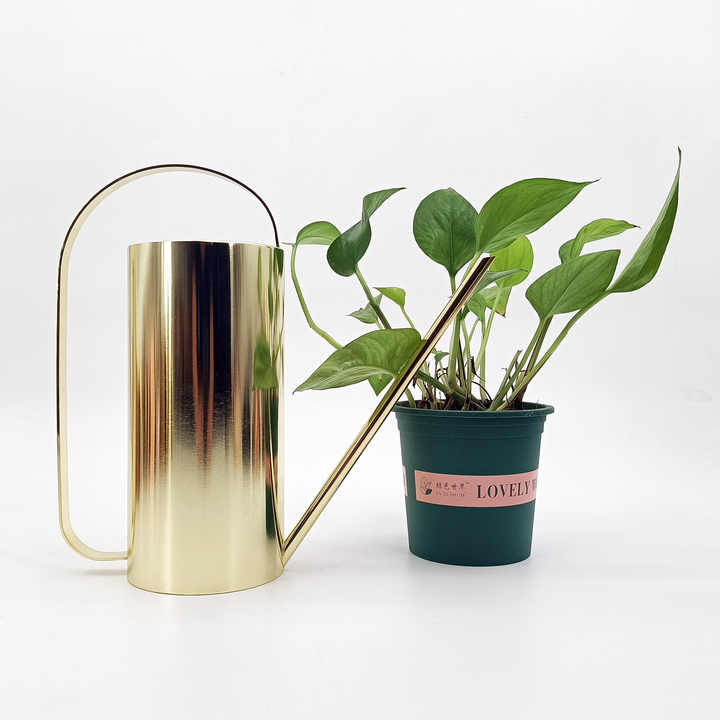
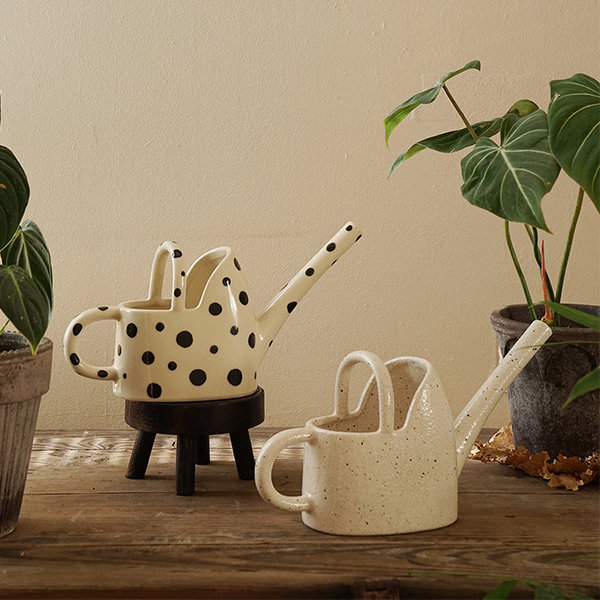
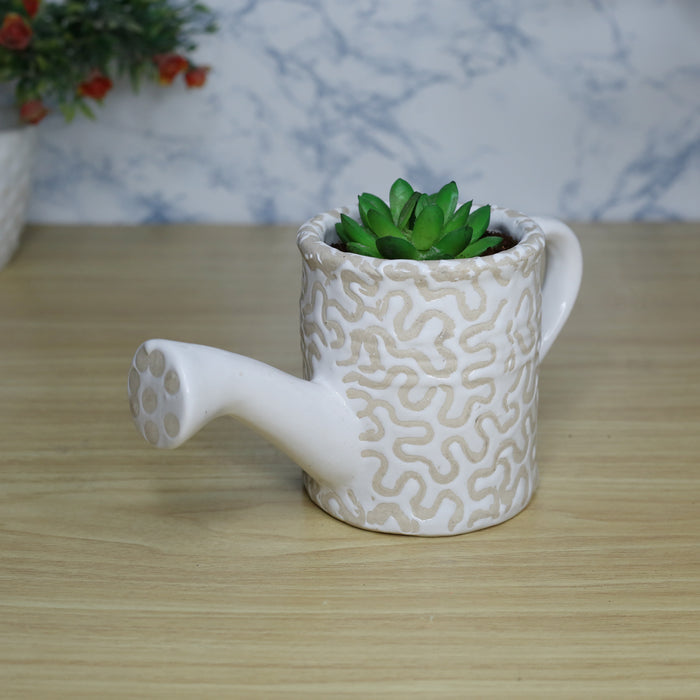
Novelty and Decorative Watering Cans
For those who value aesthetics, novelty and decorative watering cans are perfect. They provide an extra touch of style to your gardening routine. While they are functional, these cans often serve as a decor piece as well. Remember to weigh their practicality with their appearance to select a can that best serves your plants’ needs as well as adds beauty to your space.
Tips for Watering Indoor Plants
Understanding Your Plants’ Water Needs
Each indoor plant has unique water needs. Learn what these are to water effectively. Some plants prefer dry soil between waterings, while others thrive in moist conditions. Check the soil with a finger-test or use a moisture meter. Knowledge of each plant’s preferences is key.
Techniques for Even Water Distribution
Ensure every plant gets the right amount of water. Use a watering can with a long spout for hard-to-reach areas. Water slowly to let the soil absorb moisture evenly. A detachable rose attachment helps disperse water gently, preventing soil disruption or mess.
Avoiding Overwatering and Underwatering
Overwatering and underwatering can harm your indoor plants. Use pots with drainage holes. Empty saucers after watering to avoid sitting water. Allow the topsoil to dry before watering again for most plants. Adjust your watering routine with the seasons, as indoor plants often need less water in winter.

Maintenance and Cleaning of Watering Cans
Proper maintenance is vital to extend the lifespan of a watering can. Whether it’s plastic, metal, or ceramic, consistent cleaning prevents algae growth and mineral deposit buildup. It keeps your tool in good condition and ensures that water flows freely, which is crucial for the well-being of your indoor plants. Here’s how to keep your watering cans clean and ready for use.
Routine Cleaning Tips
- Empty the can: Always empty residual water to prevent stagnant water that can harbor bacteria.
- Rinse with water: Regularly rinse the inside of the can with clean water to wash away leftover debris.
- Use mild soap: Occasionally, wash with a mild detergent to remove any slime or algae buildup.
- Scrub the spout: Use a bottle brush to clean the spout and remove clogs to ensure an even water flow.
- Air dry: Let the can completely air dry between uses to prevent moisture accumulation.
- Store properly: Keep your watering can in a dry place away from direct sunlight to avoid wear.
Preventing Rust and Corrosion on Metal Cans
Metal watering cans are durable but prone to rust if not cared for properly. To prevent rust and maintain their functionality:
- Dry immediately: After each use, thoroughly dry your metal can to prevent moisture from sitting.
- Oil the joints: Apply oil to moving parts like handles or roses to keep them functioning smoothly.
- Check for damage: Regularly inspect your can for scratches or chips in the paint that could expose metal.
- Use liners: Consider using a plastic liner if your metal can has begun to rust or corrode.
- Seasonal care: If you live in a humid area, you might need to give your can extra attention to avoid corrosion.
By following these maintenance and cleaning guidelines, the best watering can for indoor plants you’ve chosen will serve you well throughout your gardening endeavors.
Where to Buy the Best Watering Cans for Indoor Plants
Once you’ve decided on the best watering can for indoor plants, the next step is finding where to buy one. There are multiple options, and it’s all about convenience and variety.
Local Gardening Stores
Local gardening stores are a great place to start. Here, you can often find a selection of watering cans that you can physically examine. You’ll get a feel for their size and balance. Plus, the staff at these stores can provide personalized advice. They can help you choose a can that fits your specific indoor plant care needs. Local stores also support your community’s economy.
Online Retailers and Garden Centers
For a wider selection, online retailers and garden centers are your best bet. They offer a vast array of options, from the basic to the most stylish and decorative watering cans. Shopping online is convenient – you can compare prices and read customer reviews from the comfort of your home. Look for online stores with good return policies, in case the product doesn’t meet your expectations upon arrival.
When you shop, remember to balance your plant’s needs with the features of the can. Size, material, and spout design are all important features. Use the tips from this guide to make an informed choice for your indoor plants.
Final Thoughts on Making the Right Choice
When it comes to indoor plant care, a reliable watering can is a gardener’s best friend. Remember, the best watering can for indoor plants is one that meets both your and your plants’ needs effectively. Consider the size and volume that suit your space, the materials that align with your usage, and the design that matches your home aesthetic. The spout design should cater to the delicate watering needs of your plants, while ergonomic features ensure comfort during use.
Choosing wisely will not only simplify your plant care routine but also contribute to the overall health and growth of your indoor greenery. Keep in mind the tips and factors previously discussed, as they will guide you in selecting a can that’s easy to maintain and serves you for years. Whether in local stores or through online retailers, invest time in comparing options to find that perfect balance between functionality, durability, and style.
With proper maintenance and cleaning, your chosen watering can will be a lasting tool in your gardening arsenal. Let it reflect your commitment to nurturing your indoor plants, all while complementing your living space. Go forward with the knowledge shared here, and make a choice that you’ll be satisfied with each time you water your beloved plants.