The Wiper Arm Removal Tool: Simplifying Maintenance Tasks
Part 1: Introduction to Wiper Arm Removal Tools – Why They Matter
Level 1: What Is a Wiper Arm Removal Tool?
A wiper arm removal tool is a specialized automotive device designed to safely and efficiently remove windshield wiper arms from their mounting points. These tools are essential for car owners, mechanics, and DIY enthusiasts who need to replace or repair wiper arms without causing damage to the vehicle’s windshield or wiper system. By providing leverage and precision, wiper arm removal tools ensure that the process is both quick and hassle-free.
- The Importance of Proper Wiper Arm Maintenance:
Windshield wipers play a critical role in ensuring visibility during inclement weather. Over time, however, wiper arms can become worn, misaligned, or damaged, compromising their effectiveness. Replacing these components requires careful handling to avoid scratching the windshield or damaging the wiper motor assembly. A wiper arm removal tool simplifies this task by offering a controlled method for detachment. - Why Use a Dedicated Tool?
Attempting to remove wiper arms with makeshift tools or brute force can lead to costly repairs. For instance, prying off an arm improperly might crack the windshield or strip the wiper arm threads. A dedicated removal tool minimizes these risks, making it an indispensable addition to any toolkit.
Level 2: Key Features of Wiper Arm Removal Tools
Understanding what sets wiper arm removal tools apart highlights their value in automotive maintenance.
- Design Variations and Compatibility:
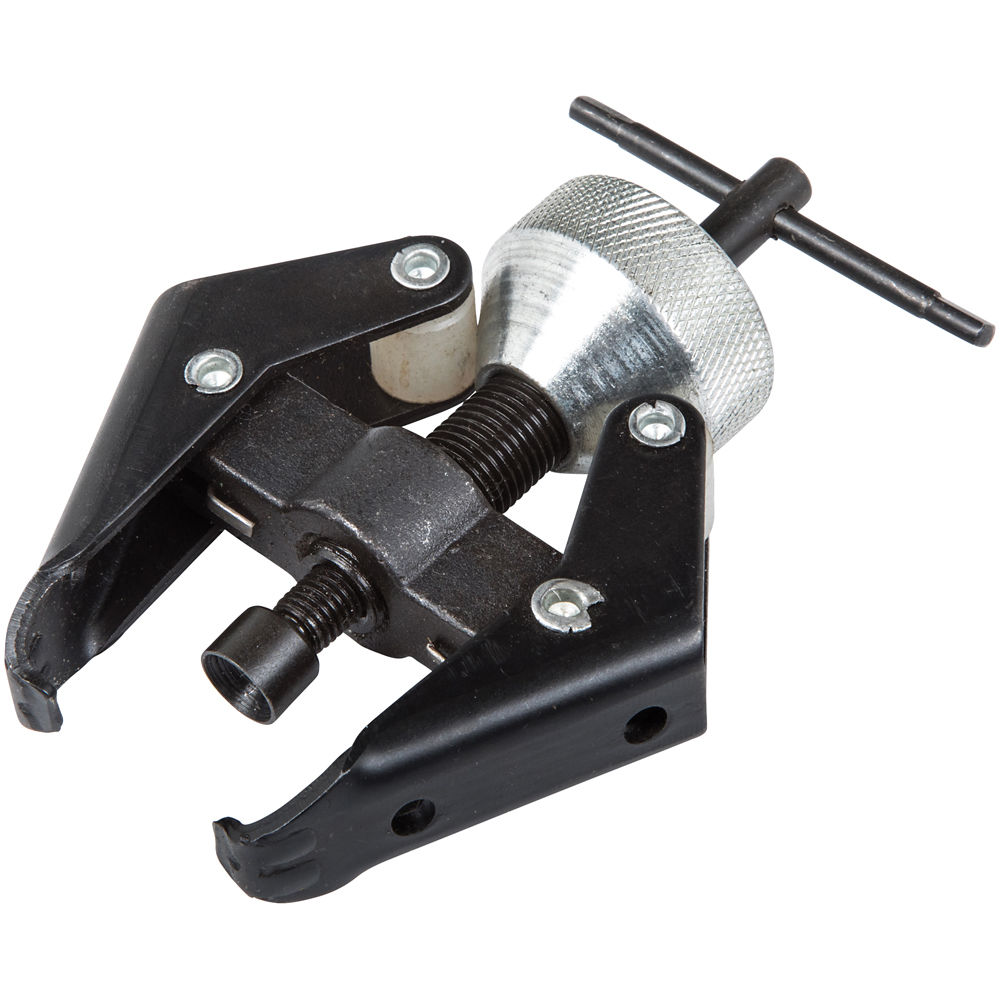
Wiper arm removal tools come in various designs, including puller-style, fork-style, and universal adapters. Each type caters to specific vehicle models and wiper arm configurations. Some tools feature adjustable jaws or interchangeable heads to accommodate different sizes and shapes. - Durability and Ease of Use:
High-quality wiper arm removal tools are typically made from durable materials like hardened steel or reinforced plastic. Ergonomic handles and non-slip grips enhance user comfort, while corrosion-resistant coatings ensure longevity even under harsh conditions.
Part 2: Types of Wiper Arm Removal Tools – Exploring Options for Every Need
Level 1: Common Categories of Wiper Arm Removal Tools
There are several types of wiper arm removal tools available on the market, each tailored to specific applications and preferences. Below are some of the most popular categories:
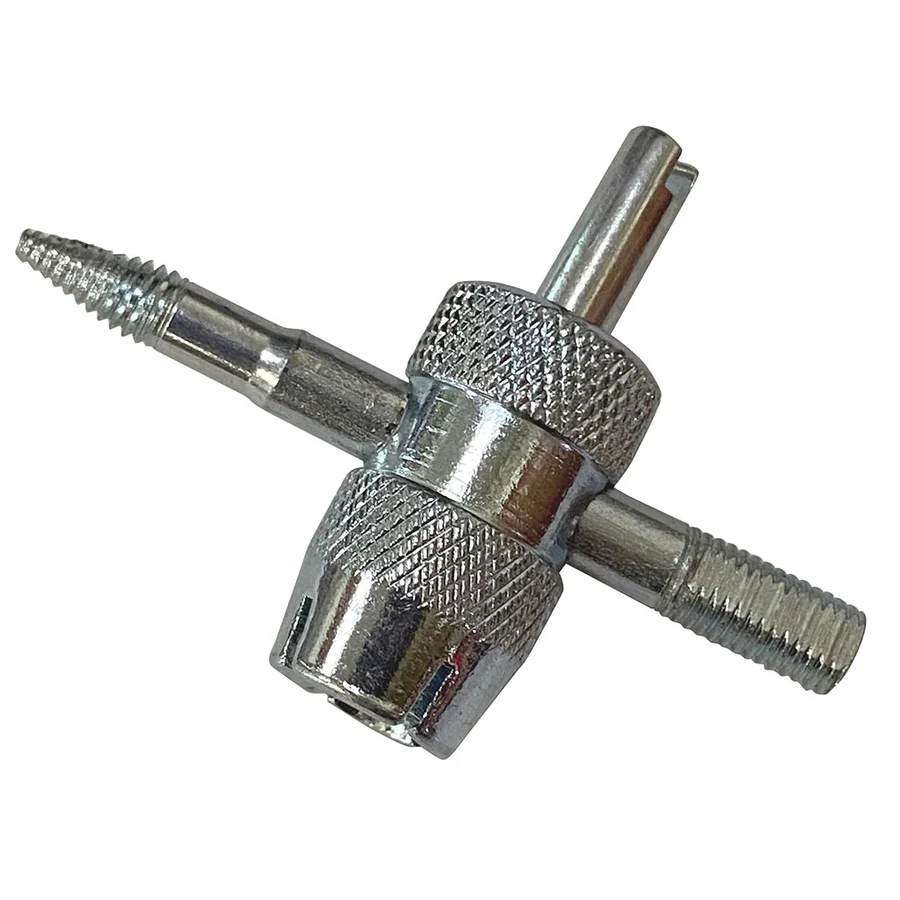
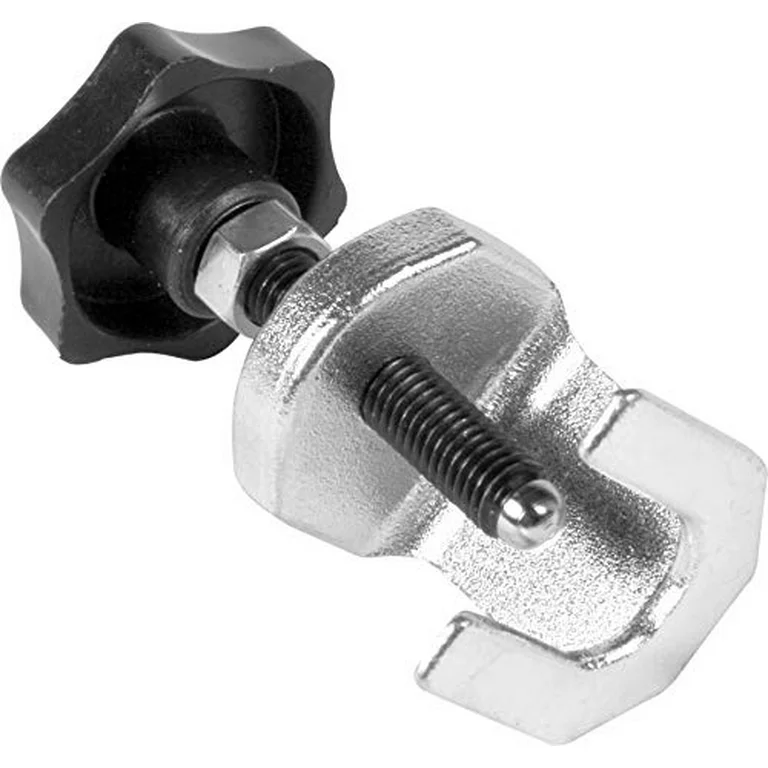
- Puller-Style Tools:
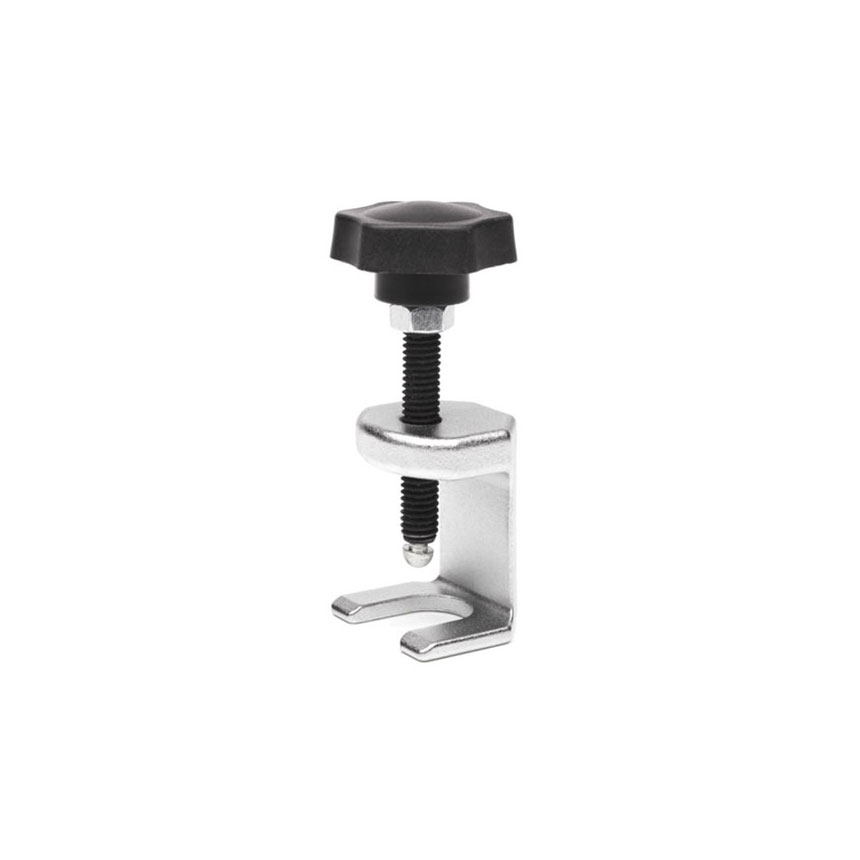
Puller-style tools use a screw mechanism to apply even pressure and gently lift the wiper arm away from its mounting post. This design is particularly effective for vehicles with tight-fitting wiper arms, as it reduces the risk of slippage or damage. - Fork-Style Tools:
Fork-style tools consist of a U-shaped metal piece that slides under the base of the wiper arm. Once positioned, the tool acts as a lever to pry the arm loose. These tools are simple, affordable, and widely compatible with many vehicle makes and models.
Level 2: Specialty Tools for Unique Challenges
Beyond mainstream options, specialty wiper arm removal tools address niche requirements or complex scenarios.
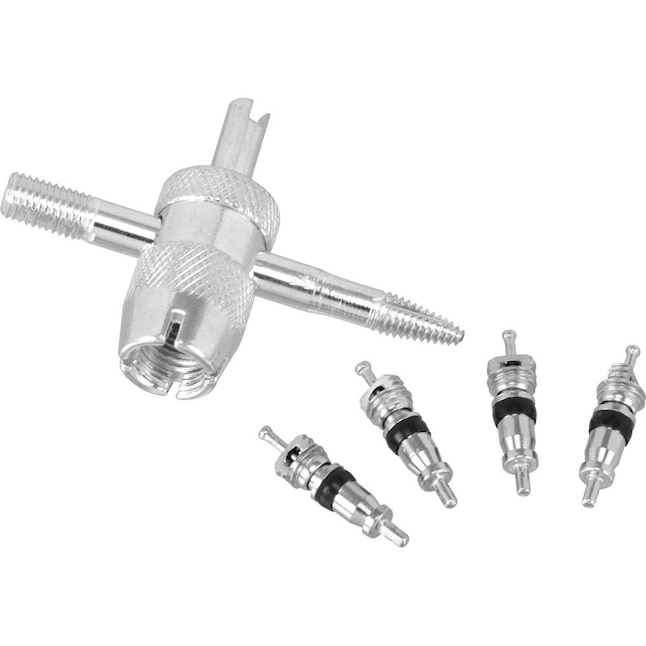
- Universal Adapters:
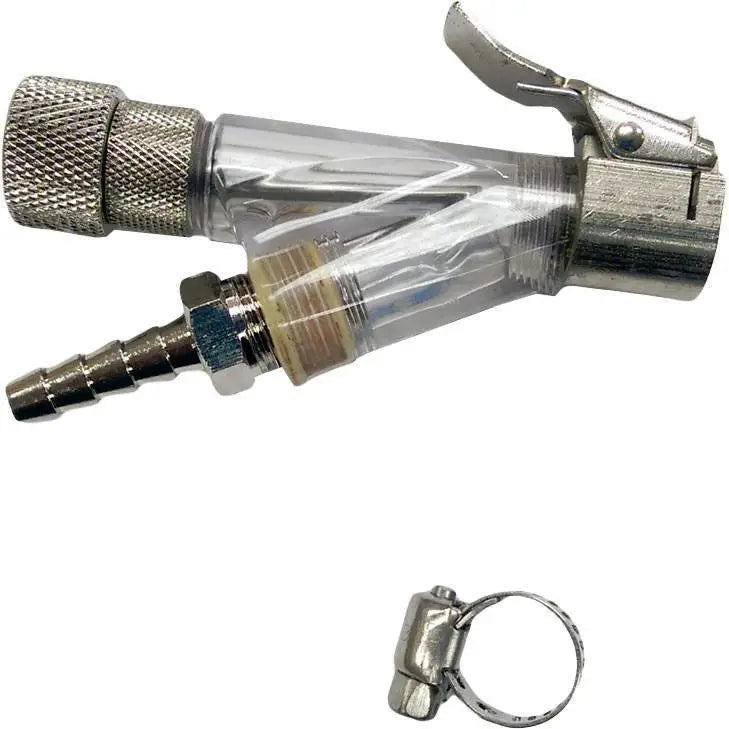
Some tools include universal adapters or modular components that allow them to work across multiple vehicle brands and wiper arm designs. These versatile solutions are ideal for professional mechanics or individuals maintaining multiple vehicles. - Pneumatic-Assisted Tools:
For heavy-duty applications, pneumatic-assisted wiper arm removal tools provide additional power and precision. These tools are commonly used in commercial garages where efficiency and reliability are paramount.
Part 3: How Wiper Arm Removal Tools Enhance Your Maintenance Routine – Beyond Convenience
Level 1: Encouraging Safety and Efficiency
Wiper arm removal tools play a vital role in streamlining automotive maintenance tasks while prioritizing safety and accuracy.
- Preventing Damage During Removal:
Using a proper tool ensures that the delicate surfaces of your windshield and wiper system remain unharmed. This not only saves money on potential repairs but also extends the lifespan of your vehicle’s components. - Simplifying Complex Repairs:
Replacing wiper arms often involves navigating cramped spaces or dealing with rusted parts. A dedicated removal tool provides the leverage needed to overcome resistance without straining yourself or damaging surrounding areas.
Level 2: Supporting Professionalism and Confidence
Beyond practical benefits, wiper arm removal tools contribute to fostering confidence and professionalism among users.
- Empowering DIY Enthusiasts:
With the right tool, even novice car owners can tackle wiper arm replacements independently. This sense of accomplishment encourages further exploration into automotive maintenance and fosters self-reliance. - Enhancing Workshop Productivity:
For professional mechanics, having reliable wiper arm removal tools improves workflow efficiency. Tasks that once required significant effort and time can now be completed swiftly, allowing technicians to focus on more complex repairs.
Part 4: Practical Considerations – Choosing and Using Wiper Arm Removal Tools
Level 1: Tips for Selecting the Right Tool
With so many variations available, choosing the perfect wiper arm removal tool requires thoughtful consideration of several factors.
- Vehicle Compatibility:
Before purchasing a tool, verify its compatibility with your vehicle’s make and model. Consult your owner’s manual or online resources to determine the type of wiper arm attachment used in your car. - Material Quality and Build:
Opt for tools made from high-grade materials that resist wear and tear. Look for features like heat-treated steel, anti-corrosion coatings, and ergonomic designs that enhance usability and durability.
Level 2: Techniques for Safe and Effective Use
Mastering the correct usage of a wiper arm removal tool ensures optimal results and prevents accidents.
- Proper Positioning and Alignment:
Always position the tool securely before applying force. Misalignment can cause uneven pressure, leading to damage or incomplete removal. Double-check that all components are firmly seated before proceeding. - Avoiding Common Mistakes:
Over-tightening screws or applying excessive force can result in stripped threads or bent wiper arms. Work slowly and steadily, using only the amount of pressure necessary to disengage the part.
Part 5: Behind the Scenes – The Making of Wiper Arm Removal Tools
Level 1: The Development Process
Creating wiper arm removal tools involves meticulous planning and execution to ensure safety, performance, and aesthetic appeal.
- Concept Development:
Engineers collaborate with designers, mechanics, and end-users to develop concepts that balance visual design with functional performance. Inspiration comes from observing common challenges faced during wiper arm removal and identifying market gaps. - Testing and Refinement:
Once a prototype is developed, rigorous testing ensures consistency in strength, ergonomics, and ease of use. Feedback loops refine the product until it meets the brand’s exacting standards.
Level 2: Manufacturing Techniques
Advanced manufacturing techniques enable brands to produce high-quality wiper arm removal tools at scale while maintaining precision and consistency.
- Material Selection and Treatment:
Premium materials like stainless steel, aluminum alloys, and reinforced polymers undergo stringent quality checks. Special treatments protect against corrosion, fatigue, or breakage, ensuring longevity. - Quality Assurance:
Final inspections include stress tests, finish evaluations, and dimensional checks to guarantee compliance with industry standards. Only products that pass all quality checks are approved for distribution, ensuring customer satisfaction.
Accessories That Enhance Your Wiper Arm Removal Experience
Level 1: Essential Accessories for Everyday Use
Certain accessories can significantly improve the functionality and enjoyment of your wiper arm removal tool.
- Protective Covers and Guards:
Use protective covers or guards to shield your windshield and surrounding areas during removal. Always check compatibility before purchasing additional components. - Lubricants and Cleaning Solutions:
Rust inhibitors or penetrating oils help loosen stuck bolts or corroded parts. These solutions ensure smooth operation and prevent future sticking.
Level 2: Creative Enhancements
Take your wiper arm removal experience to the next level with these creative additions.
- Customizable Handles and Grips:
Add custom handles, grips, or tassels to personalize your tool further. This customization fosters ownership and pride among users. - Interactive Storytelling Tools:
Augmented reality apps or QR codes linked to multimedia content can enrich the tool’s narrative, providing insights into its creation, history, and cultural significance.
By understanding what makes wiper arm removal tools exceptional, exploring diverse designs, leveraging expert tips, and embracing future innovations, you can fully unlock their potential. Whether you’re seeking affordability, craftsmanship, or symbolism, these tools offer endless possibilities—one step closer to hassle-free maintenance!
Conclusion: Embracing the Versatility of Wiper Arm Removal Tools
Level 1: Celebrating Innovation and Reliability
Wiper arm removal tools embody the perfect blend of functionality and ingenuity, offering endless possibilities for efficient and safe automotive maintenance. Their ability to adapt to changing needs underscores their universal appeal.
- A Universal Solution:
Whether you’re a seasoned mechanic or a first-time car owner, wiper arm removal tools cater to diverse skill levels and requirements. Their versatility ensures they remain relevant across generations and industries. - Inspiring Future Innovations:
As technology advances and consumer demands evolve, wiper arm removal tools will continue to inspire creativity. Smart integrations, sustainable practices, and inclusive designs promise exciting developments in the years to come.
Level 2: Looking Ahead – Trends Shaping the Industry
With ongoing advancements in sustainability, inclusivity, and technology, the future of wiper arm removal tools holds immense potential for growth and reinvention.
- Eco-Friendly Initiatives:
Manufacturers are increasingly prioritizing eco-conscious practices, such as using recyclable materials, reducing packaging waste, and promoting longevity through durable designs. These efforts resonate with environmentally aware consumers seeking guilt-free purchases. - Tech-Enhanced Features:
Imagine smart wiper arm removal tools equipped with sensors that detect alignment issues or provide real-time feedback during operation. Such innovations would redefine how users interact with their tools, blending functionality with cutting-edge technology.