Choosing Your Can: Efficient Irrigation with 5-Gallon Watering Can
Benefits of Using a 5-Gallon Watering Can
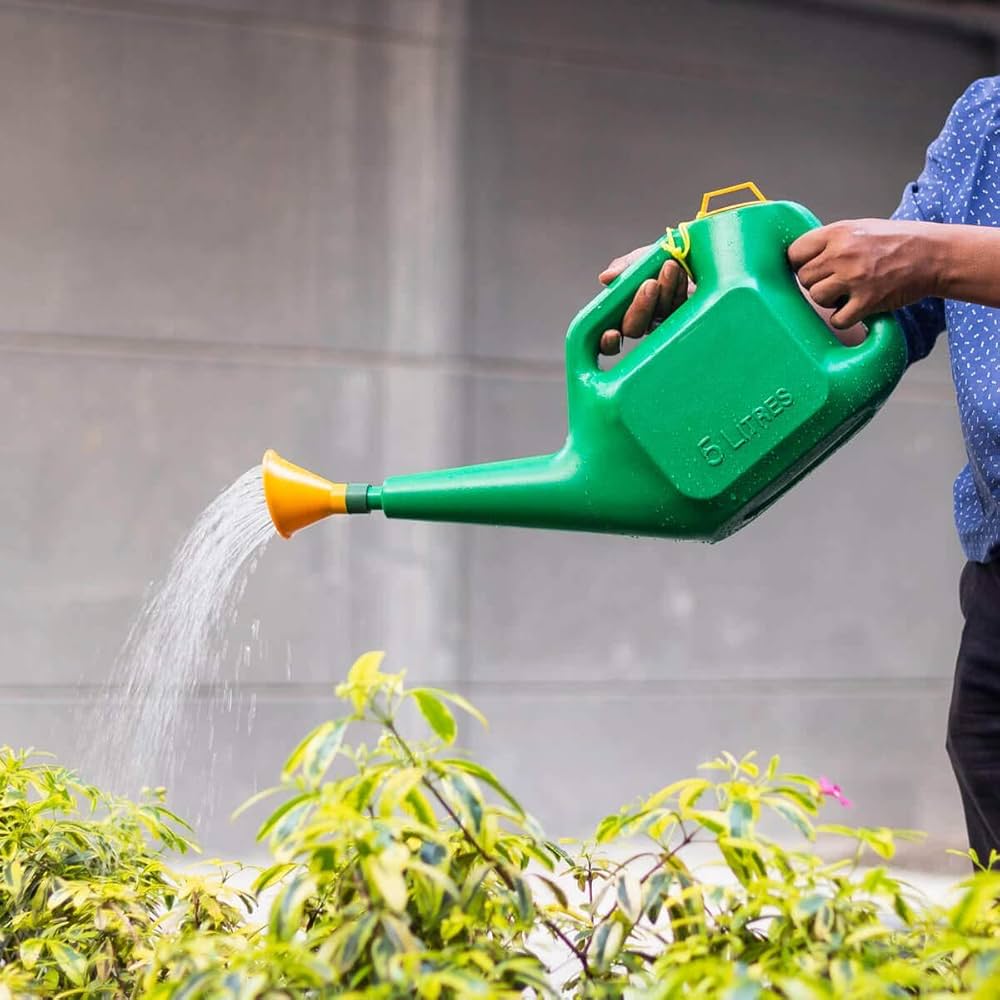
Using a 5-gallon watering can has many benefits for gardeners. Its large capacity cuts down on the need for frequent refills. This means more water for your plants in less time. You can water more thoroughly without the back and forth to a water source. It’s great for deep watering practices which encourage stronger root growth. This size also allows for the addition of liquid fertilizers, making feeding and watering a one-step process.
The easy-to-fill design of most 5-gallon watering cans save time and effort. They often come with sturdy handles. These help you carry a full can with ease. Some models have a sprinkle nozzle. This feature makes it simple to deliver a gentle shower to delicate plants. A single can serves both large garden areas and potted plants with efficiency.
In addition, the robust build of a 5-gallon watering can makes it a lasting tool. It stands up to tough outdoor conditions. With proper care, it could be a part of your gardening routine for years. Plus, using such cans means fewer plastic bottles and jugs in the environment. It’s a win both for you and the planet. Remember to look for these perks when choosing your own 5-gallon watering can.
Selecting the Right 5-Gallon Watering Can
Selecting the ideal 5-gallon watering can is crucial for your garden’s needs. First, think about material. Look for durable plastics or metals that resist rust and damage. They last longer and keep looking good. Some gardeners prefer metal for sturdiness, while others opt for plastic due to its lighter weight.
Next is the design. Choose cans with two handles if you need better control when pouring. For areas hard to reach, consider a can with a longer spout. Also look for a wide opening at the top. This makes filling and adding fertilizers easier.
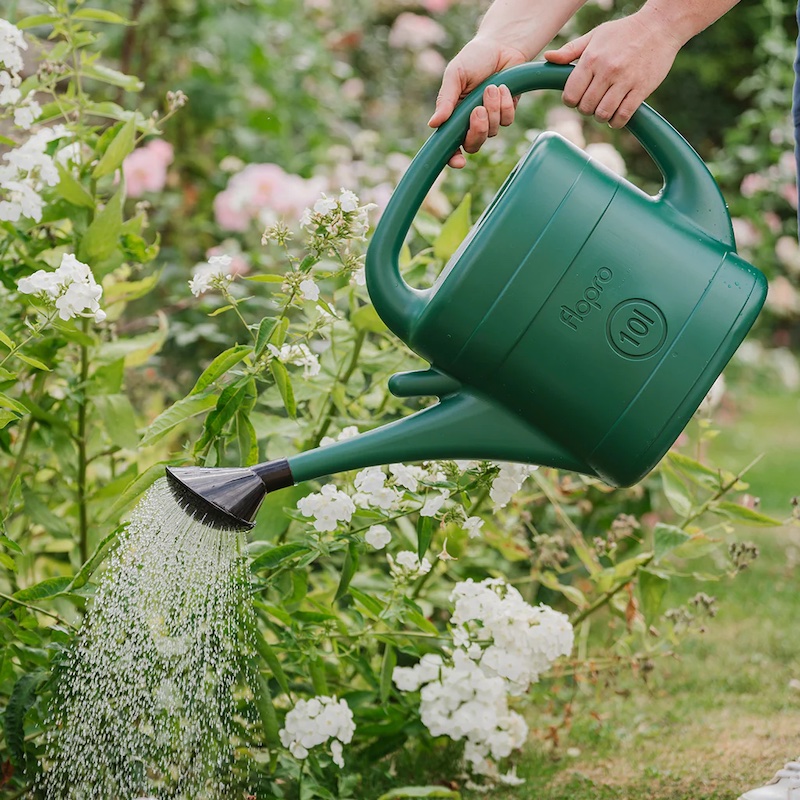
Consider the nozzle type. A removable rose or sprinkle nozzle benefits various watering tasks. Some plants need a softer sprinkle, others require a steady stream. Check if the nozzle suits your garden’s needs.
Finally, look for a can with measurement markings. They help you monitor water usage and mix fertilizers accurately. A well-chosen 5-gallon watering can saves time, eases your effort in caring for plants, and improves your garden’s health.
How to Use a 5-Gallon Watering Can Effectively
To maximize the benefits of a 5-gallon watering can, follow these practical tips.
Know Your Plants’ Needs
Different plants have unique watering needs. Check how much water your plants need. Adjust how often and how much you water accordingly.
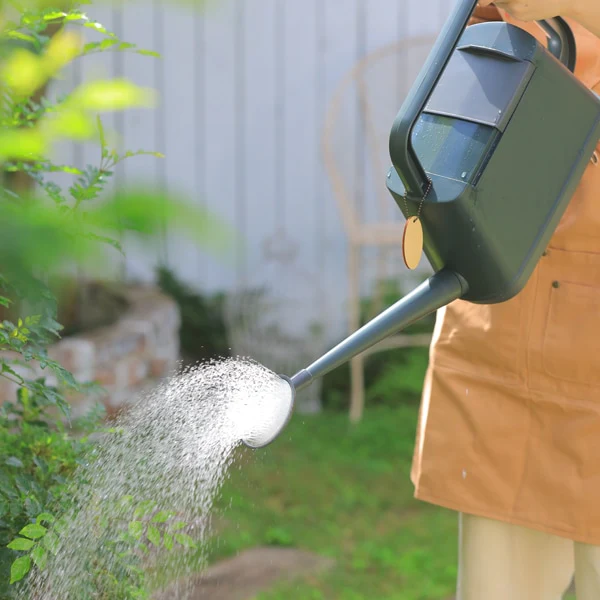
Use a Steady Pour
A steady pour ensures even distribution. It helps avoid soil erosion or seed displacement. Aim for a gentle flow to mimic natural rainfall.
Water at the Right Time of Day
Water plants early in the morning or late in the afternoon. This reduces water evaporation. It allows plants to absorb moisture more effectively.
Incorporate Water-Soluble Fertilizers
Mix water-soluble fertilizers in your 5-gallon watering can. This feeds plants while you water. Be sure to follow the instructions on the fertilizer package.
Keep an Eye on the Weather
Skip watering if rain is in the forecast. Nature can do the work for you. This saves on your water bill and conserves resources.
Practice Deep Watering
For deep-rooted plants, practice deep watering. Fill the can and pour slowly at the base of the plant. This encourages roots to grow deeper and stronger.
These tips ensure that you use your 5-gallon watering can to its fullest potential, promoting the health and growth of your garden while conserving water.
Water Conservation Tips with 5-Gallon Watering Cans
Conserving water is crucial when using a 5-gallon watering can for your garden. Heed these tips to make every drop count:
- Collect Rainwater: Use rain barrels to collect rainwater. Then, fill your 5-gallon watering can with this free resource. It slashes your water bill and is great for plants.
- Mulch Your Soil: Apply mulch around plants. It keeps moisture in the soil longer, so you water less often.
- Check for Leaks: Inspect your can for any leaks. A leaky watering can wastes water and is less efficient.
- Water the Base, Not the Leaves: Water at the base of the plant where the roots are. Wet leaves waste water and may cause disease.
- Use the Right Amount: Don’t overfill your can. Use only what you need for your current watering session.
- Water-saving Attachments: Consider a nozzle with water-saving features. This helps control the flow of water from your can.
Follow these tips to complement the efficient use of a 5-gallon watering can. They help conserve water, save money, and drive eco-friendly gardening practices. These small steps can make a big difference in maintaining a healthy and sustainable garden.
Different Types of 5-Gallon Watering Cans
When shopping for a 5-gallon watering can, you will find various types available. Each type caters to different gardening needs and preferences. Here are some common types you might encounter:
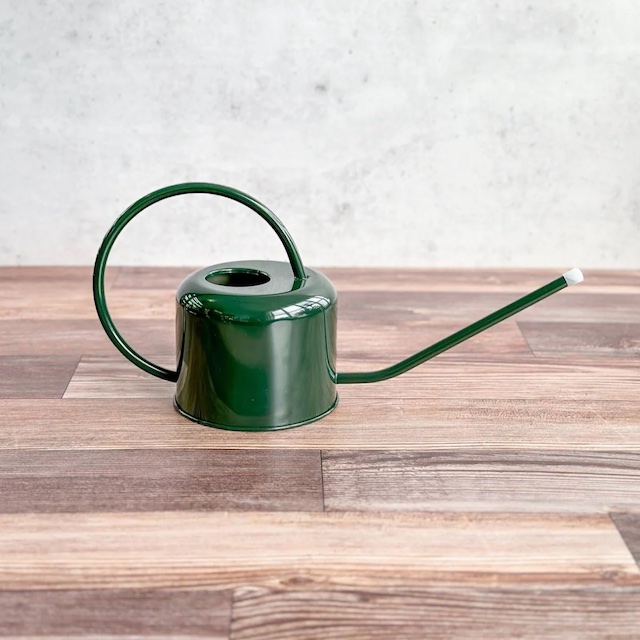
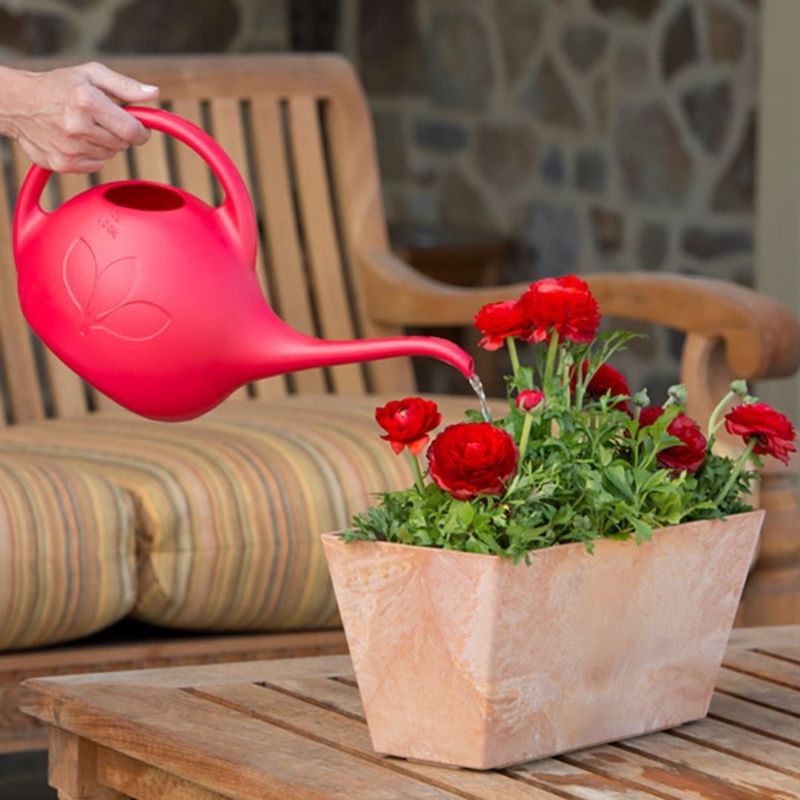
- Plastic Watering Cans: Lightweight and durable, plastic cans resist rust and weather damage. They come in many colors and often cost less than other materials.
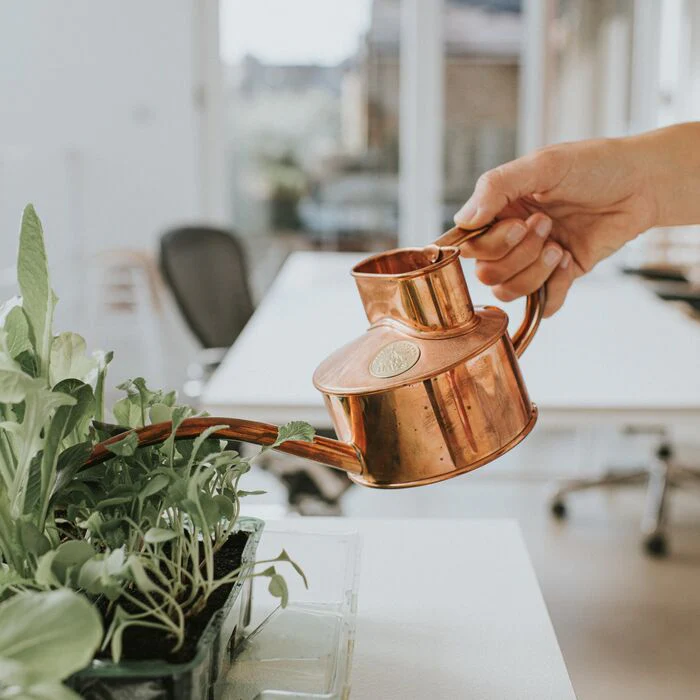
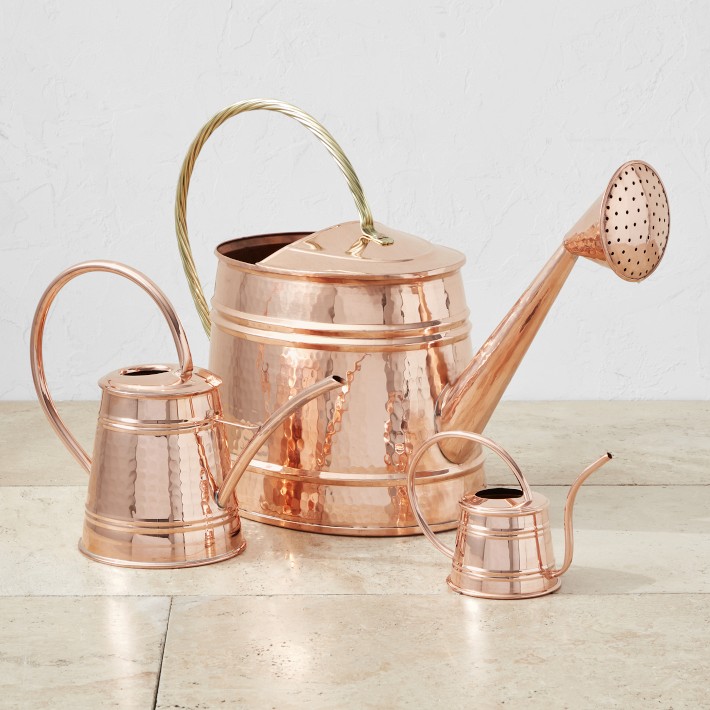
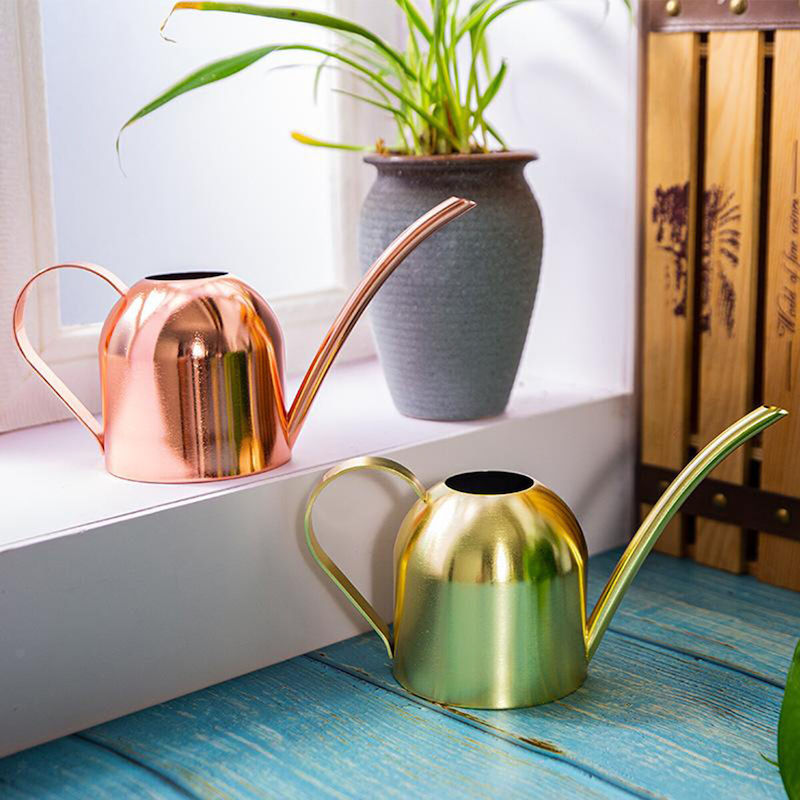
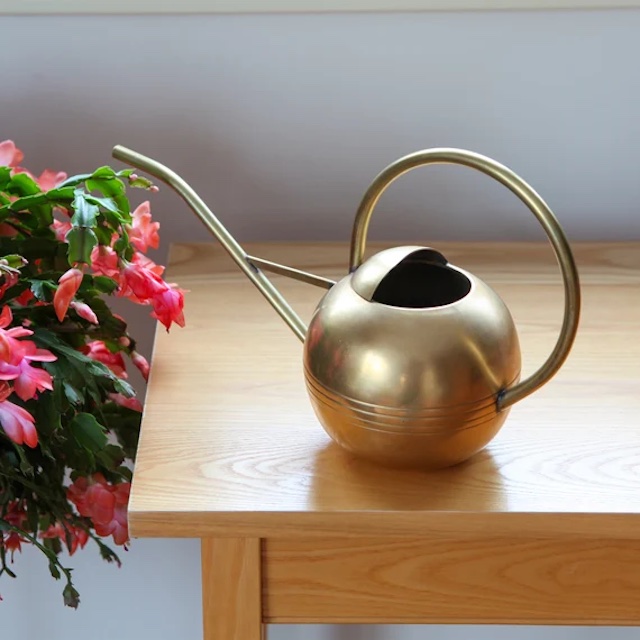
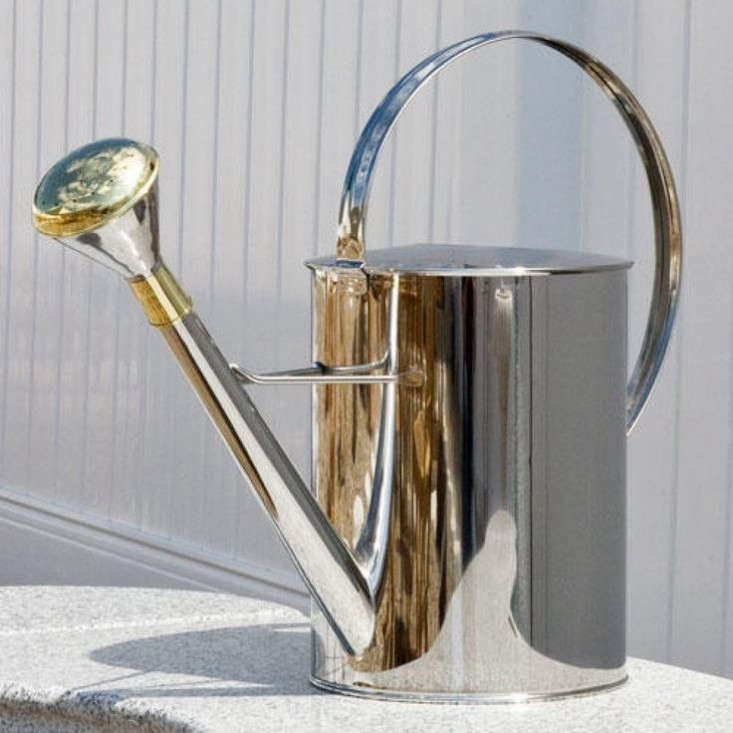
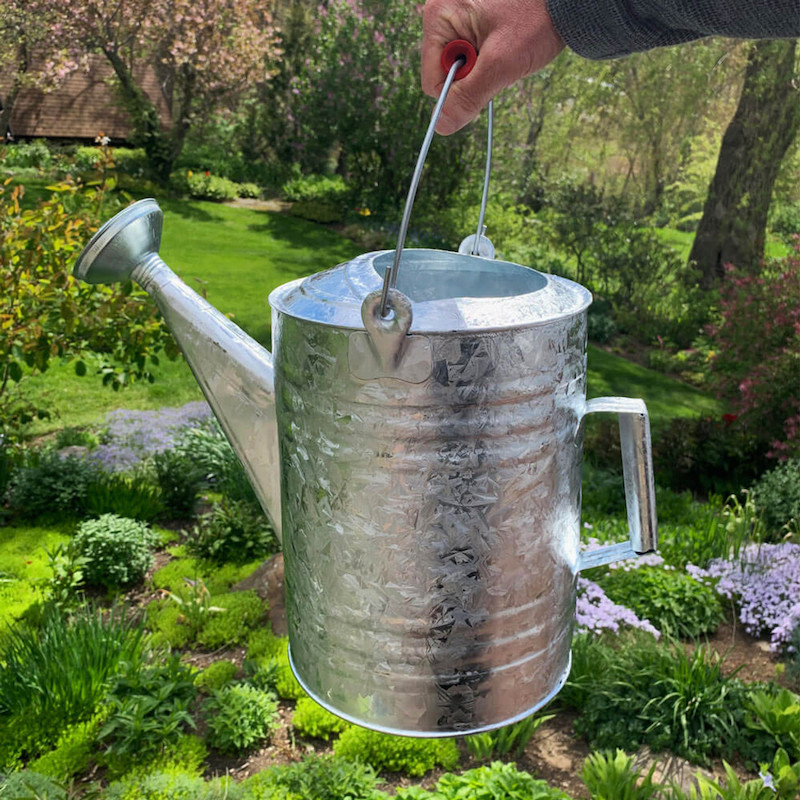
- Metal Watering Cans: These are heavier but very sturdy. They usually last longer and have a classic look. Be sure to choose a rust-resistant metal.
- Galvanized Steel Cans: A specific type of metal can, galvanized steel resists rust well. They often feature a traditional design and are quite robust.
- Collapsible Watering Cans: Designed for easy storage, collapsible cans fold down when not in use. They are usually made of flexible materials like silicone.
- Recycled Watering Cans: Eco-friendly options made from recycled materials. These cans help reduce waste and support sustainable practices.
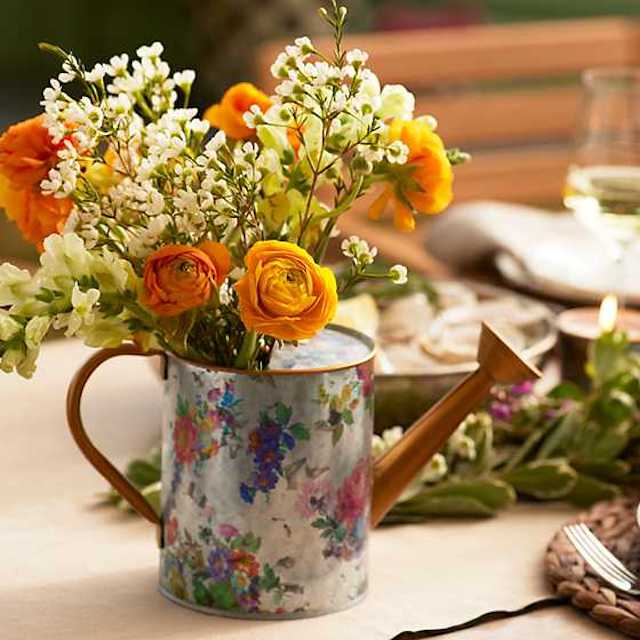
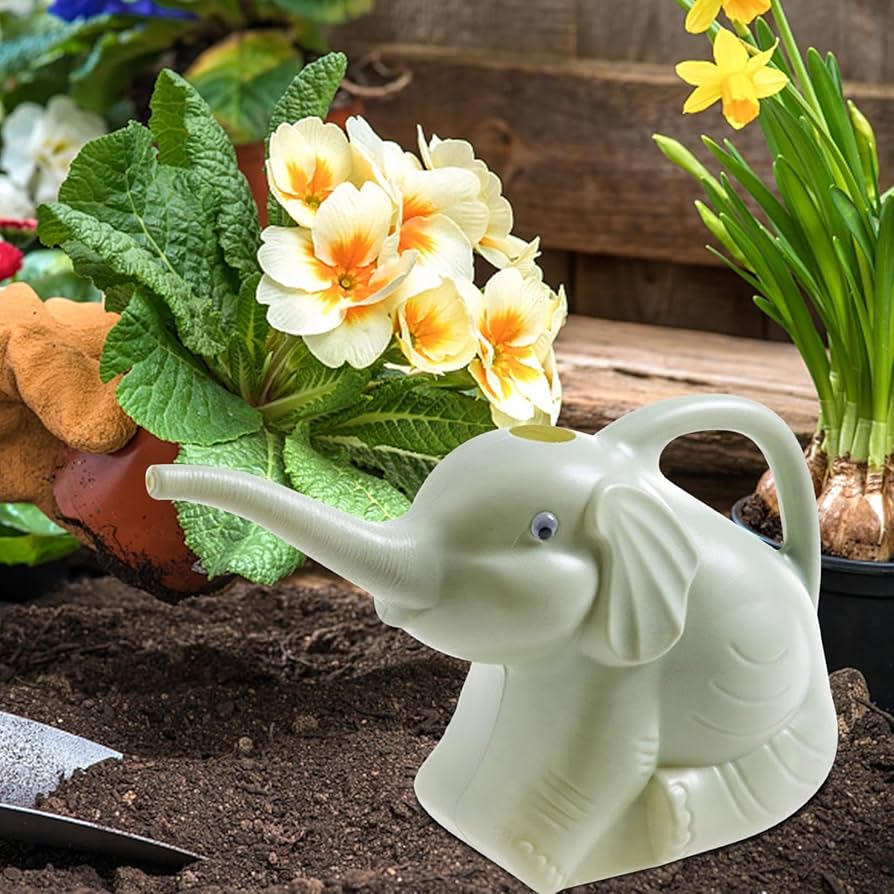
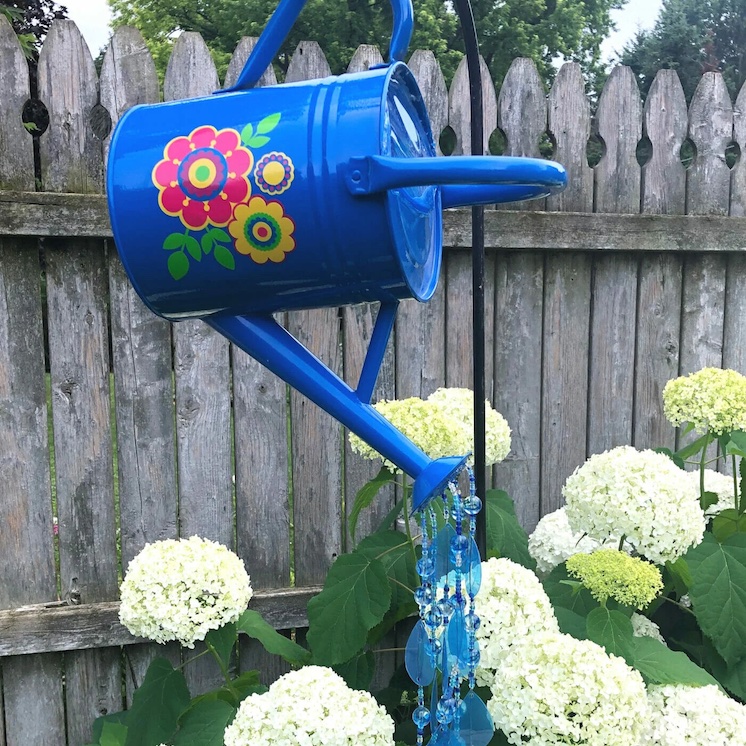
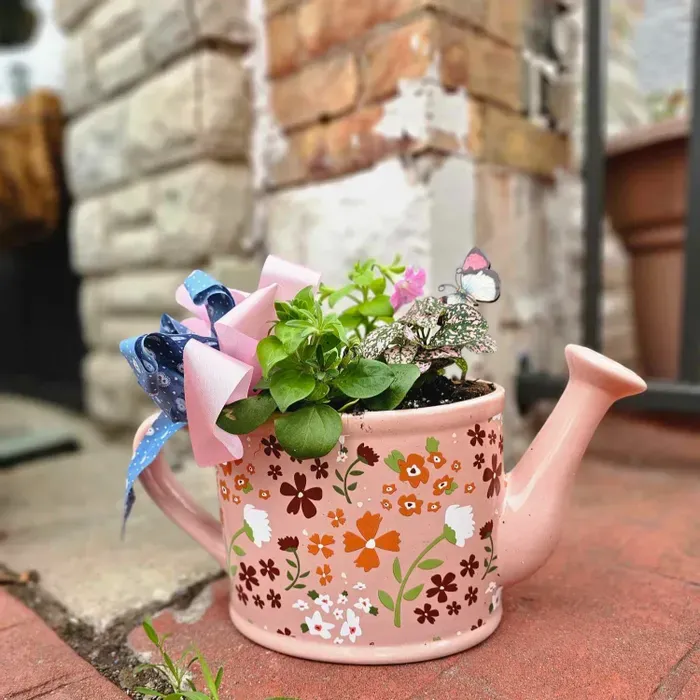
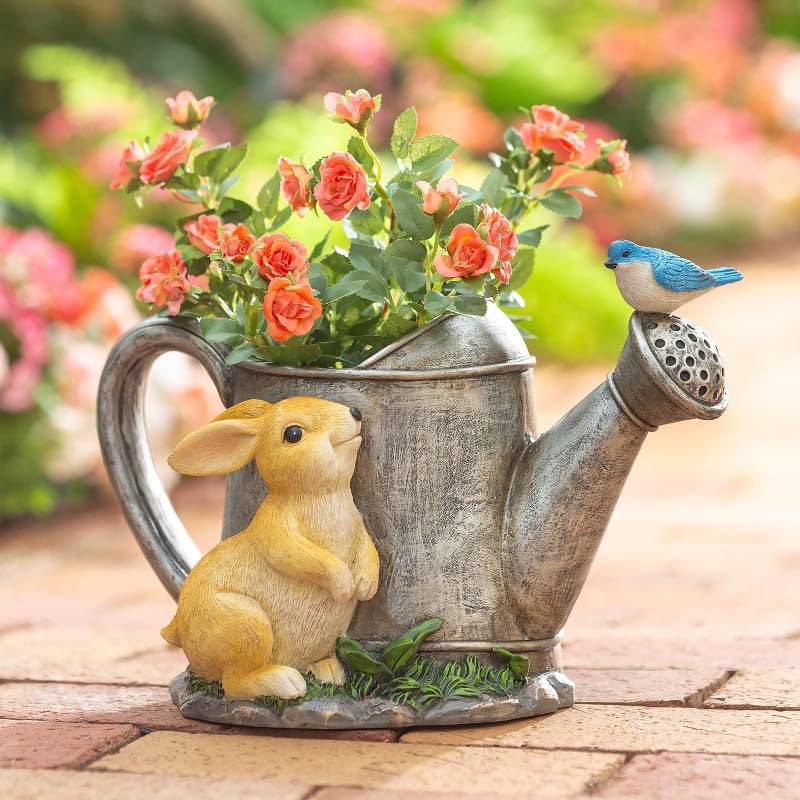
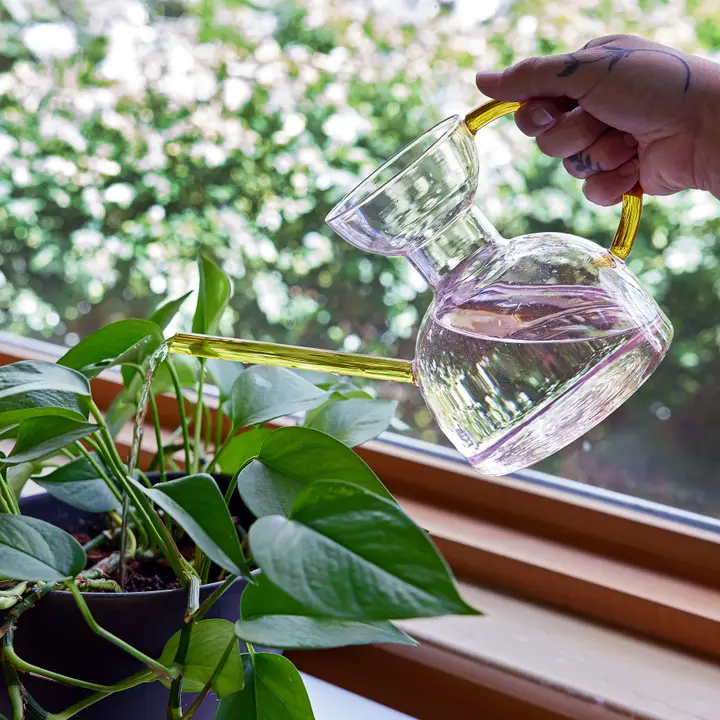
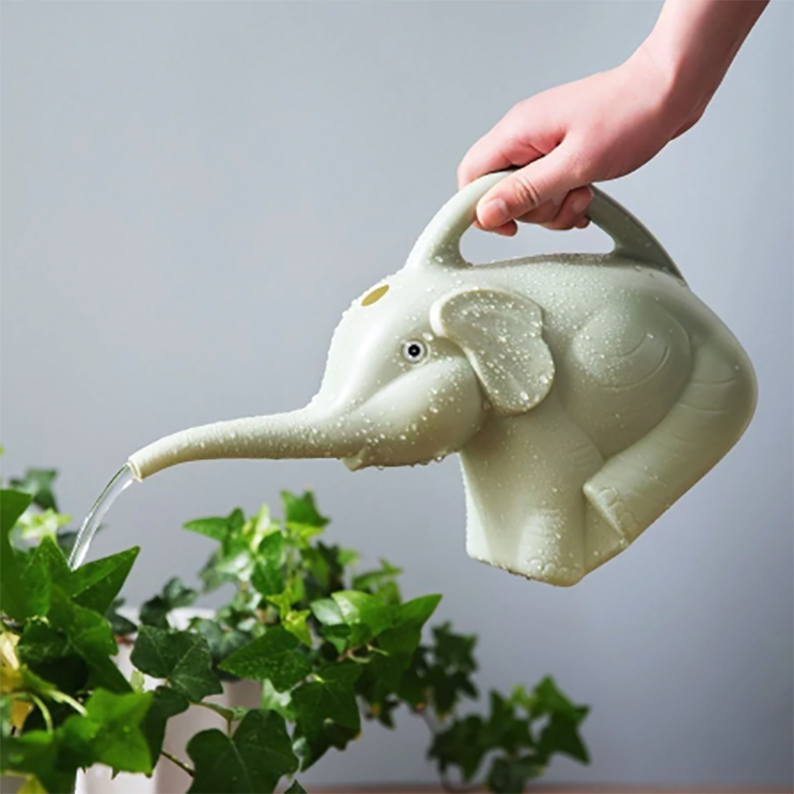
- Decorative Watering Cans: Some cans boast decorative designs. They can serve as garden ornaments as well as practical tools.
Choosing the right 5-gallon watering can depends on your specific garden layout, the plants you nurture, and your personal handling preference. Keep these options in mind to find the perfect match for your gardening activities.
Maintaining Your 5-Gallon Watering Can
A well-maintained 5-gallon watering can offer years of service in your garden. Here are some key maintenance tips to keep it in top condition:
- Rinse After Use: Always rinse out your watering can after use. This prevents residue build-up from fertilizers or sediment.
- Store Properly: Empty your can before storing it. Turn it upside down to drain any remaining water. This stops water from freezing and cracking the can in colder climates.
- Regular Checks: Inspect your can for any signs of damage, such as dents or holes. Small damages can turn into bigger issues if not addressed immediately.
- Handle with Care: Be gentle with your watering can. Dropping it or mishandling it can lead to punctures or other damage that could affect its efficiency.
- Clean the Nozzle: If your can has a rose or sprinkle nozzle, clean it regularly. This keeps the watering flow smooth and unblocked.
- Avoid Sun Damage: If made of plastic, keep your watering can out of direct sunlight when not in use. UV rays can weaken the plastic over time.
By following these simple steps, your 5-gallon watering can will remain a reliable tool for your gardening tasks. Proper care ensures your can’s longevity and helps in your quest for an eco-friendly and efficient garden.
Adapting 5-Gallon Watering Cans for Various Plants
When you use a 5-gallon watering can, consider the different types of plants you have. Each plant may require a unique approach to watering. Here’s how you can adapt your watering technique to various plants using your 5-gallon can:
- Adjust Water Flow: Some plants prefer a gentle shower, while others need a steadier stream. Use nozzles with different settings to control the water flow.
- Watering Deep-rooted Plants: For these, fill your can and slowly water the base. This encourages deep root growth.
- Handling Seedlings: Be extra gentle. Use a fine spray to avoid disturbing the delicate seeds or roots.
- Succulents and Cacti: These need less water. Avoid overwatering by using just a portion of your can’s capacity.
- Container Plants: They often need more frequent watering. Check the soil moisture level before deciding how much water to give.
- Large Shrubs and Trees: Give these a full can of water. It ensures water reaches deep into the soil.
By tailoring your watering practices, you ensure each plant gets the care it needs. Your 5-gallon watering can is a versatile tool in your gardening arsenal. It helps you meet the diverse watering needs of your garden with precision and ease.
DIY 5-Gallon Watering Can Ideas
Creating your own 5-gallon watering can is both rewarding and practical. Here are some creative DIY ideas:
- Repurpose Old Containers: Find an old container and transform it into a watering can. Drill holes in the lid for a sprinkle effect.
- Add a Spout: Attach a spout to a sturdy 5-gallon bucket. Ensure it’s well-secured to avoid leaks.
- Decorate with Paint: Make your can unique. Use outdoor paints to design and personalize it.
- Construct Handles: For easier carrying, add handles from old garden tools or durable materials.
- Recycle Water Bottles: Small holes pierced in caps of large bottles can act like a nozzle.
- Install Measurement Marks: Use waterproof markers to add measurement lines inside your can.
- Make It Collapsible: Use a flexible material to create a can that folds when empty for easy storage.
These DIY watering can projects not only save money but also spark creativity in your gardening tasks. Remember to keep the keywords ‘5 gallon watering can’ in mind as you choose materials and build your custom can. Stay within water conservation practices and tailor your can to your garden’s specific needs for both efficiency and sustainability.