The Ultimate Guide to the Jack Tool: Everything You Need to Know
Introduction
Jack Tool is a renowned figure in the construction and home improvement industry, known for his expertise in power tools, hand tools, and DIY projects. With over 20 years of experience, Jack has gained a deep understanding of the tools and techniques required for various construction and repair tasks.
Having started his career as a construction worker, Jack quickly developed a passion for tools and equipment. He realized the importance of having high-quality tools that are durable, efficient, and safe to use. This passion led him to further his knowledge in the field and eventually establish himself as a trusted source of information and advice for both professionals and DIY enthusiasts.
Jack tools are a must-have in any toolkit, whether you are a professional mechanic or an everyday car owner. These versatile and powerful tools are designed to lift heavy objects, making them essential for vehicle maintenance, construction projects, and more. In this comprehensive guide, we will explore the different types of jack tools, their uses, maintenance tips, and safety precautions.
Part 1: Understanding the Different Types of Jack Tools
Jack is known for his hands-on approach and practical advice. His experience in using a wide range of tools allows him to provide valuable insights into their performance, durability, and value for money. He is also well-versed in the latest advancements in tool technology and always stays updated on new products entering the market.
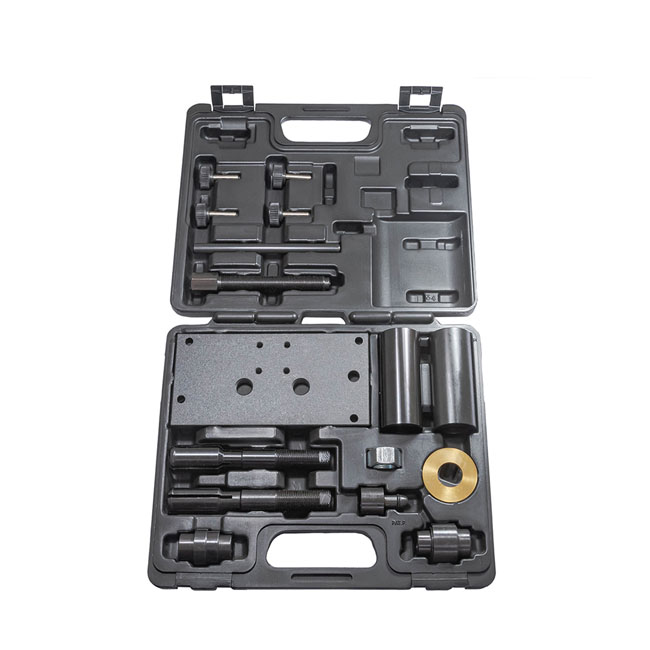
Level 1: Hydraulic Jacks
Hydraulic jacks are perhaps the most commonly used type of jack tool. They work by using a hydraulic liquid to create pressure and lift heavy objects. These jacks come in various designs, including bottle jacks, floor jacks, and toe jacks, each with its own unique features and weight capacities.
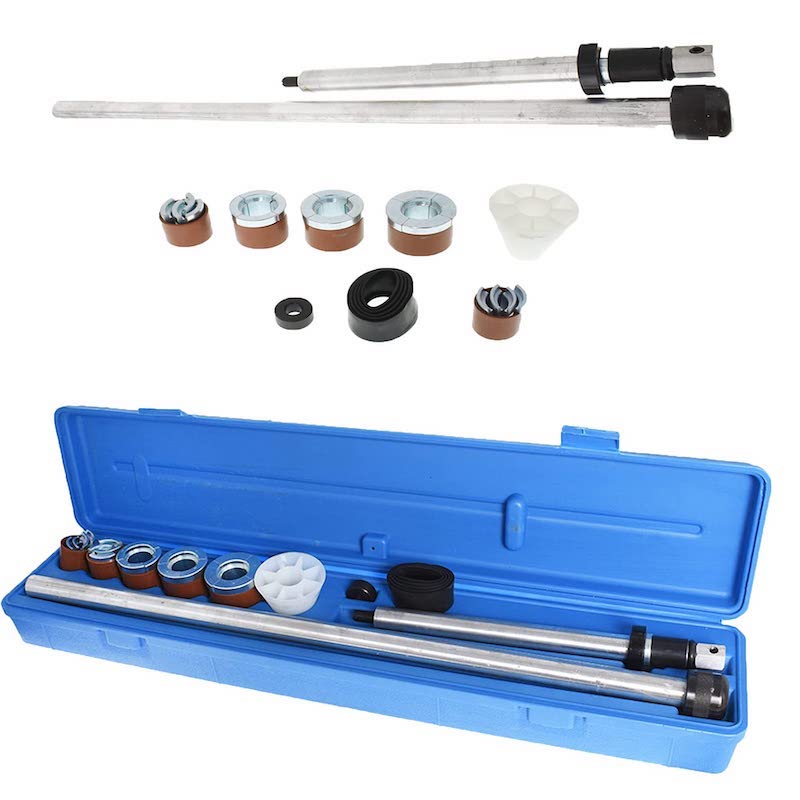
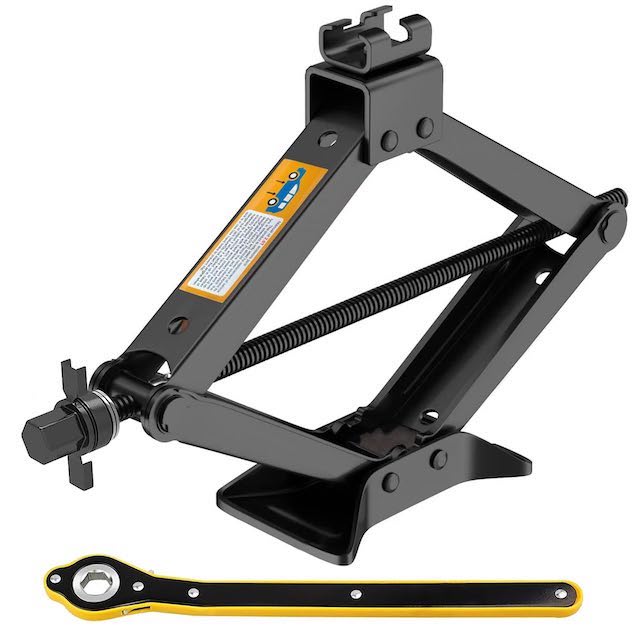
Level 2: Mechanical Jacks
Mechanical jacks rely on brute force to lift heavy objects, using a simple mechanism such as a screw thread or a lever. These jacks are often used in emergency situations, such as changing a tire on the side of the road.
Part 2: Common Uses of Jack Tools
Jack Tool is a renowned figure in the construction and home improvement industry, known for his expertise in power tools, hand tools, and DIY projects. With over 20 years of experience, Jack has gained a deep understanding of the tools and techniques required for various construction and repair tasks.
Having started his career as a construction worker, Jack quickly developed a passion for tools and equipment. He realized the importance of having high-quality tools that are durable, efficient, and safe to use. This passion led him to further his knowledge in the field and eventually establish himself as a trusted source of information and advice for both professionals and DIY enthusiasts.
Level 1: Vehicle Maintenance
One of the most common uses of jack tools is for vehicle maintenance, such as lifting cars or trucks to change tires, check brakes, or access the underside of the vehicle for repairs.
Level 2: Construction and Industrial Applications
In the construction and industrial sectors, jack tools can lift and support heavy loads, such as heavy machinery, structural components, and more. These tools play a crucial role in ensuring safety and efficiency on construction sites.

Part 3: Maintenance Tips for Jack Tools
Level 1: Regular Inspections
It is essential to regularly inspect your jack tools for any signs of wear and tear, such as leaks, cracks, or damaged parts. This will help ensure that your jack tools remain in good working condition and prevent accidents.
Level 2: Lubrication
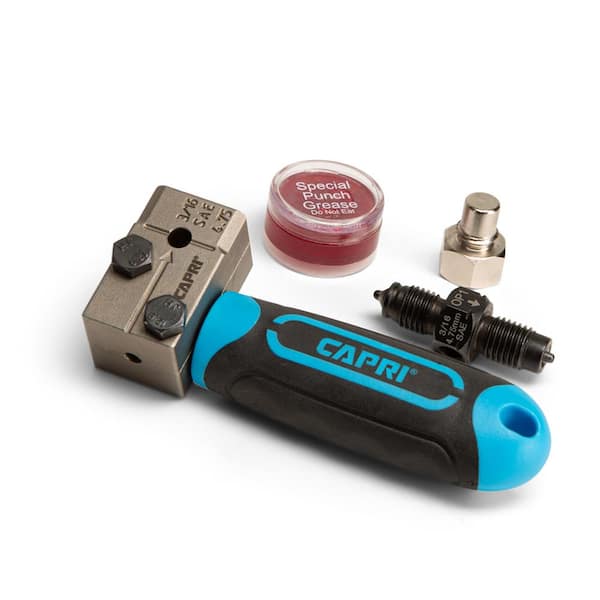
Proper lubrication of the moving parts of your jack tools is essential for smooth operation and longevity. Be sure to use the recommended lubricants and follow the manufacturer’s guidelines for maintenance.
Part 4: Safety Precautions When Using Jack Tools
Level 1: Weight Capacity
Always make sure to use a jack tool that is rated for the weight of the object you are lifting. Exceeding the weight capacity of the jack can lead to failure and potential injury.
Level 2: Stability
Ensure that the surface on which you place the jack tool is stable and level. Use additional support, such as jack stands, when working under a lifted object to prevent it from falling.
Part 5: Choosing the Right Jack Tool for Your Needs
Level 1: Consider Your Requirements
When selecting a jack tool, consider the weight of the objects you will be lifting, the available space for storage, and the frequency of use. These factors will help you determine the most suitable type and size of jack tool for your needs.
Level 2: Quality and Reliability
Invest in high-quality jack tools from reputable manufacturers to ensure safety and durability. Consider factors such as the materials used, weight capacity, and customer reviews when making your purchase.

Part 6: Jack Tool’s reputation for quality and durability
Jack Tool in the industry for providing high-quality, durable tools that stand the test of time. For their reliability and performance, their products are making them a top choice for professionals and DIY enthusiasts alike.
Part 7: Jack Tool’s commitment to innovation and design
Jack Tool is staying ahead of the curve when it comes to innovation and design. They continually invest in research and development to ensure that their products incorporate the latest technology and advancements in tool design. This dedication to innovation sets them apart in the industry and keeps them at the forefront of tool manufacturing.
Part 8: Jack Tool’s customer service and support
Not only does Jack Tool offer a wide range of high-quality hand tools, but they also provide a guarantee of satisfaction with every purchase. This level of commitment to their customers’ satisfaction sets them apart from other tool manufacturers and has helped them build a strong and loyal customer base.
Overall, Jack Tool is a company that can provide professional-grade tools. It can meet the highest standards of quality and durability. With a commitment to innovation, customer satisfaction, and strict manufacturing standards, they have established themselves as a leading name in the industry.
Jack Tool prides itself on providing exceptional customer service and support. They have a team of knowledgeable and friendly staff who are always ready to assist customers with any questions or concerns they may have. Whether it’s helping customers find the right tool for their needs or providing technical support, Jack Tool goes above and beyond to ensure customer satisfaction.

Conclusion
In addition to his expertise in tools, Jack is also skilled at various DIY projects. Jack has a wealth of knowledge in carrying out a wide range of tasks. His ability to explain complex procedures in a simple and understandable manner has made him a popular figure among DIY enthusiasts looking for guidance.
Jack also has a strong online presence, with a popular blog and social media channels where he shares his knowledge, reviews, and tips with his audience. His practical approach and honest opinions have earned him a loyal following of readers and viewers who trust his recommendations and advice.
Overall, Jack Tool is a respected figure in the construction and home improvement industry. Known for his extensive knowledge of tools and equipment and his practical expertise in various DIY projects. He continues to inspire and educate others with his passion for quality tools and craftsmanship.
Jack tools are indispensable for a wide range of lifting and support applications, from vehicle maintenance to construction projects. By understanding the different types of jack tools, their uses, maintenance tips, and safety precautions. You can confidently choose the right jack tool for your needs and use it safely and effectively. Remember to prioritize safety at all times and perform regular maintenance to keep your jack tools in top condition.