Understanding the Swedge Tool: Everything You Need to Know
Introduction:
The swedge tool is a versatile and essential tool in the world of metalworking and blacksmithing. It is used to form a taper or bend in metal and is a vital part of creating various metal components such as leaf springs, blades, and other metal objects. In this comprehensive guide, we will delve into the intricacies of the swedge tool, its uses, types, and how it plays a significant role in metalworking.
Part 1: Understanding the Swedge Tool
Level 1: What is a swedge tool?
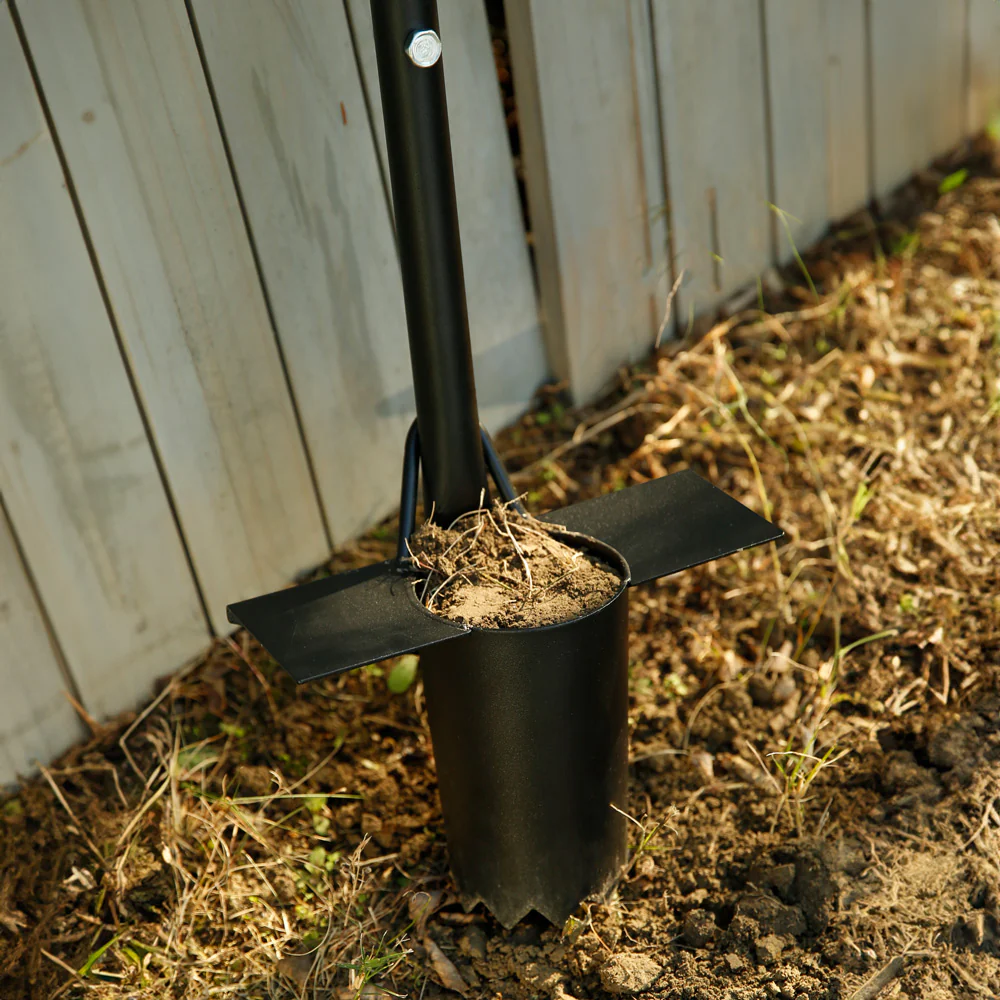
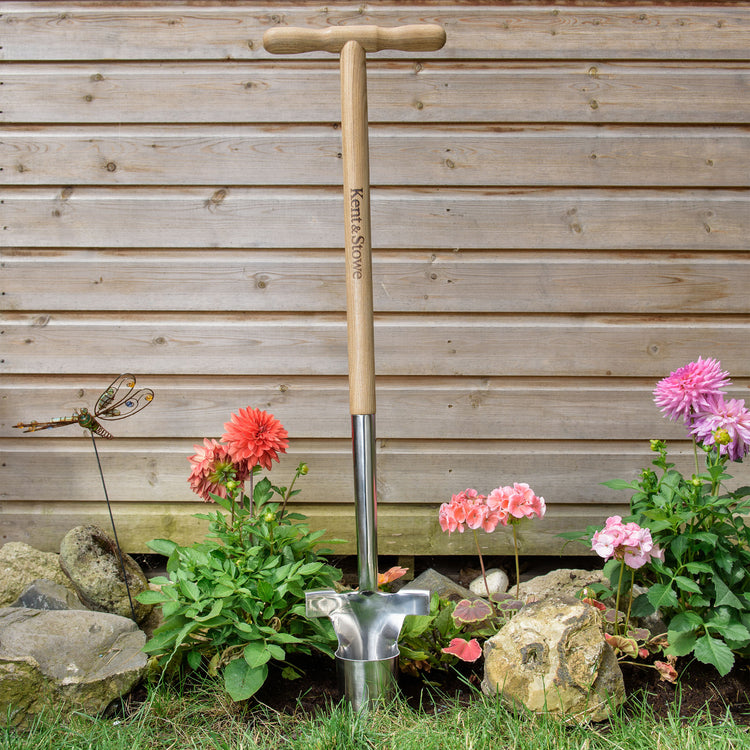
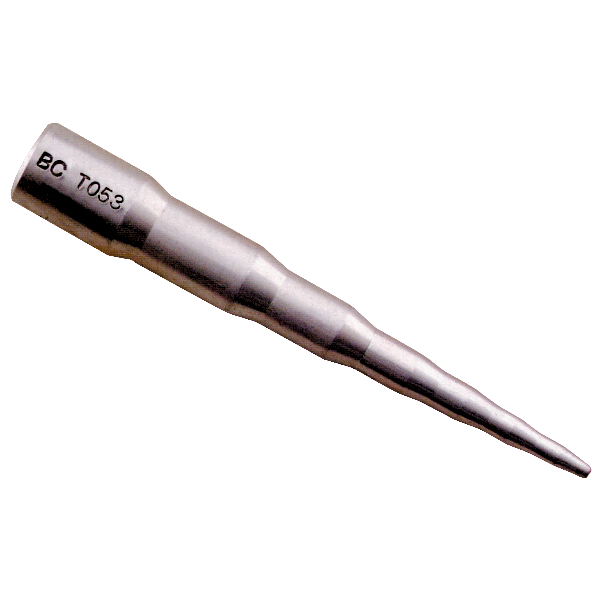
A swedge tool, also known as a swage block or swage tool, is a tool used in metalworking to form, shape, or bend metal. It typically consists of a block of steel with various concave and convex shapes, which are used to shape the metal.
Level 2: The history and evolution of swedge tool
The use of swedge tools dates back to ancient times, where blacksmiths would use hammers and anvils to bend and shape metal. Over the years, swedge tools have evolved into more specialized and efficient tools. With different shapes and sizes to accommodate various metalworking needs.
Part 2: Types of Swedge Tools
Level 1: Different types of swedge tools
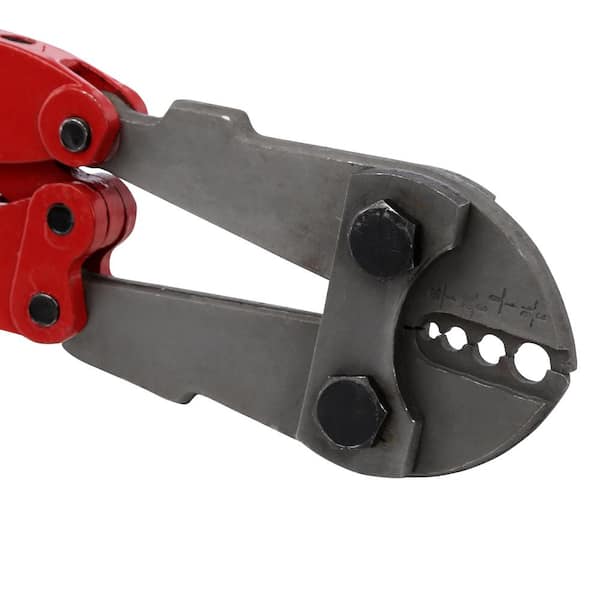
Swedge tools come in various forms, including handheld tools, swage blocks, and swage dies.
Level 2: Uses and applications of different types of swedge tools
Handheld swedge tools are typically used for smaller metalworking tasks, such as creating decorative details on metal objects. Swage blocks are used for more significant metalworking projects, such as shaping blades, while swage dies are used in conjunction with a power hammer for precise shaping and forming of metal.
Part 3: The Uses of Swedge Tool
Level 1: Common uses of swedge tools
Swedge tools are used in a wide range of metalworking tasks, including creating tapers, forming bends, and shaping metal to create precise and intricate designs.
Level 2: Unique applications of swedge tools
Aside from traditional metalworking tasks, swedge tools are also used in other industries such as jewelry making, where they are used to shape and form metal for the creation of intricate jewelry pieces.
Part 4: How to Use a Swedge Tool
Level 1: Basic steps in using a swedge tool
Using a swedge tool involves securely clamping the metal in place and then using a hammer or power hammer to shape the metal against the swedge block or die.
Level 2: Advanced techniques and tips for using a swedge tool
Advanced users may employ different techniques such as hot forging and cold forging when using a swedge tool. These techniques require a deeper understanding of metal properties and advanced metalworking skills.
Part 5: Maintaining and Caring for Swedge Tools
Level 1: Proper maintenance of swedge tools
Regularly cleaning and oiling swedge tools is essential to prevent rust and maintain their effectiveness.
Level 2: Extending the lifespan of swedge tools
By using the swedge tools correctly and storing them in a dry and secure place, their lifespan can be extended, saving time and money in the long run.
Part 6: Benefits of Using a Swedge Tool
Swedge tools offer various benefits for metalworking and blacksmithing tasks. One of the primary advantages of using a swedge tool is its versatility. It can be used for a wide range of operations, including shaping, forming, and bending metal. This makes it a valuable tool for creating intricate designs and patterns in metalwork.
Additionally, the swedge tool allows for precise and accurate results, thanks to its sharp and well-defined edges. This makes it easier to create clean and uniform bends and shapes in the metal. The tool also provides excellent control, allowing the user to manipulate the metal with ease and precision.
Furthermore, using a swedge tool can help speed up the metalworking process, as it allows for efficient shaping and forming of the metal. This can be particularly beneficial in a production environment, where speed and efficiency are crucial. The tool’s ease of use and ability to produce consistent results also make it a valuable asset for both amateur and professional metalworkers.
In summary, the swedge tool offers several key benefits, including its versatility, precision, and efficiency. These qualities make it an indispensable tool for anyone working with metal, whether for artistic, industrial, or practical purposes.
Part 7: Types of Swedge Tools
There are several types of swedge tools available, each designed for specific metalworking tasks and applications. One common type is the round swedge, which is used for creating rounded shapes and contours in metal. This type of swedge tool is especially useful for forming decorative or functional elements in metalwork, such as handles, brackets, and ornamental details.
Another type of swedge tool is the flat swedge, which is designed for creating flat or straight bends in the metal. This type of tool is often used for forging and shaping metal bars, sheets, and plates, and is essential for creating straight edges, angles, and corners in metalwork.
Additionally, there are specialized swedge tools, such as the V-shaped swedge, which is designed for creating V-shaped bends in the metal. This type of tool is particularly useful for forming sharp angles and precise V-shaped grooves in metalwork.
Overall, the choice of swedge tool depends on the specific metalworking task at hand and the desired outcome. Metalworkers can achieve precise and high-quality results in their work.
Part 8: How to Maintain a Swedge Tool
Proper maintenance of swedge tools is essential for ensuring its longevity and performance. To keep a swedge tool in good condition, it is important to keep it clean and free of rust or corrosion. After each use, the tool should be wiped down with a clean, dry cloth to remove any dirt.
Additionally, regular oiling of swedge tools is recommended to prevent rust and corrosion. A light coating of oil applied to the tool’s surface will help protect it from moisture and other damaging elements. It is also important to store the swedge tool in a clean, dry place to prevent rust and damage.
Inspecting swedge toos regularly for any signs of wear, damage, or deformation is also crucial. If any issues are noticed, such as dull edges or cracks, the tool should be repaired or replaced as needed. Keeping the swedge tool in good condition will ensure that it continues to perform effectively and produce high-quality results in metalworking tasks.
Conclusion:
Swedge tools in the production of tool and die components, which are essential in the manufacturing industry for producing a wide range of products. Additionally, swedge tools play a crucial role in the fabrication of agricultural equipment, such as plows, harrows, and cultivators. The ability of swedge tools to form and shape metal with precision ensures the durability and reliability.
In summary, swedge tools have diverse applications in metalworking. They include the formation of aircraft components, automotive parts, architectural elements, industrial equipment, and agricultural implements. The versatility and precision of swedge tools make them indispensable in a wide range of metalworking applications. It is ensuring the production of high-quality components for various industries.
The swedge tool is a fundamental tool in the world of metalworking, with a rich history and versatile applications. Understanding the different types of swedge tools, their uses, and maintenance is crucial for anyone involved in metalworking. The swedge tool is an indispensable tool that will continue to play a vital role in shaping. And forming metal for years to come.