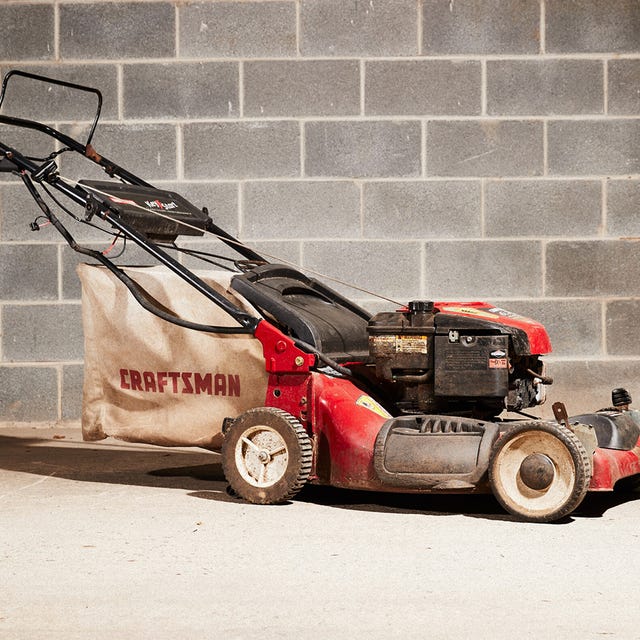
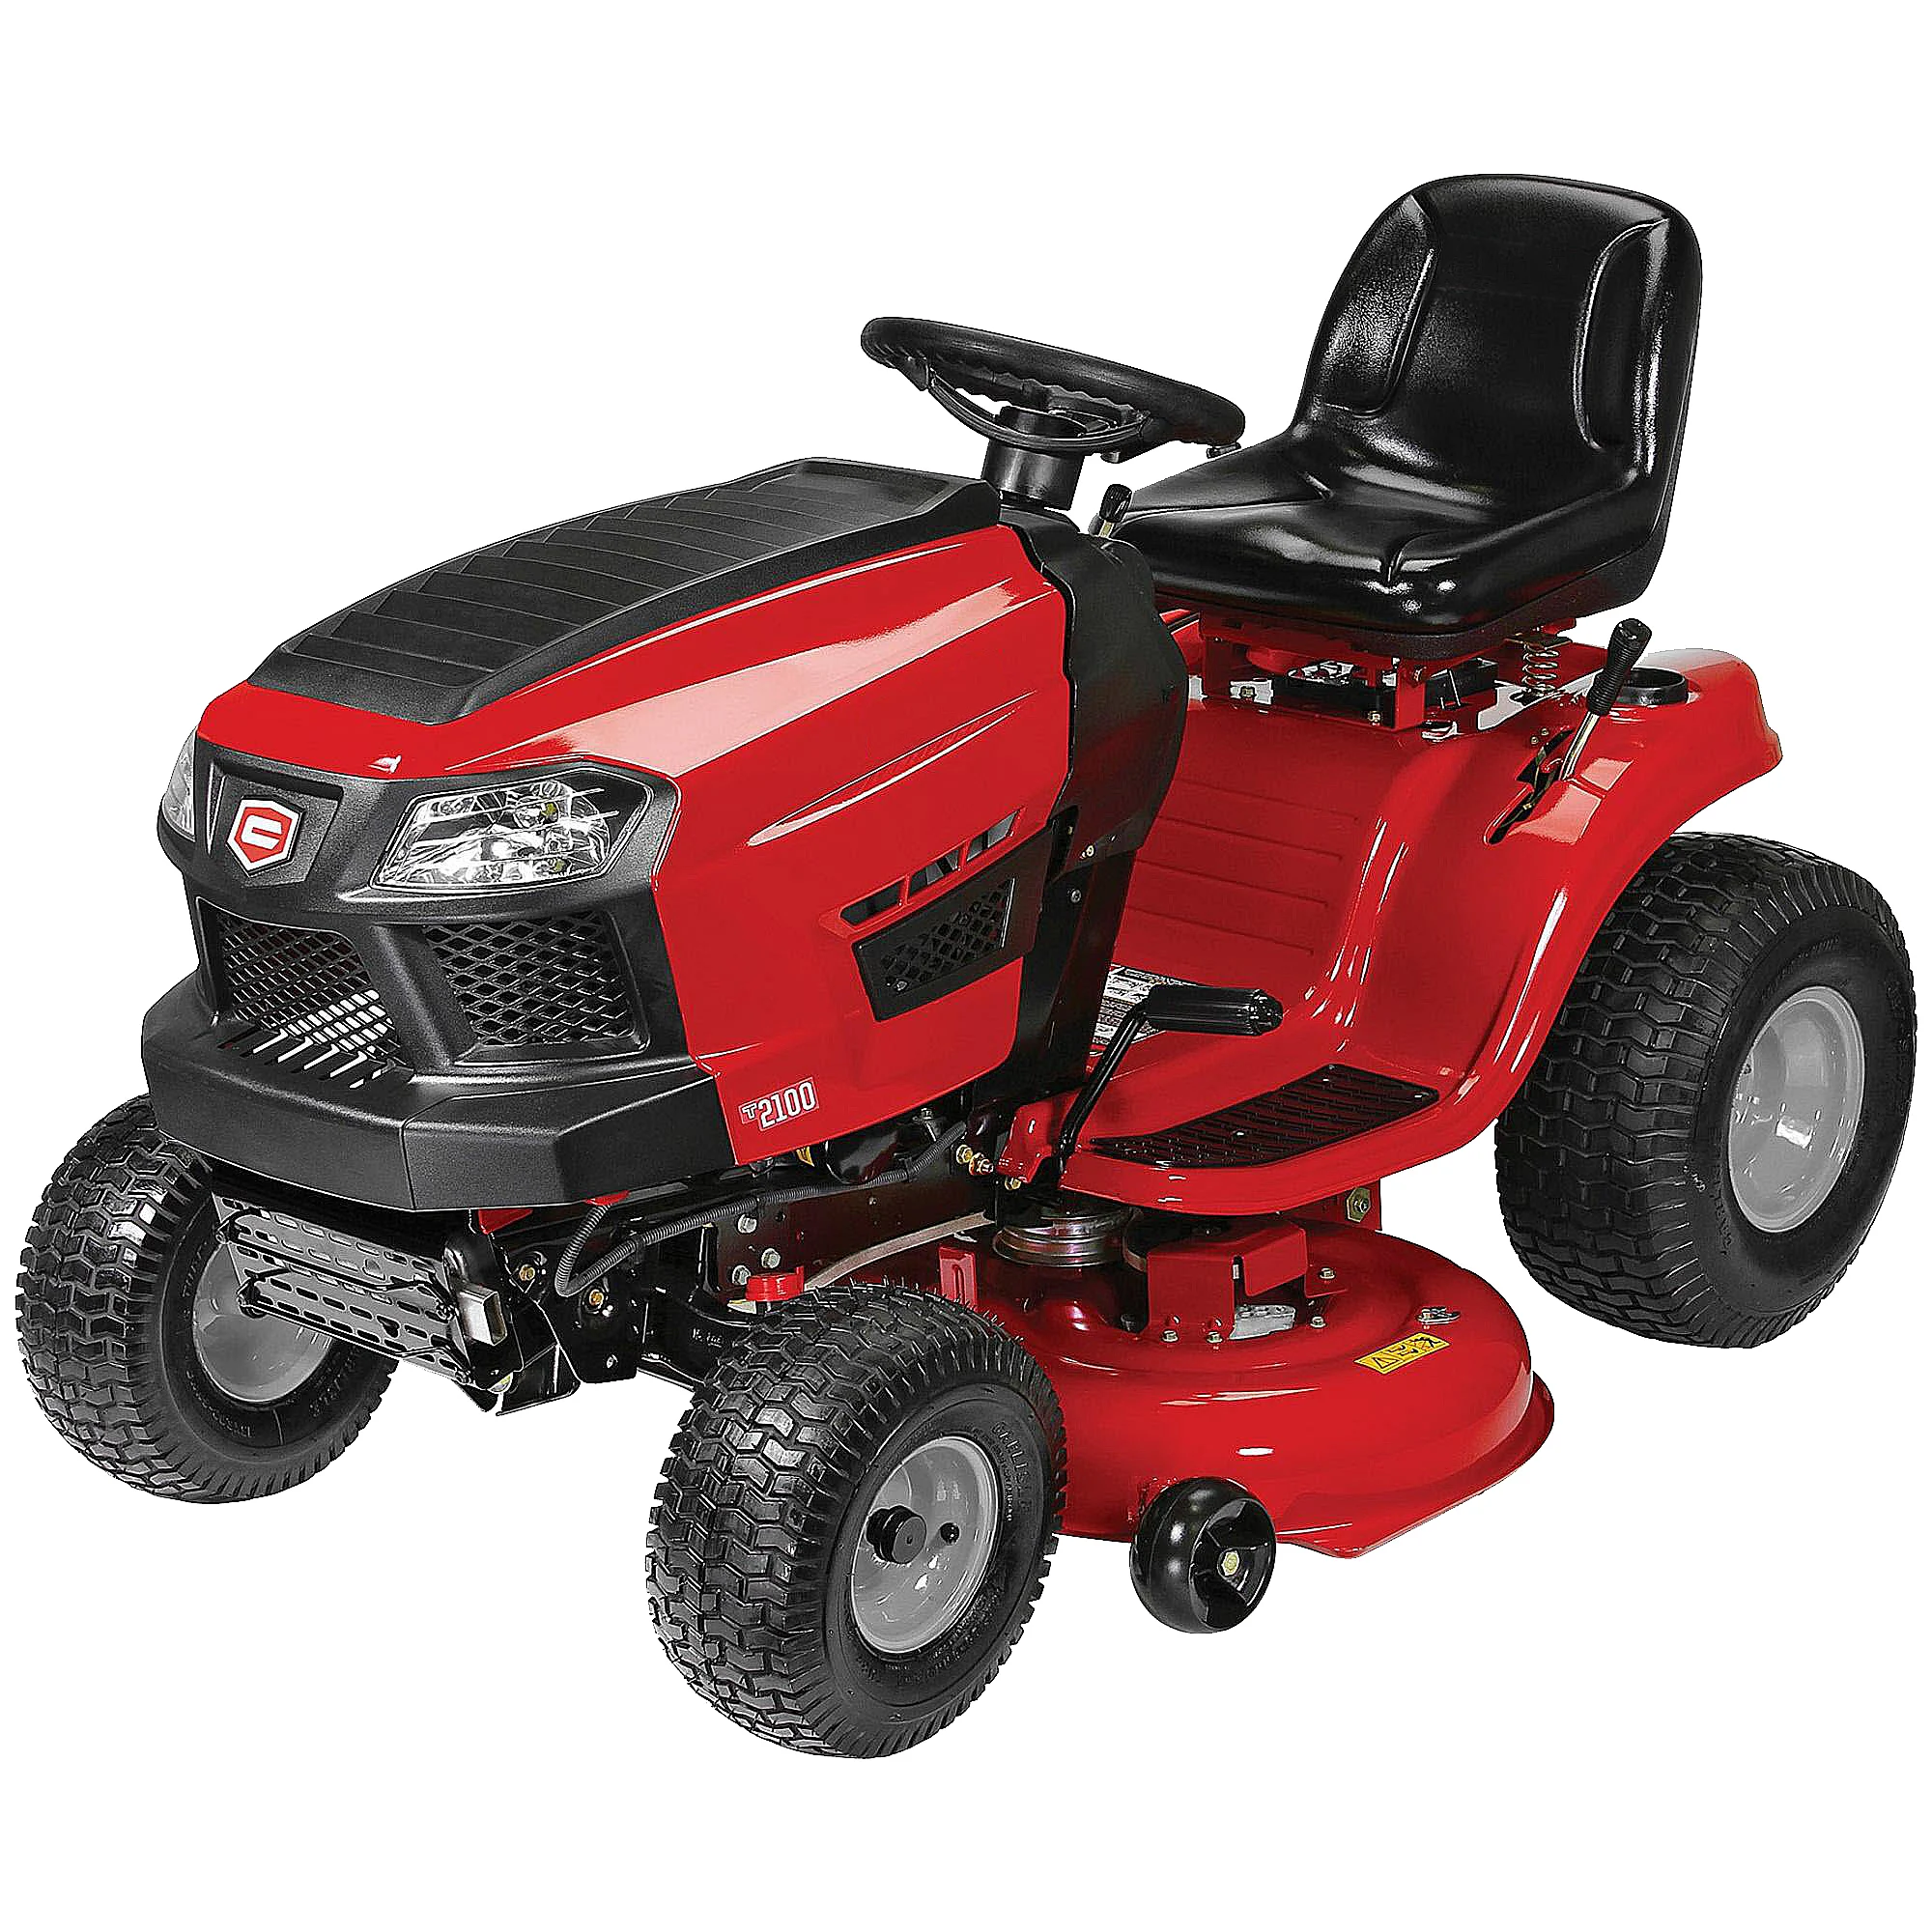
Troubleshooting Your Craftsman Lawn Mower Startup Issues
Common Reasons Why a Craftsman Lawn Mower Won’t Start
Craftsman lawn mower won’t start? Experiencing difficulties with a Craftsman lawn mower that won’t start can be frustrating. Here are several common reasons for this issue:
- Empty Fuel Tank: It might seem evident, but an empty tank is a frequent oversight. Always check if there’s adequate fuel in the tank.
- Stale Fuel: Fuel that has been sitting in the mower for an extended period (typically over 30 days) could become stale and clog the carburetor.
- Clogged Air Filter: A dirty air filter restricts air flow to the engine, impeding startup. Clean or replace the filter if necessary.
- Faulty Spark Plug: A dirty or damaged spark plug can prevent the engine from firing. Check, clean, and replace the spark plug if needed.
- Oil Level Issues: Too much or too little oil can affect the mower’s operation. Ensure the oil level is correct and the oil is not contaminated.
- Battery Problems: If your mower uses a battery, ensure it’s charged and functional. Replace the battery if it fails to hold a charge.
Identifying the specific issue can often be straightforward by checking these common areas. In the next sections, we’ll dive deeper into how you can diagnose and resolve these initial concerns to get your Craftsman lawn mower starting smoothly again.
Initial Steps to Diagnose Startup Problems
When your Craftsman lawn mower won’t start, it’s essential to approach troubleshooting methodically. Start by ensuring you are working in a safe environment; turn off the mower and ensure it’s on a flat, stable surface.
- Visual Inspection: Begin with a thorough visual inspection. Look for any obvious signs of damage or wear that might be affecting its functionality.
- Check the Operator’s Manual: Make sure to consult the mower’s manual. This can offer specific instructions based on the model which could be crucial for proper diagnosis.
- Gather Necessary Tools: Assemble a basic toolkit for the diagnosis. This should include screwdrivers, pliers, a spark plug wrench, and possibly a multimeter.
- Prepare for Note-Taking: Keep a notebook on hand to jot down observations. This can help track steps taken and streamline the troubleshooting process.
By following these initial steps, you can effectively set the stage for a more detailed examination of the possible reasons why your craftsman lawn mower won’t start.
Checking the Fuel System for Issues
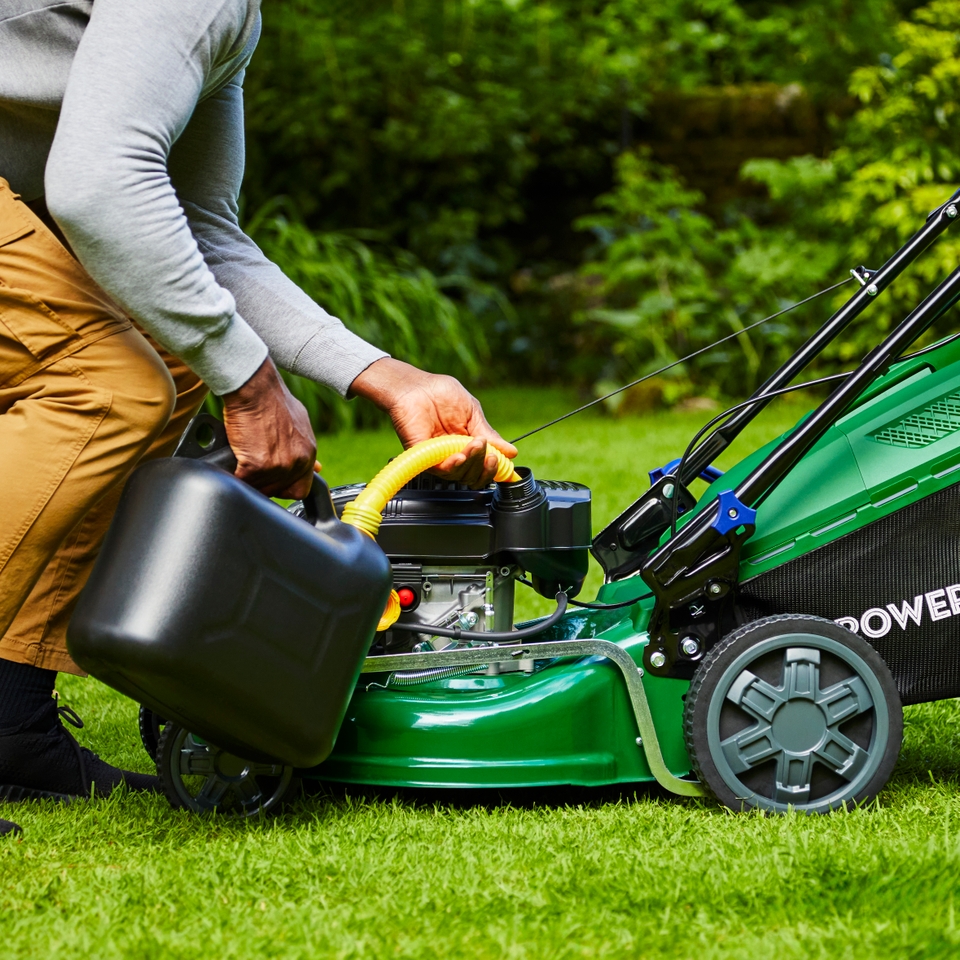
When a Craftsman lawn mower won’t start, checking the fuel system is a crucial step. Here’s how to identify and resolve fuel system issues:
- Inspect the Fuel Tank: Ensure the tank has fuel. If empty, fill it up with fresh gasoline.
- Evaluate Fuel Quality: Check for stale fuel. If the fuel is older than 30 days, consider replacing it with new fuel.
- Look for Leaks: Examine the fuel lines for cracks or leaks. Replace any damaged parts.
- Clean the Fuel Filter: A dirty fuel filter can obstruct the flow. Clean or replace it if necessary.
- Check the Fuel Cap: A clogged vent in the fuel cap can cause issues. Clean the vent or replace the cap.
- Examine the Carburetor: Stale fuel can cause the carburetor to clog. Clean the carburetor thoroughly.
By carefully following these checks, you can often resolve the issues preventing your Craftsman lawn mower from starting.
Inspecting the Ignition System for Faults
When tackling a Craftsman lawn mower that won’t start, the ignition system is key. Here’s a breakdown to check for faults:
- Spark Plug Examination: Remove and inspect the spark plug for wear or deposits. A bad spark plug can prevent ignition. Clean it with a wire brush or replace it if needed.
- Ignition Coil Testing: Use a multimeter to test the ignition coil. A malfunctioning coil could stop the spark. Refer to the mower’s manual for the appropriate resistance values. Replace the coil if it does not meet the specifications.
- Check Safety Features: Craftsman mowers have safety switches that can prevent starting. Ensure the mower’s safety features are not engaged inadvertently.
- Wiring Inspection: Look over the wiring for any disconnections, frays, or corrosion. Make secure connections and replace damaged wires.
- Testing the Kill Switch: The kill switch should halt the engine, but if faulty, it can also prevent a start. Check its function and replace if necessary.
By systematically checking each component in the ignition system, you raise the chances of pinpointing the exact cause plaguing your Craftsman lawn mower. Addressing ignition system faults is often a quick fix to get your mower up and running again.
Evaluating the Air Intake and Filter
A craftsman lawn mower that won’t start might have air intake or filter problems. Here’s how to assess them:
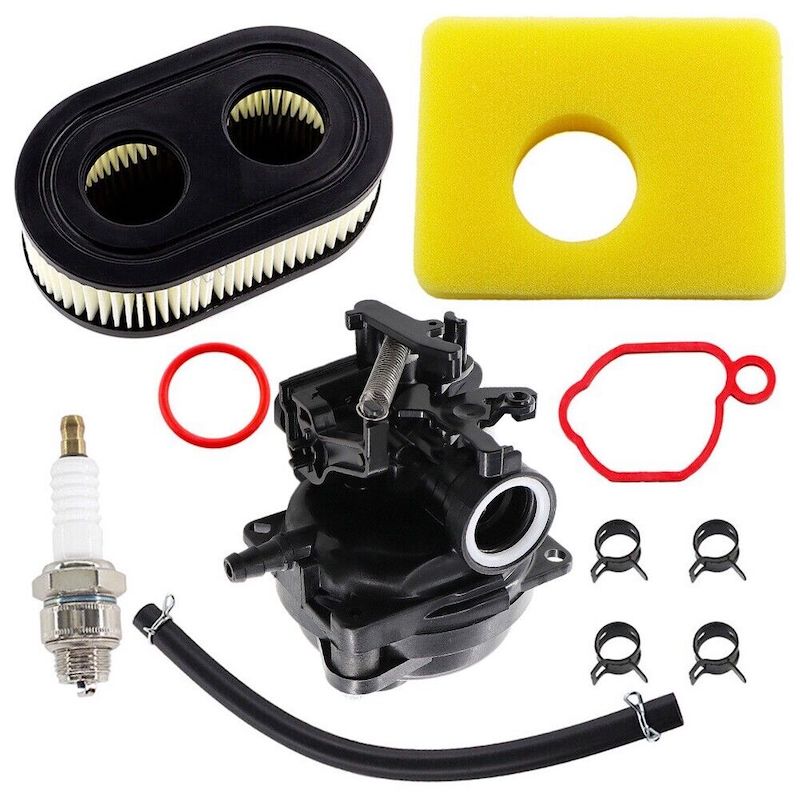
- Examine the Air Filter: Pull out the air filter and look for dirt or clogs. A cuffed air filter hinders the air flow the engine needs. If it’s dirty, clean it with soap and water, or replace it if cleaning is not an option.
- Check for Obstructions: Make sure nothing blocks the air intake paths. Remove debris or buildup that could prevent air from reaching the engine.
- Inspect Filter Housing: Look at where the filter sits. Make it’s clean and no debris has bypassed the filter, potentially entering the engine.
- Monitor Airflow While Running: If possible, check how well air moves through the system while the mower is running. Poor airflow can cause the mower to stall or not start.
By thoroughly checking and maintaining the air intake and filter, you can prevent one of the common issues that may keep a Craftsman lawn mower from starting.
Assessing the Battery and Electrical Connections
When your Craftsman lawn mower won’t start, checking the battery and electrical connections is crucial. Here’s a straightforward guide to assess these components:
- Battery Check: Ensure the battery is adequately charged. Use a voltmeter to check the voltage level. If it’s low, recharge or replace the battery.
- Battery Terminals: Look at the battery terminals. Corrosion can prevent a good electrical connection. Clean the terminals with a wire brush and apply anti-corrosion gel.
- Wiring Inspection: Examine all mower wires. Look for any signs of wear, fraying, or disconnections. Repair or replace faulty wiring to ensure uninterrupted electrical flow.
- Fuse Examination: Check the mower’s fuse. A blown fuse can stop the mower from starting. Replace it if necessary.
- Connection Tightness: Make sure all electrical connections are secure. Loose connections can lead to starting problems. Tighten any loose connections.
By addressing each of these points, you can resolve issues related to the battery and electrical system, increasing the likelihood that your Craftsman lawn mower will start effectively.
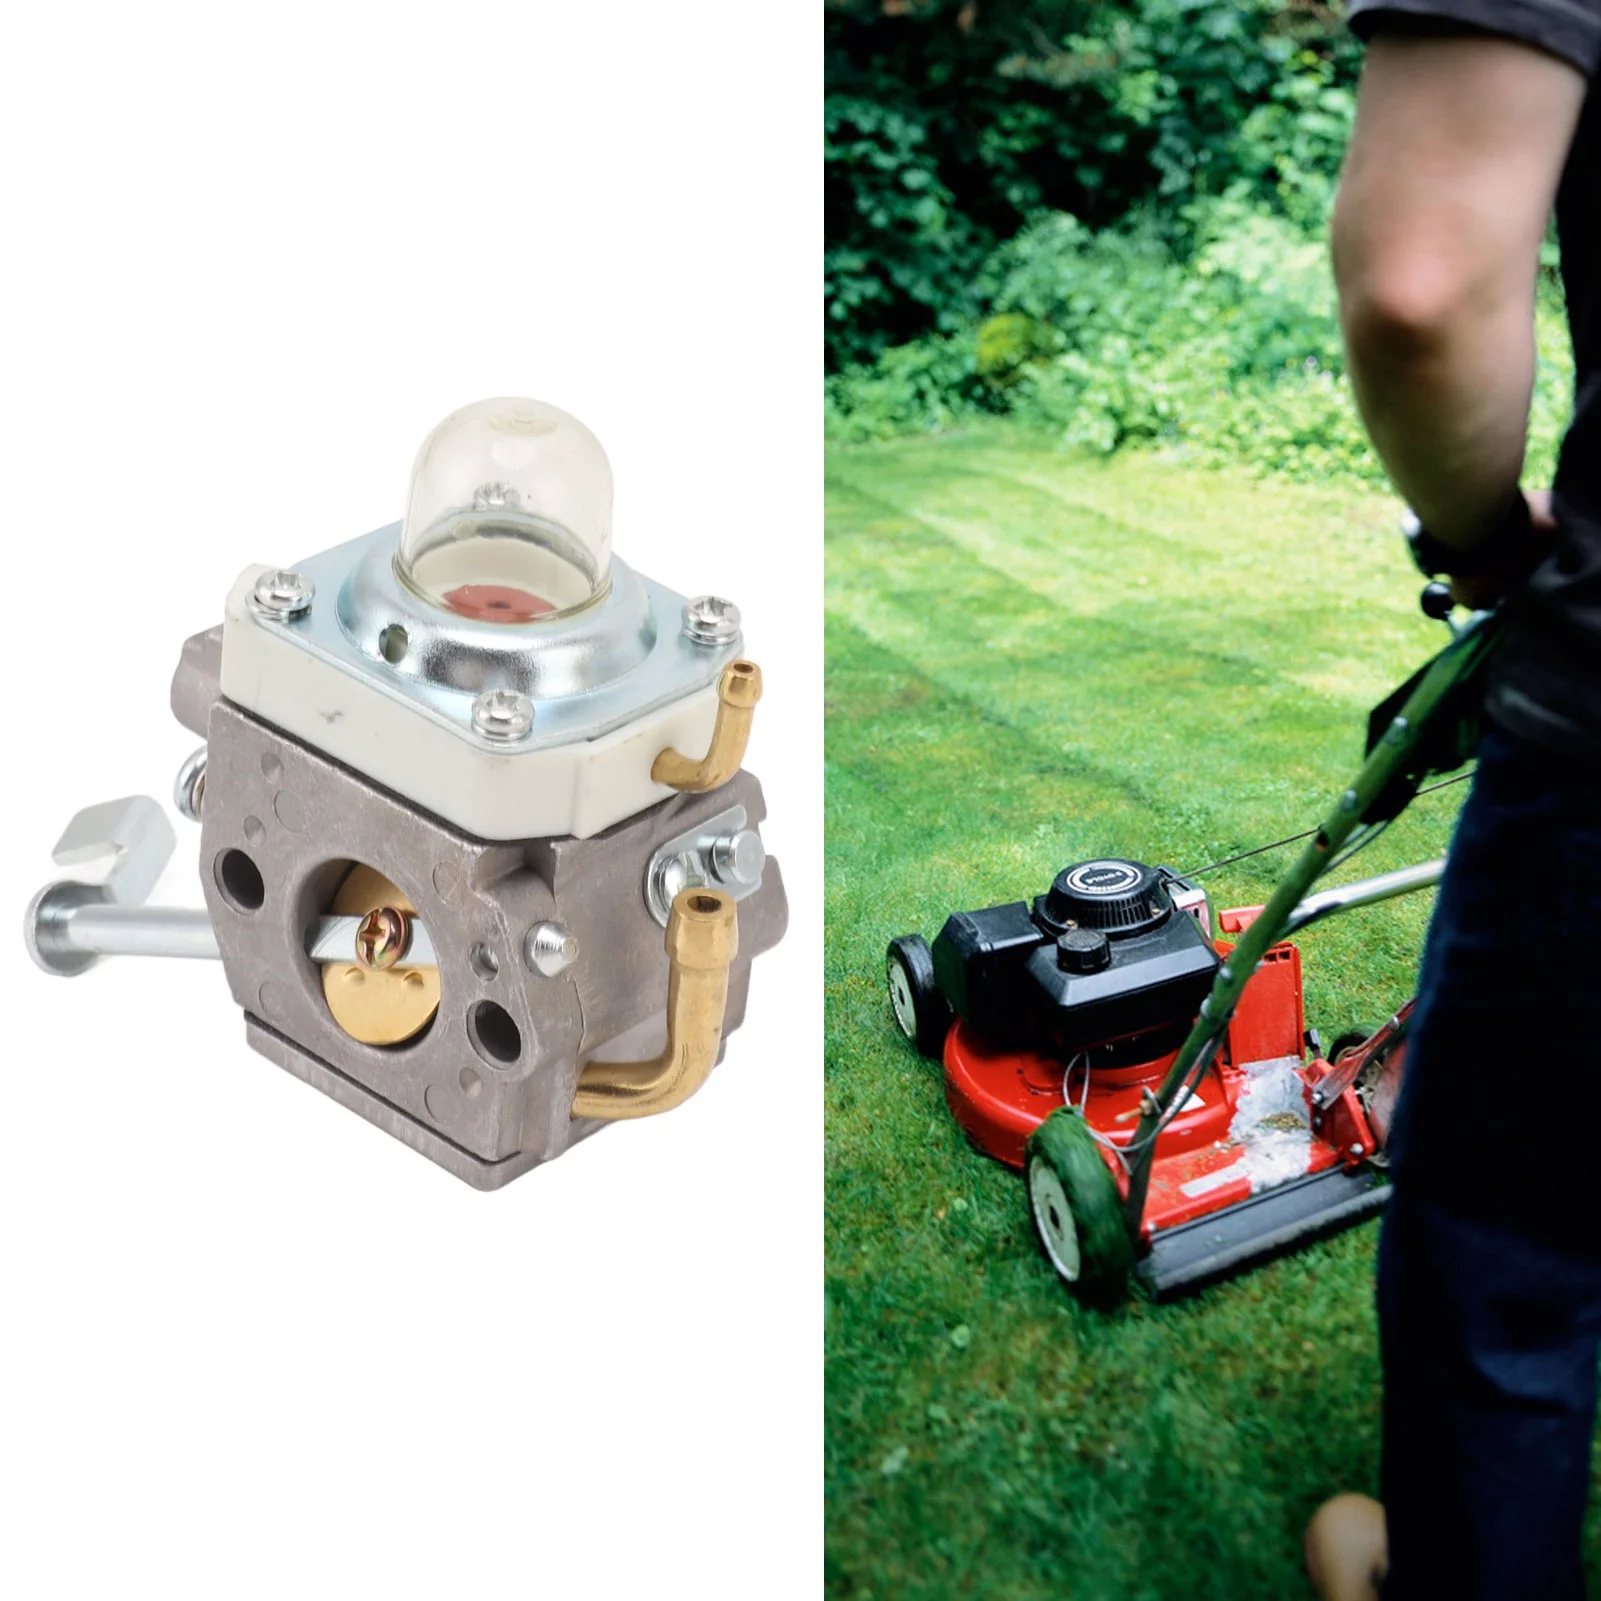
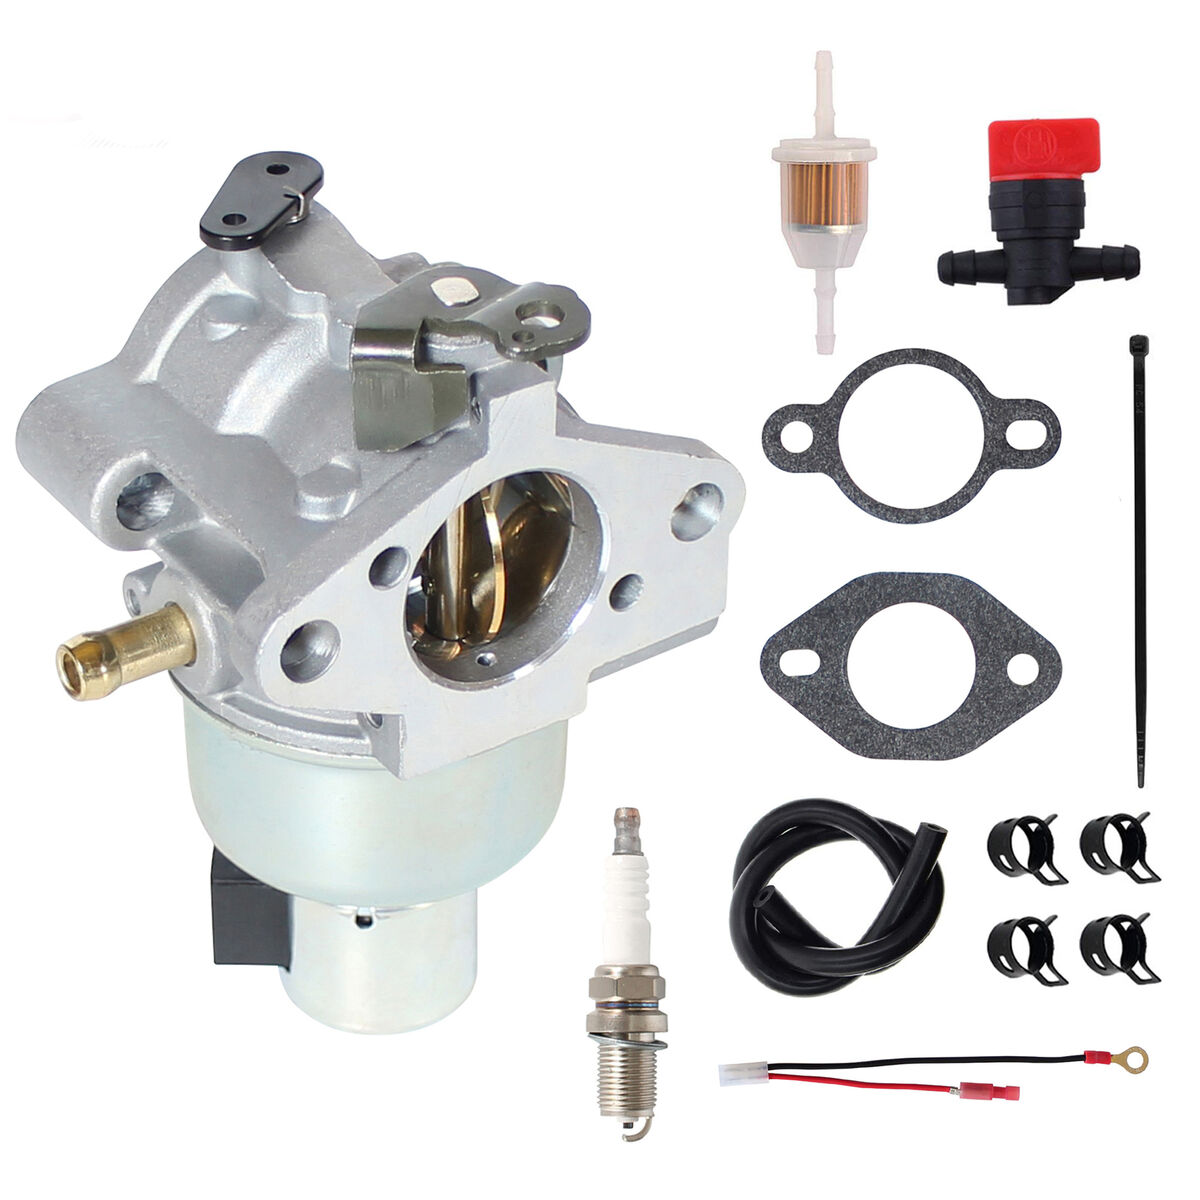
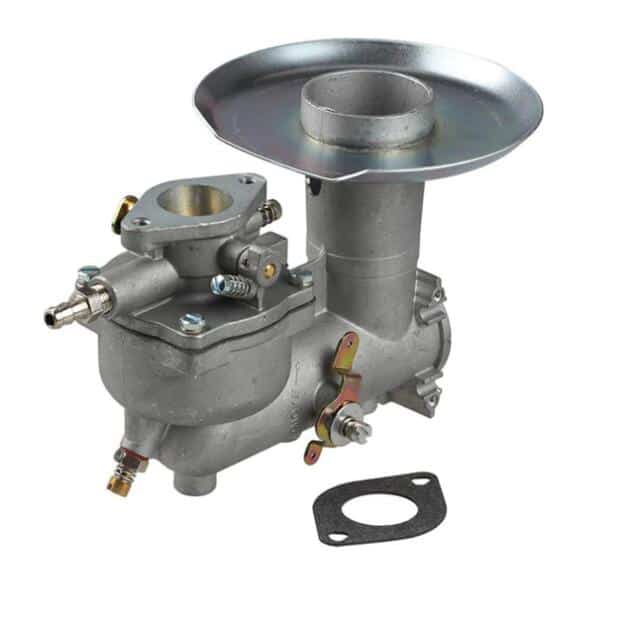
Understanding the Role of the Carburetor
When dealing with a craftsman lawn mower that won’t start, don’t overlook the carburetor. This part mixes air and fuel to enable combustion. If it has problems, starting the mower can be tough. Here are steps to assess your mower’s carburetor:
- Identify Carburetor Location: Find the carburetor on your mower. It is usually near the air filter or the fuel tank.
- Look for Blockages: Check the carburetor for dirt or debris that may obstruct the flow of fuel and air.
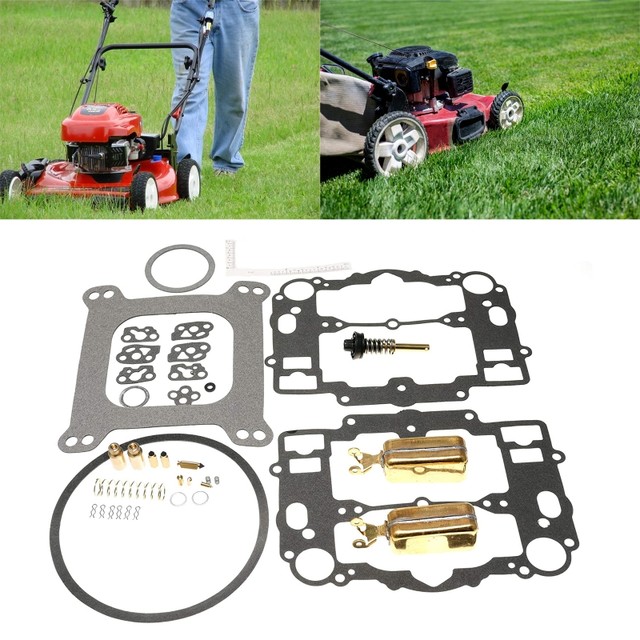
- Inspect Gaskets and Seals: Worn gaskets and seals may cause air leaks. Replace them if they look damaged or worn out.
- Check the Throttle and Choke: Ensure the throttle and choke are moving freely. Proper operation is vital for starting the engine.
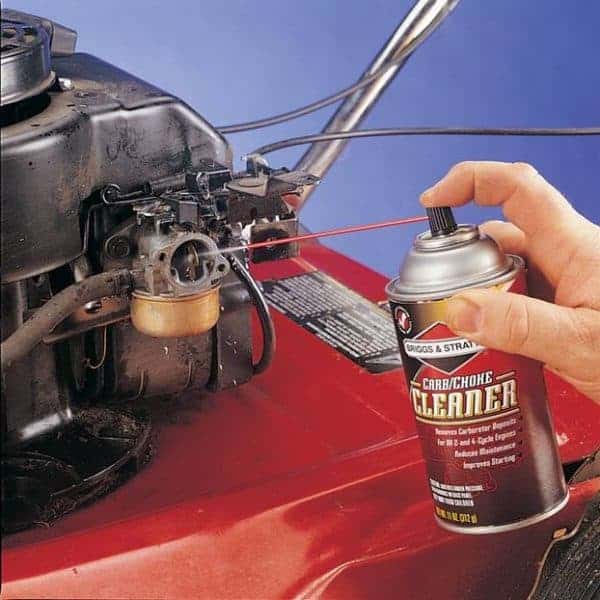
- Clean the Carburetor: If the carburetor is dirty, clean it carefully. Use a carburetor cleaner spray and follow the manufacturer’s instructions.
- Test the Float Needle: Make sure the float needle moves smoothly. It controls fuel flow into the carburetor bowl. If it’s stuck, it may need cleaning or replacement.
By giving attention to the carburetor, you can tackle a common source of starting problems in Craftsman lawn mowers. Regular cleaning and maintenance help prevent future issues.
Tips for Regular Maintenance to Prevent Startup Issues
Regular maintenance is crucial to avoid startup issues with your Craftsman lawn mower. Here are some essential tips:
- Regularly Check Fuel Quality: Always use fresh gasoline. Replace stale fuel to prevent carburetor clogs.
- Clean or Replace Air Filters: Do this more often if you mow in dusty conditions. This will ensure optimal air flow.
- Inspect and Clean the Spark Plug: A clean spark plug ensures effective ignition. Replace it annually.
- Maintain the Battery: For battery-powered models, regularly check and charge the battery. Replace if it fails to hold a charge.
- Check Belts and Cables: Look for wear or damage. Replace them to avoid unexpected malfunctions.
- Lubricate Moving Parts: Apply lubricant to moving parts to reduce friction and wear.
- Follow Storage Guidelines: Properly store your mower during off seasons. Refer to the operator’s manual for specific instructions.
Craftsman lawn mower won’t start? By following these simple maintenance tips, you can greatly reduce the chance of your Craftsman lawn mower having startup issues.