Where Is the Carburetor on A Lawn Mower: Locating the Carburetor
Introduction to Lawn Mower Carburetors
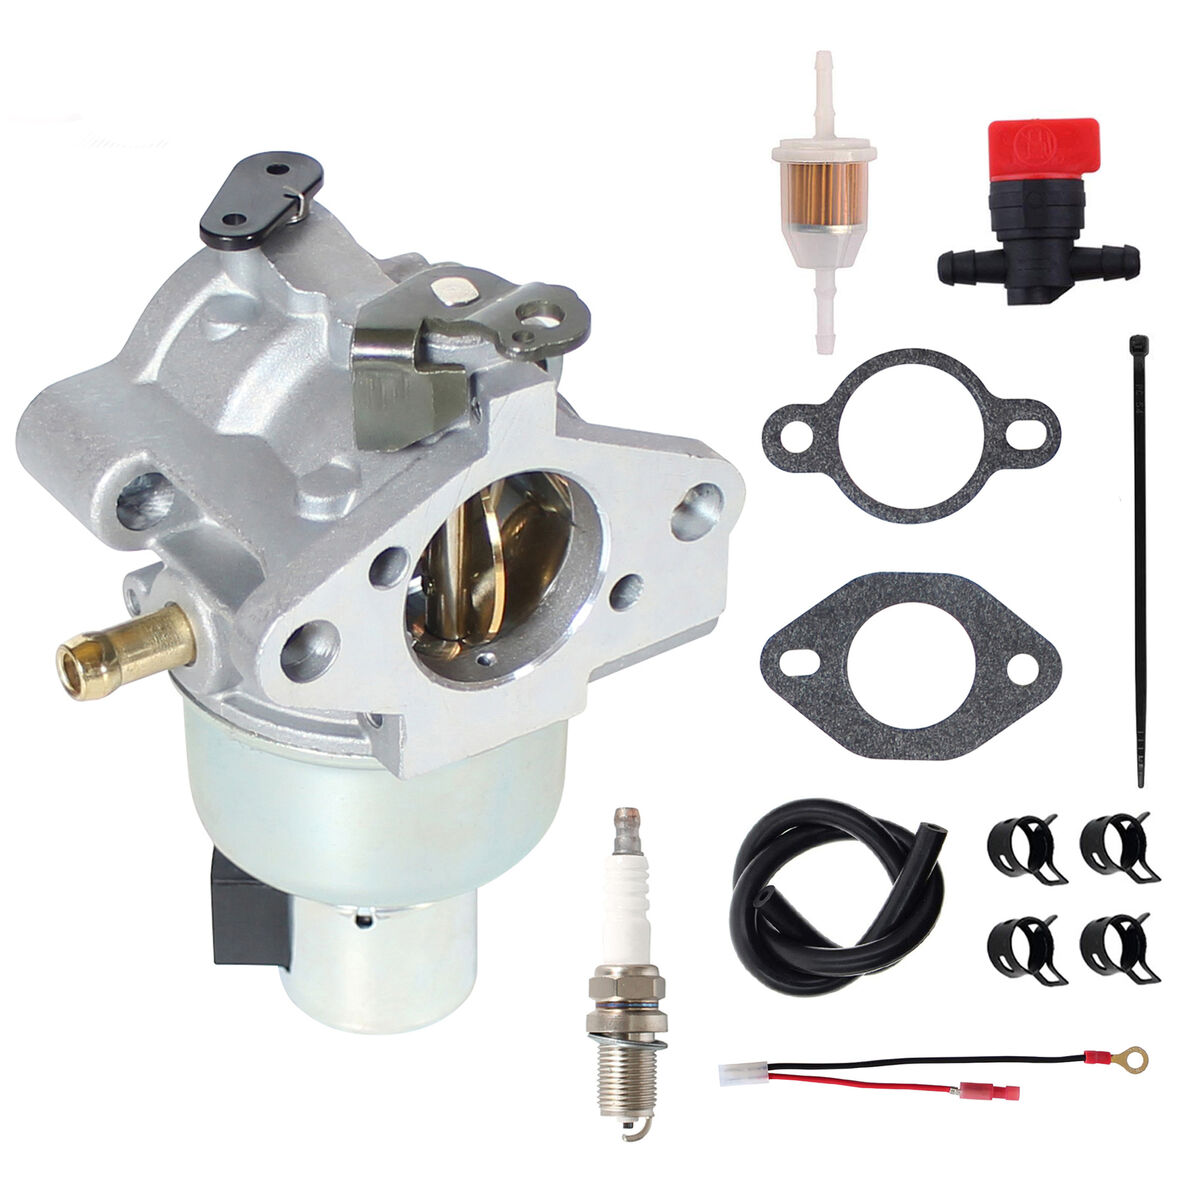
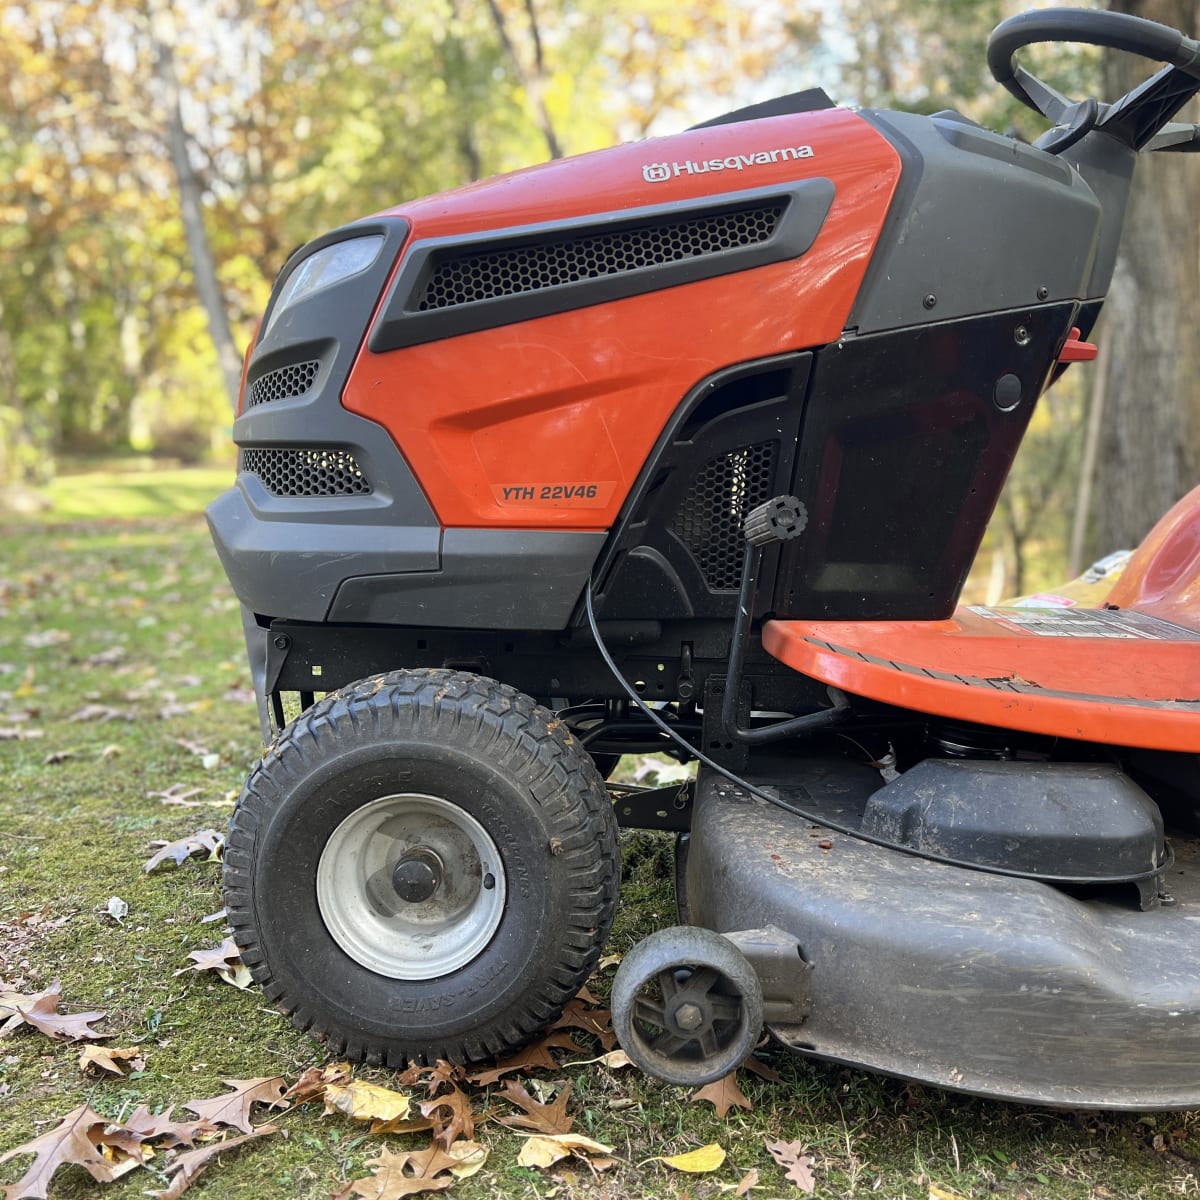
Where is the carburetor on a lawn mower? Understanding where the carburetor on a lawn mower is located is crucial for maintenance and troubleshooting. A carburetor’s main role is to mix air with gasoline in the right proportion. This mixture is what fuels the lawn mower’s engine to run smoothly. The exact locatoin of the carburetor can vary, usually at the top or side of the engine. It’s connected to both the air intake and the gas tank.
Start by turning off your lawn mower and placing it in a stable position. Then look for a round or square filter housing. This is commonly located on the engine’s top or side and connected to the carburetor. If you can’t find it easily, follow the fuel line from the gas tank. This line usually ends at the carburetor. Always refer to your mower’s manual for guidance on specific models.

Tools and Safety Precautions
Before attempting to locate the carburetor on your lawn mower, it’s important to gather the right tools and take safety precautions. Here’s what you need to know.
Gather Necessary Tools
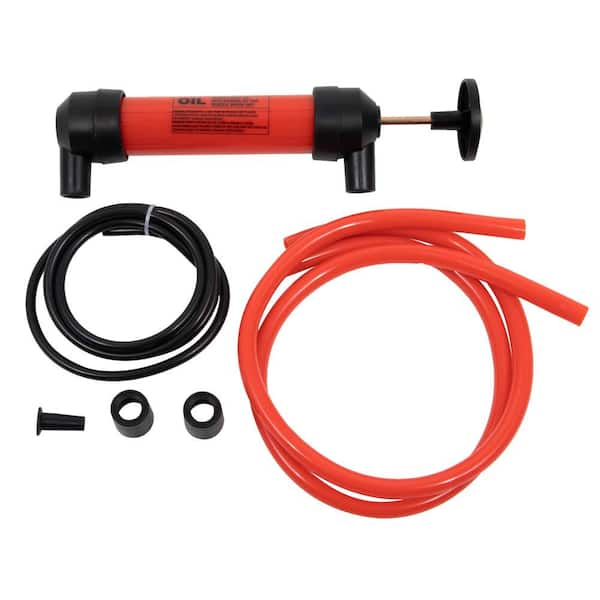
To safely and effectively locate the carburetor, you’ll need a few basic tools:
- A pair of gloves to protect your hands.
- A screwdriver to open the filter housing or remove any covers.
- A flashlight to help you see in dark or shadowed areas around the engine.
Make sure you have these tools on hand before starting. They will make the process smoother and help prevent any unnecessary damage to your lawn mower.
Safety Precautions
Safety should always come first when working on any machinery, including lawn mowers. Follow these safety tips:
- Turn off the lawn mower completely and ensure the ignition is off.
- Remove the spark plug wire to prevent accidental starting of the engine.
- Wear sturdy shoes to protect your feet.
- If the engine was running, wait for it to cool down before touching it to avoid burns.
By preparing the right tools and adhering to safety measures, you’re set to begin locating the carburetor on your lawn mower.
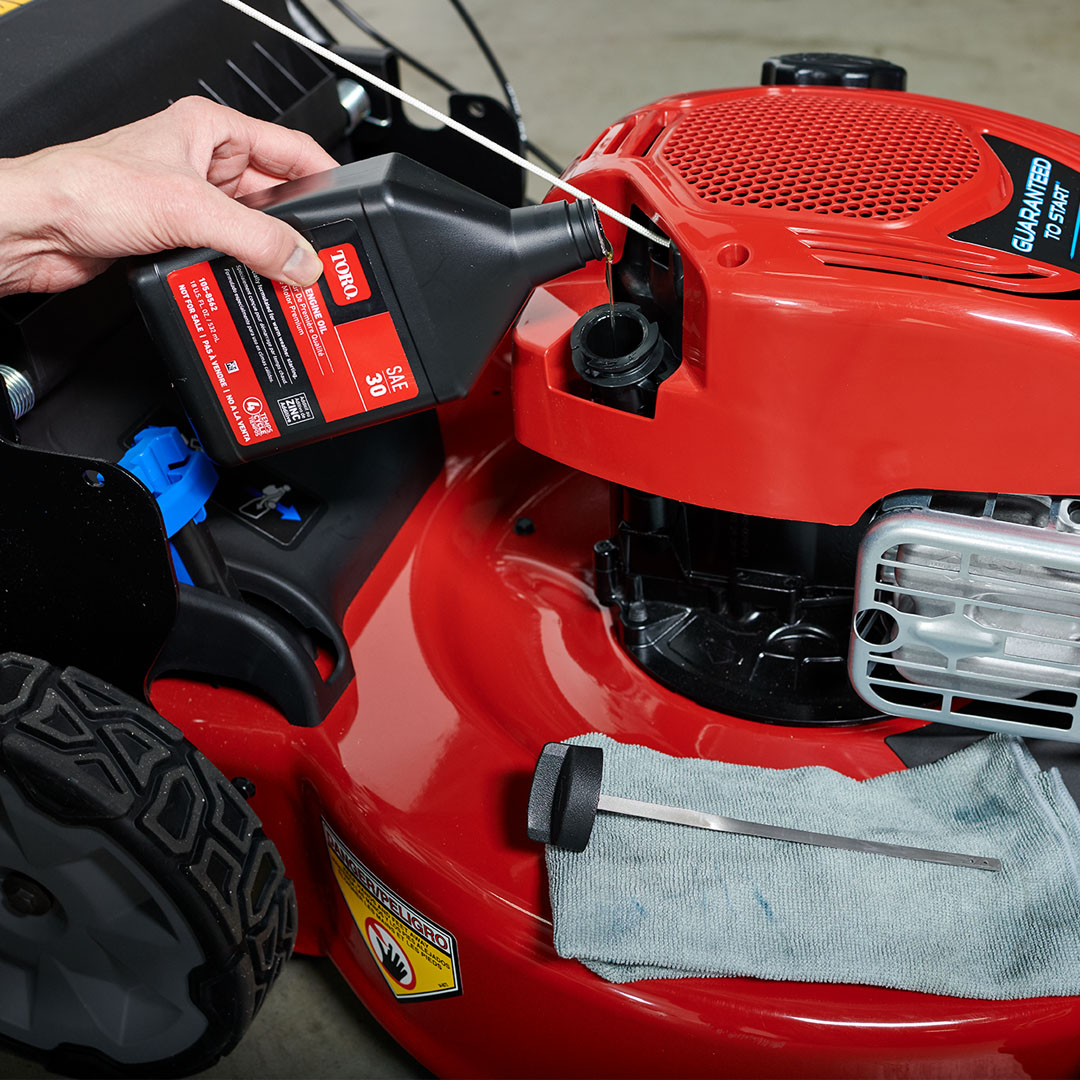
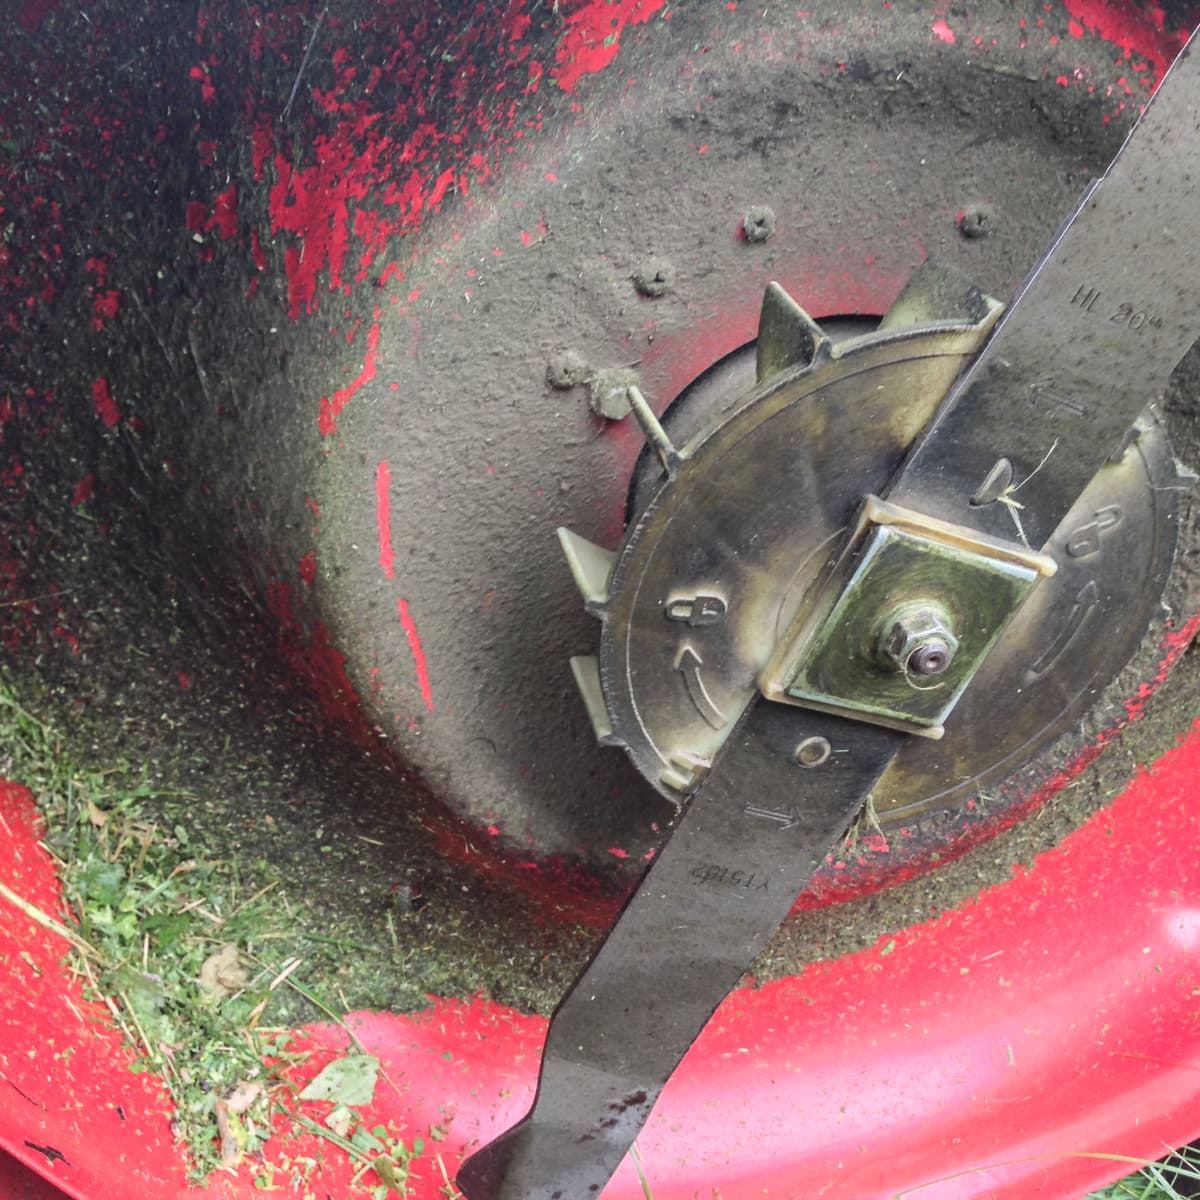
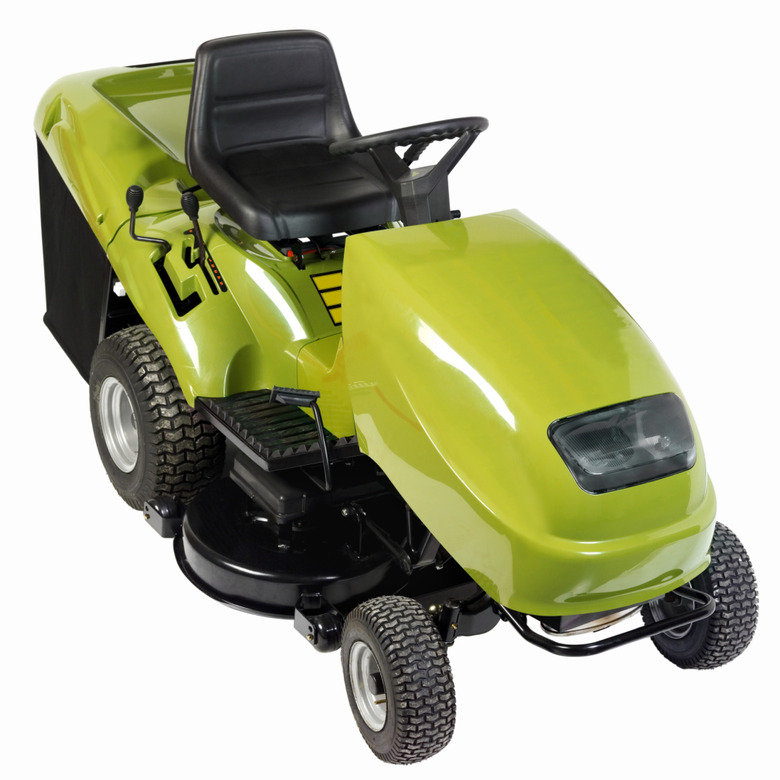
Step 1: Preparing the Lawn Mower
Before delving into the carburetor’s location, it’s vital to prep your lawn mower. Start by turning off the lawn mower’s ignition. This prevents the engine from turning on during your inspection. Engage the parking brake and put the mower in gear. This safety measure stops the mower from moving unexpectedly.
Ensure the mower is on a flat, stable surface to circumvent tipping or rolling. If you’re working in a shed or garage, open doors for ventilation. Avoid working in closed spaces where gas fumes could accumulate.
Double-check that the mower’s ignition is off. It’s a good habit that reinforces safety. Lastly, wait for the engine to cool if the mower was recently in use. This prevents burns and other injuries. With these steps, you’re ready to move on to accessing the engine.
Step 2: Accessing the Engine
To access the engine, where the carburetor is mounted, you must first release any covers protecting it. Start by identifying the hood or engine cover of your lawn mower. Release the hood latches or other fasteners that hold the cover in place. You may need to unscrew bolts or turn knobs, depending on your lawn mower’s design.
Once you’ve unfastened the covering, lift it carefully to expose the engine beneath. Some models may have a secondary cover or a shroud over the engine; remove these if necessary. Keep all screws and bolts in a safe place so you do not lose them.
With the engine now in view, you’re a step closer to locating the carburetor. Ensure you have ample light to see all parts clearly. A flashlight can be helpful if the natural lighting is insufficient. Take a moment to visually inspect the engine layout. Your carburetor is usually attached to the engine near the air intake and filter assembly, which you will identify in the next step. This visibility is crucial for both maintenance tasks and diagnosing any potential issues with the carburetor or surrounding components.
Step 3: Identifying the Air Intake and Filter Housing
After opening the engine cover, the next step is to identify the air intake and filter housing. This component is crucial as it is directly connected to the carburetor, facilitating the air intake necessary for fuel mixing. Here’s how to identify them:
- Look for the Filter Housing: This is typically round or square-shaped and located on the top or side of the engine. It features a structure with holes or slits designed to allow air passage while blocking debris.
- Check for Attachments: The filter housing is usually attached to the carburetor with screws or latches. Recognizing these attachments can help confirm that you’re looking at the right component.
- Inspect the Filter Type: Inside the housing, you will find either a paper or foam filter. This filter plays a critical role in cleaning the air before it enters the carburetor.
Identifying these parts accurately is essential for proper lawn mower maintenance and troubleshooting. Ensure you have sufficient lighting, like a flashlight, to get a clear view of the air intake and filter housing.
Step 4: Tracing the Fuel Line to the Carburetor
Once you have identified the air intake and filter housing, you’ll need to trace the fuel line to locate the carburetor. The fuel line is a key component that transports gasoline from the tank to the carburetor, and it’s usually made of rubber or plastic. Here’s what to do:
- Find the Gas Tank: Usually, this is a black container located in an accessible spot for easy refueling.
- Locate the Fuel Line: Look for a rubber or plastic tube coming out near the bottom of the gas tank.
- Follow the Line: Carefully follow the fuel line as it runs from the tank towards the engine.
- Spot the Carburetor Connection: The line will lead you to a junction point where it connects with the carburetor. This area typically has a clamp or a fixture securing the line in place.
It’s important to be gentle when handling the fuel line to avoid damage. If the line appears cracked or damaged, it may need replacement. Remember, locating the carburetor may vary slightly depending on the lawn mower model, so if you run into trouble, consult the owner’s manual for your specific mower.
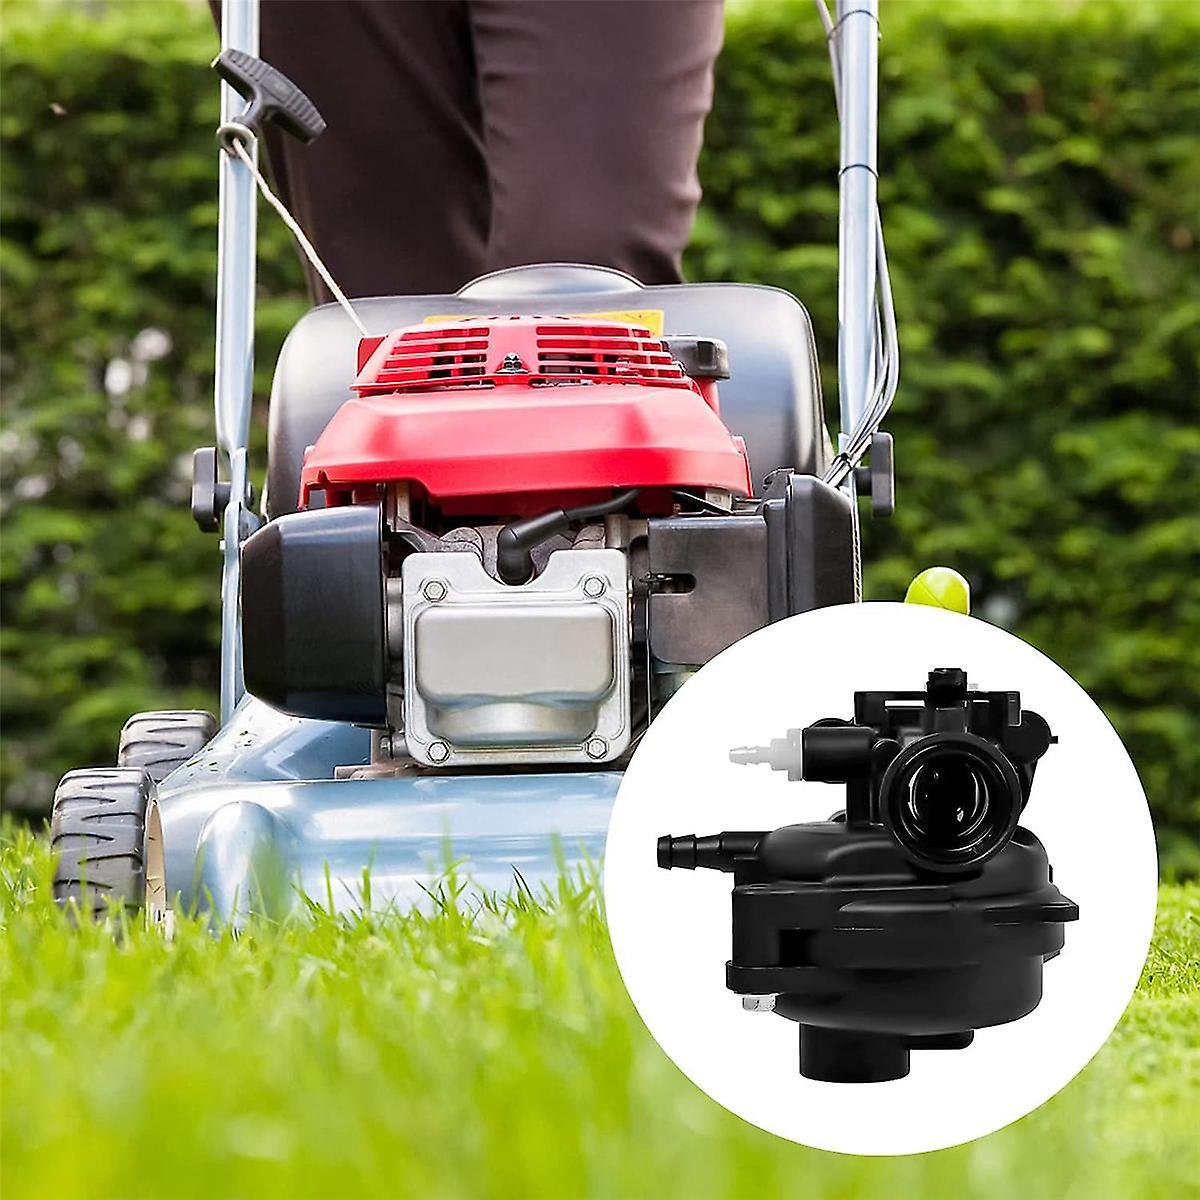
Step 5: Checking the Carburetor’s Physical Attributes
After you have traced the fuel line to the carburetor, the next step is to examine its physical attributes. Here’s how you can effectively check the carburetor’s condition and features:
- Visibility: The carburetor should now be visible near the junction point of the fuel line. It may be mounted on the side or top of the engine.
- Condition: Look closely at the carburetor for any signs of wear or damage. Check for cracks, leaks, or dirt accumulation which could impair its function.
- Connections and Mountings: Ensure that all connections to the carburetor are secure. This includes checking clamps, screws, and other mounting elements that hold the carburetor in place.
- Operation Mechanisms: Some carburetors will have visible levers or adjustments for varying the air and fuel mixture. Familiarize yourself with these if your mower model includes them.
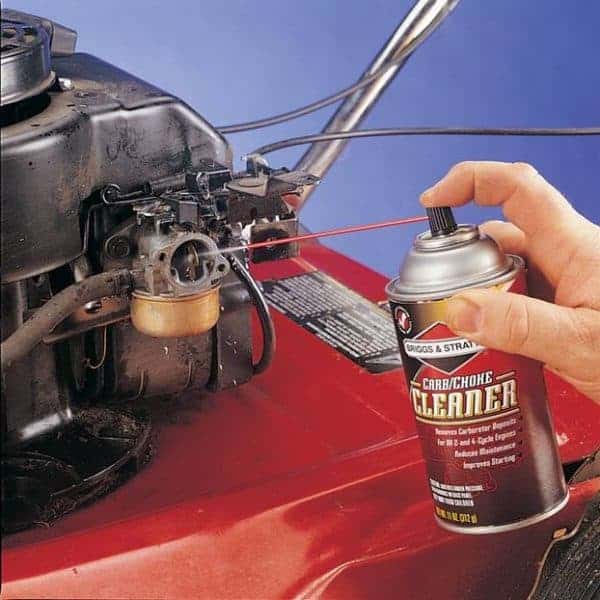
- Cleanliness: Given the carburetor’s role in mixing air with gasoline, cleanliness is crucial. Make sure there’s no blockage in the air or fuel passages.
If you notice any issues during this inspection, it may signal the need for cleaning or maintenance. Before attempting any repairs, consult your lawn mower’s manual or seek professional help. This step ensures that your mower’s carburetor is ready for efficient operation.

Additional Tips for Carburetor Location on Different Models
When locating the carburetor on various lawn mower models, keep these tips in mind:
- Consult the Owner’s Manual: Each lawn mower model can have a unique engine layout. For specific guidance, always refer to the mower’s manual.
- Check Manufacturer’s Website: Many manufacturers provide online resources, including diagrams and instructional videos. These can be particularly helpful.
- Look for Model-Specific Labels: Some mowers have labels or stickers indicating major components, including the carburetor.
- Engine Configurations Vary: Remember that engine designs differ; some engines have their carburetors hidden beneath covers or between other components.
- Observe Other Lawn Mowers: If available, observing how other models are assembled can offer insight.
By following these additional tips, you’ll have a better chance of quickly and accurately locating the carburetor on any lawn mower model. Stay patient and remember that variations in engine design are common, so take your time to identify the carburetor correctly.