Are Lawn Mower Blades Reverse Thread? A 2024 Guide

Introduction to Lawn Mower Blade Threads
Are lawn mower blades reverse thread? Understanding the thread direction of lawn mower blades is crucial for proper maintenance and safety. Lawn mower blades can either be standard thread or reverse thread. The thread type influences how the blade attaches to the mower’s rotating shaft. Knowing whether your lawn mower blade is reverse threaded helps prevent accidents and ensures easy removal and installation. This introductory section explores the basics of lawn mower blade threads and sets the stage for deeper discussion on why this knowledge matters.
Understanding Thread Direction in Lawn Mower Blades
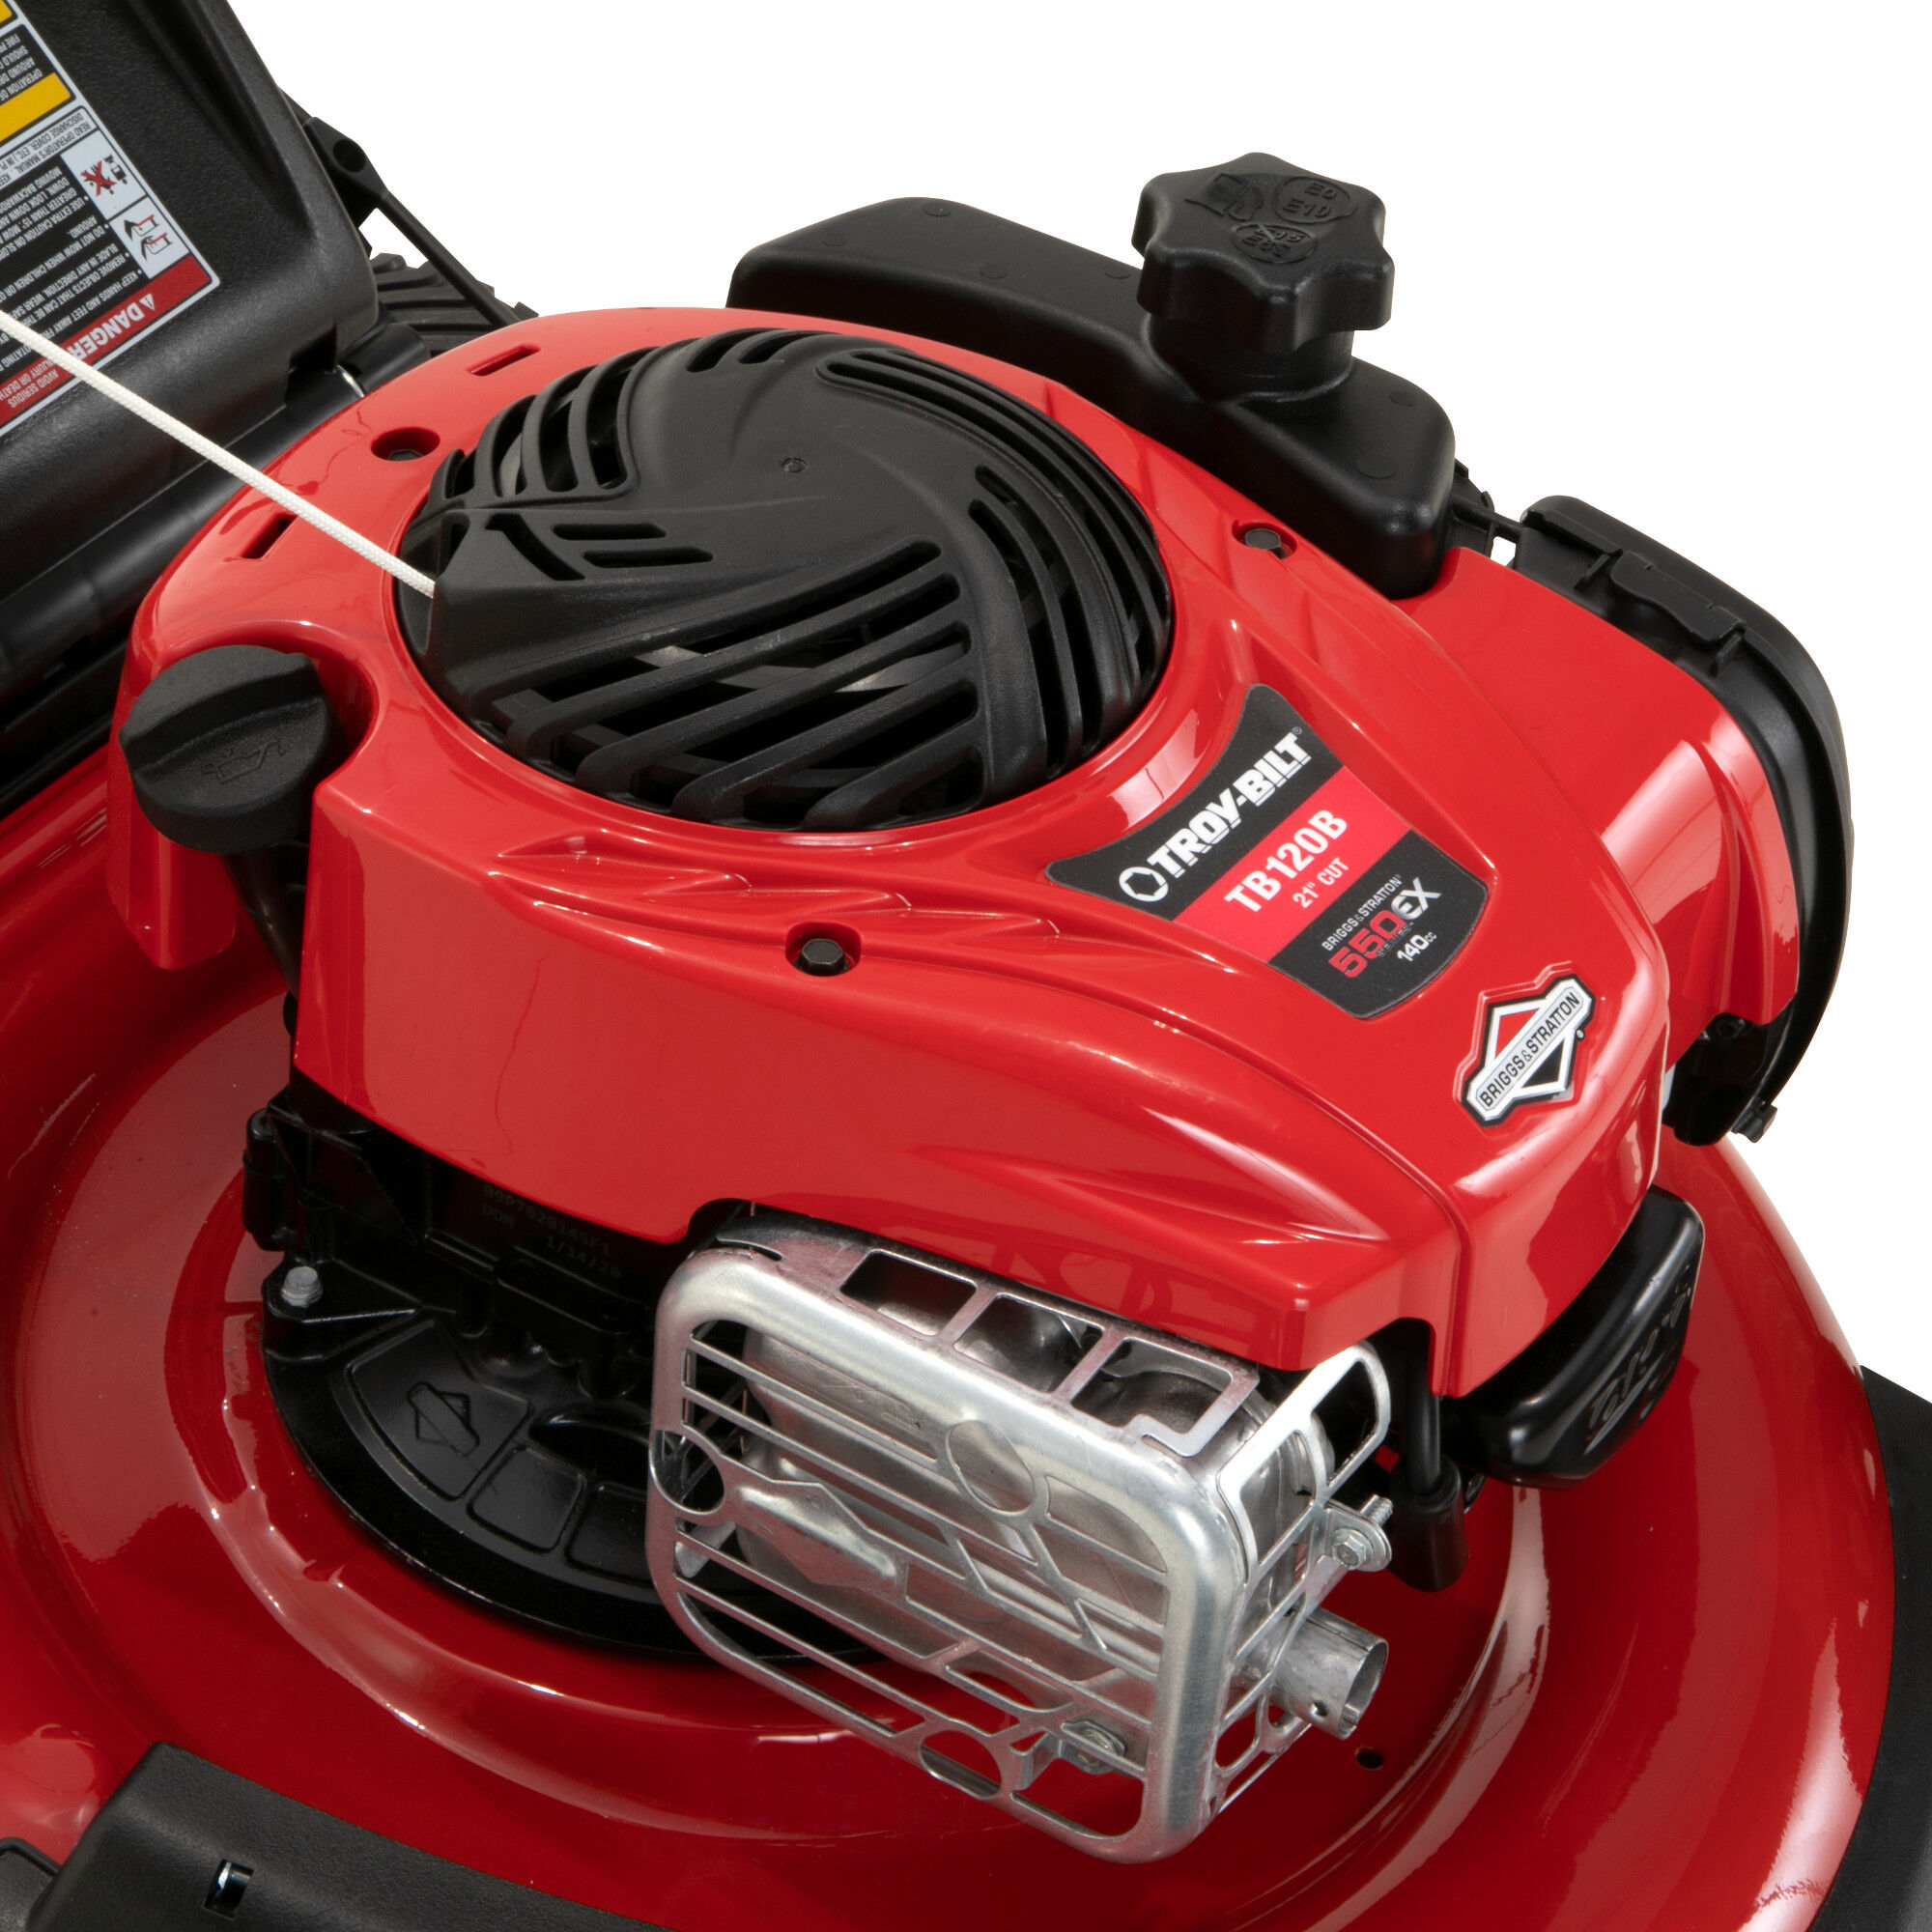
In lawn mowers, thread direction refers to the way the blade’s bolt turns. This direction can be either clockwise or anti-clockwise. It affects how the bolt secures the blade to the mower. Most lawn mower blades are designed with a thread direction that is opposite to the blade rotation. This is a safety feature. It prevents the blade from loosening as it spins.
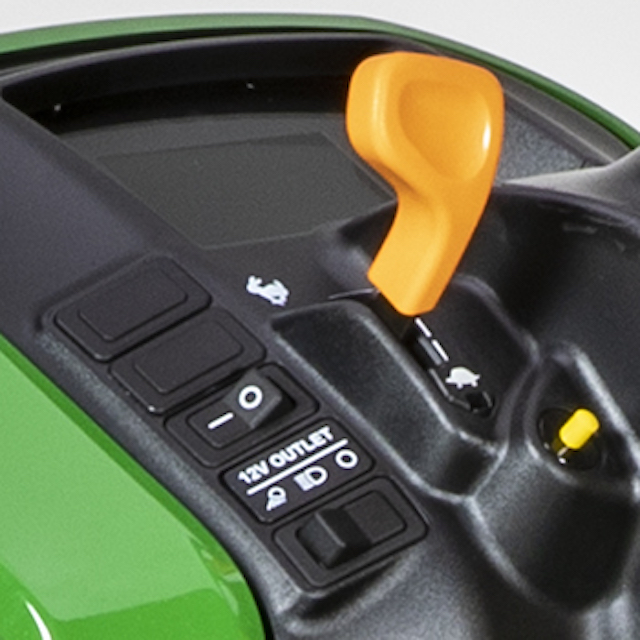
To check your lawn mower thread direction, look at the bolt. If it tightens clockwise, you have a standard thread. If it tightens counter-clockwise, it’s a reverse thread. Remember to turn off the mower before inspecting. Safety always comes first.
Understanding thread direction helps with proper blade maintenance. It also ensures that you replace or sharpen blades correctly. Use the right tools and follow the mower manual. A wrong turn can strip the bolt or damage the mower. Be cautious and always double-check the thread direction before starting work.

Why Some Lawn Mower Blades Use Reverse Threads
The use of reverse threads on lawn mower blades serves a specific purpose. Here’s why reverse threading is sometimes applied in lawn mower blades:
- Prevents Loosening During Operation: The major reason for reverse threads is to stop blades from loosening. As the motor runs, the blade spins at high speeds. Reverse threads ensure that the force of the spinning blade tightens the bolt. This means safer mowing.
- Enhances Operator Safety: If a blade were to loosen, it could pose a significant safety risk. By using reverse threads, that risk is reduced. Tightening instead of loosening during operation keeps the blade secure.
- Matches the Engine’s Rotation: Lawn mower engines can rotate in different directions. Blades with reverse threads match certain engine rotations. This design aligns with the engine’s motion, supporting firm attachment.
- Maintenance Simplicity: Knowing that your mower has reverse threaded blades changes how you approach maintenance. It prevents accidental damage during blade removal. The opposite turning direction for removal is clear.
- Consistent with Design: Some mowers are built with features that benefit from reverse threading. The blade and motor design might require this feature for optimal performance.
Understanding if your lawn mower blades are reverse threaded is vital. Make sure to double-check your mower’s manual. That is often the best place to find specific information about your model. Remember, not all lawn mowers have reverse threaded blades. It’s important to inspect yours to be sure.
How to Determine the Thread Direction of Your Lawn Mower Blade
To find out if your lawn mower blade is reverse thread, follow these steps:
- Check the Mower’s Manual: The manual is the go-to source for your mower’s specifications. Look for information on the blade’s bolt.
- Inspect the Bolt: Turn off the mower and disconnect the spark plug. Find the blade bolt and note which way it turns to tighten. Clockwise turning indicates a standard thread, while counter-clockwise signifies reverse thread.
- Refer to Model Number: Some mower models come with reverse threaded blades by design. Search the model number online for details about the thread direction.
- Ask the Manufacturer: If in doubt, contact the mower’s manufacturer. They can confirm the thread direction for your specific model.
- Consult a Professional: A lawn mower maintenance professional can quickly determine the thread direction. Consider this option if you’re still unsure.
By checking the thread direction, you ensure safe and correct blade handling. This simple precaution can save you time and prevent potential mishaps during blade maintenance.
Safety Precautions When Removing Lawn Mower Blades
When removing lawn mower blades, safety is the top priority. Here are essential precautions to follow:
- Turn Off the Mower: Always ensure the mower is completely powered down before starting.
- Disconnect the Spark Plug: This prevents the mower from accidentally starting while you work.
- Use Proper Tools: Employ wrenches and sockets that fit the blade bolts correctly to avoid slippage.
- Wear Protective Gear: Gloves and goggles are crucial to protect your hands and eyes from sharp edges and debris.
- Secure the Blade: Prevent the blade from moving by blocking it with a piece of wood.
- Be Mindful of the Thread Direction: Remember if the blade is reverse threaded, you’ll need to turn the bolt clockwise to loosen it.
- Keep Your Body Clear: Position yourself in a way that keeps your body parts away from the blade’s motion path when removing.
By adhering to these safety precautions, you can minimize risks associated with removing lawn mower blades.
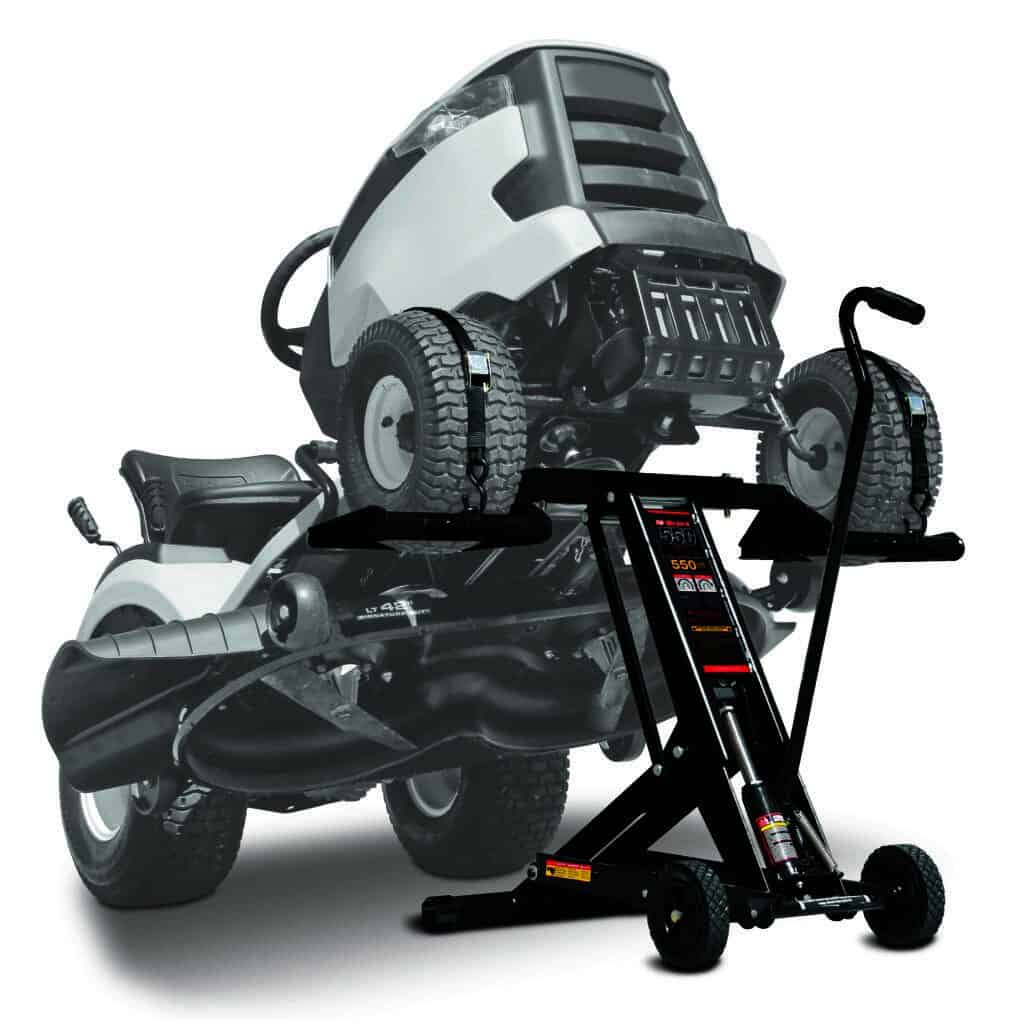
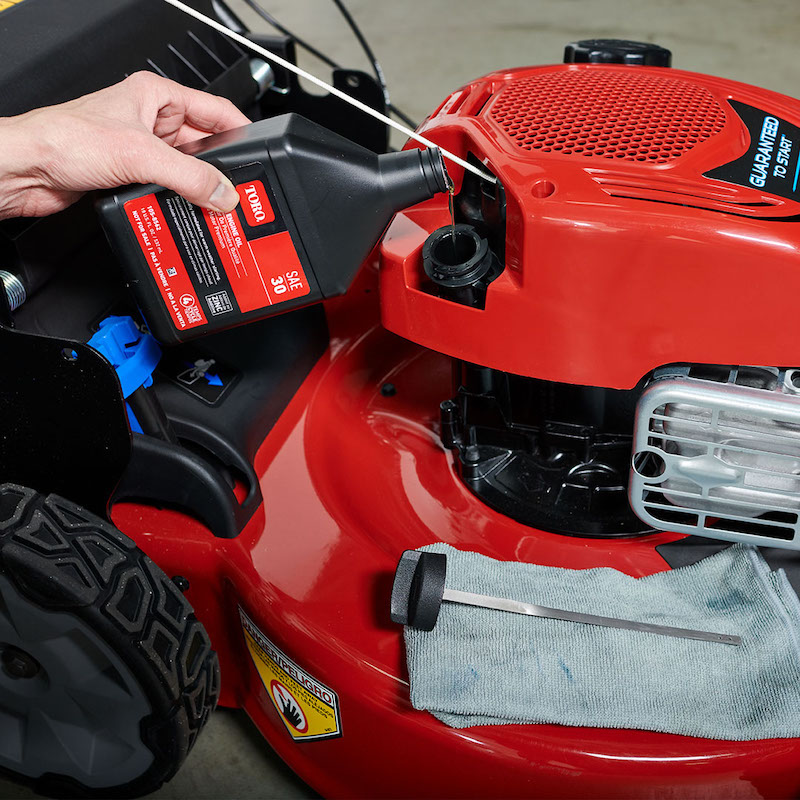
Step-by-Step Guide to Changing a Lawn Mower Blade
Changing a lawn mower blade may seem daunting. But, with the right guidance, it’s a task you can master quickly. A step-by-step approach ensures safety and success. Here’s how to do it correctly.
- Safety First: Turn off your mower and disconnect the spark plug. This step is crucial for preventing accidental startups.
- Gather Your Tools: Get the correct size wrench or socket. Confirm it fits the blade bolt snugly to avoid slipping.
- Remove the Blade: Secure the blade with a block of wood to keep it from spinning. If reverse threaded, turn the bolt clockwise to loosen it. Otherwise, turn counterclockwise.
- Inspect the Blade: Once removed, check the blade for damage or wear. Decide if you need to sharpen or replace it.
- Prepare the New Blade: If replacing, ensure that the new blade matches the model of your mower. Align it properly with the rotation of the engine.
- Attach the Blade: Position the blade and start the bolt by hand to avoid cross-threading. Tighten it to the recommended torque in the owner’s manual.
- Double-Check Work: Before reconnecting the spark plug, make sure the blade is secure. It should not move if properly installed.
- Test the Mower: Reconnect the spark plug and start the mower carefully. Check for unusual vibrations which may indicate a loose blade.
- Final Safety Check: Turn off the mower and disconnect the spark plug again. Perform a final check to ensure everything is tight and in place.
By following these simple steps, you maintain a safe and effective lawn mower. Remember to double-check if the blades are lawn mower blades reverse thread. This determines the direction you turn the bolt when loosening it.
Frequently Asked Questions About Lawn Mower Blade Threads
When dealing with lawn mower maintenance, several common questions arise about blade threads, particularly about whether are lawn mower blades reverse thread. To clarify these concerns, let’s address some frequently asked questions.
1. How do I find out if my lawn mower blade is reverse threaded?
Check your mower’s manual first. It will likely mention the thread direction. If not, turn off the mower, disconnect the spark plug, and examine which way the bolt tightens. Counter-clockwise indicates reverse thread.
2. Does reverse thread mean the bolt unscrews the opposite way?
Yes, a reverse-threaded bolt will loosen when turned clockwise, which is the opposite direction of standard-threaded bolts.
3. Will the blade come loose if it isn’t reverse threaded?
Not necessarily. Proper torque and regular maintenance keep standard-threaded blades secure. However, reverse threading adds an extra layer of security.
4. Is reverse threading safer?
Yes, it can be. Since reverse-threaded bolts tighten against the blade’s rotation, they are less likely to loosen during use, enhancing safety.
5. Can I sharpen a reverse thread blade like any other blade?
Absolutely. Sharpening doesn’t differ between thread types. Always remove the blade and follow safety measures during the process.
6. Are all lawn mower models designed with reverse-threaded blades?
No, not all. The blade thread design depends on the model and manufacturer.
7. What if my mower’s manual doesn’t specify the thread direction?
In this case, inspect the bolt yourself, search online using the model number, or consult with a professional.
These questions help shed light on the specifics of lawn mower blade threads. Keep in mind, knowing the thread direction is crucial for correct and safe blade handling.
Conclusion: The Importance of Correct Blade Installation
Proper installation of lawn mower blades is critical. It ensures safety and optimal performance. Whether your blades are lawn mower blades reverse thread or standard, correct installation is key. Understanding thread direction is the first step. It informs which way to turn the bolt for tightening or loosening.
Here are some reasons why correct blade installation is vital:
- Prevents Accidents: Install blades correctly to avoid them coming loose. Loose blades can be dangerous.
- Maintains Mower Efficiency: Properly installed blades cut grass effectively. They need less power and keep the mower running smoothly.
- Reduces Maintenance Costs: Correct installation means less wear and tear. This helps avoid frequent repairs.
- Ensures Consistent Performance: When blades are installed correctly, mowing results are always good. This keeps your lawn looking great.
Always double-check if your mower uses reverse thread blades. This detail is crucial for the correct installation. Follow the guidelines from your mower’s manual closely. If unsure, consult a professional. They can confirm the thread type and help with installation.
In conclusion, always make sure you install your lawn mower blades correctly. It’s a simple step that greatly impacts the safety and effectiveness of your mowing.