The Ultimate Guide to Using Seedling Heat Mats for Plant Propagation
Introduction
In the realm of horticulture, witnessing the transformation of a minuscule seed into a flourishing plant is an experience that never fails to captivate. Seed germination, the intricate process by which a seed sprouts and embarks on its growth journey, stands as a pivotal step in plant propagation, the practice of multiplying plants. While nature possesses its own mechanisms for seed germination, gardeners often turn to seedling heat mats to provide the ideal environment for seeds to thrive.
Understanding Seedling Heat Mats
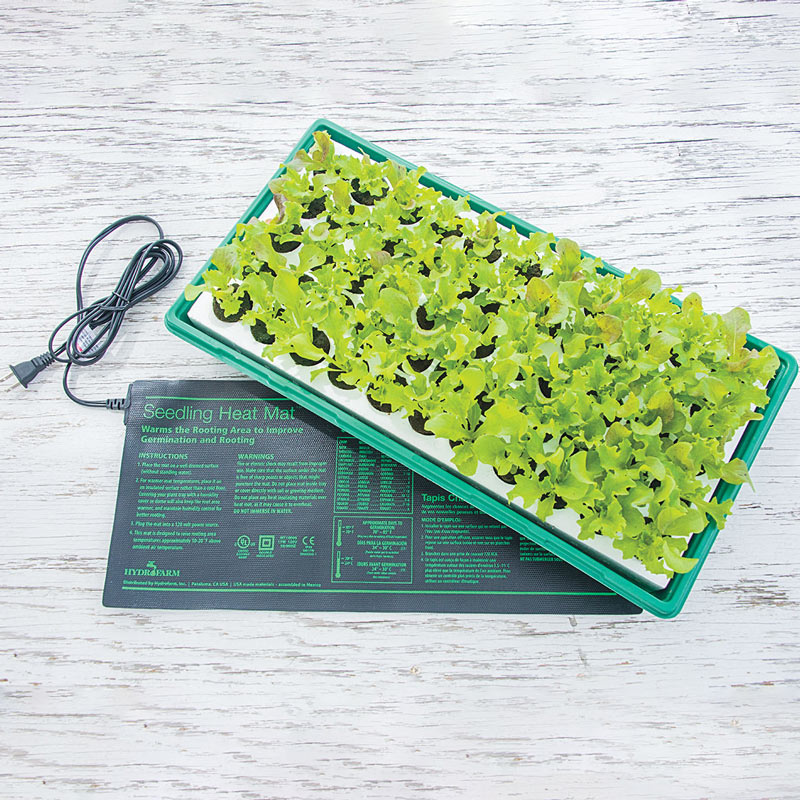
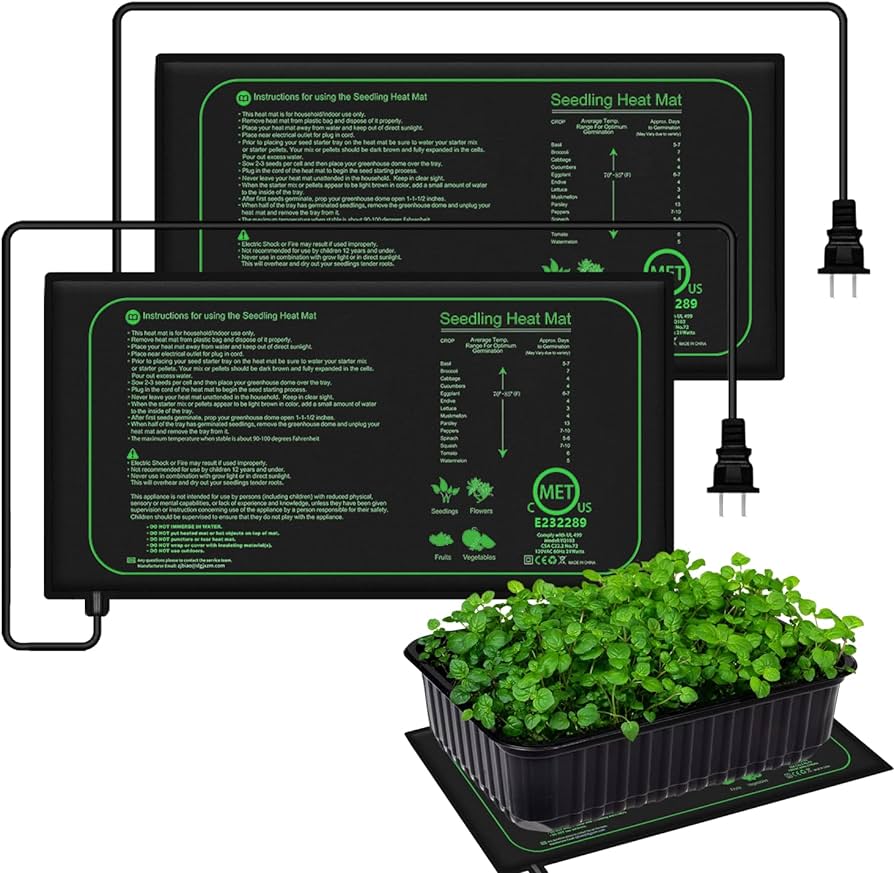
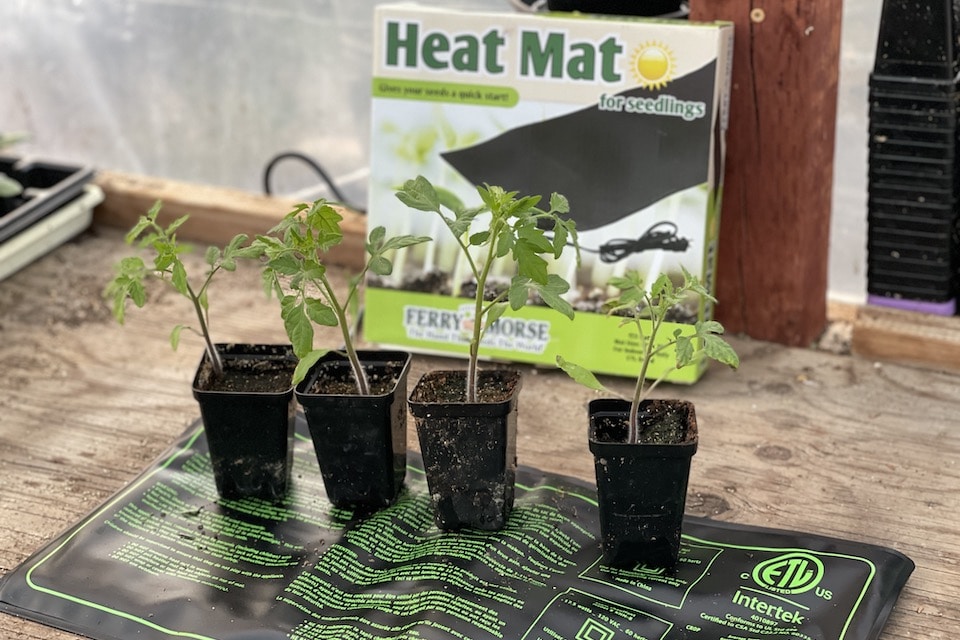
Seedling heat mats, often referred to as propagation mats, are specialized heating devices designed to create a warm and controlled environment for seed germination and early seedling growth. These mats generate gentle warmth, mimicking the natural soil temperatures that seeds require to germinate and flourish. By providing a consistent and regulated heat source, seedling heat mats help regulate the germination process, promoting faster and more uniform emergence of seedlings.
Types of Seedling Heat Mats
Seedling heat mats come in two primary varieties: electric and non-electric.
-
Electric Seedling Heat Mats: These mats are powered by electricity and offer precise temperature control through thermostats or dials. They are widely used for indoor seed starting and propagation.
-
Non-Electric Seedling Heat Mats: These mats utilize alternative heat sources, such as compost or animal manure, to generate warmth. They are often preferred for outdoor propagation and require less monitoring.
Factors to Consider When Choosing Seedling Heat Mats
Selecting the right seedling heat mat for your needs involves careful consideration of several factors:
-
Size and Compatibility: Ensure the mat’s size is compatible with your propagation trays or containers.
-
Wattage and Heat Output: Choose a mat with sufficient wattage to provide adequate heat for your specific seed requirements.
-
Durability and Construction: Opt for a mat made from durable materials that can withstand regular use and moisture exposure.
-
Thermostat Control and Features: Select a mat with a thermostat or temperature control to regulate heat output and maintain optimal conditions.
-
Safety Certifications and Precautions: Choose mats that carry safety certifications and follow safety guidelines to prevent overheating and electrical hazards.
Selecting the Right Seedling Heat Mat for Your Needs
When making your seedling heat mat selection, consider the following aspects:
-
Seedling Requirements and Heat Preferences: Research the ideal germination temperature for the seeds you plan to start.
-
Propagation Tray Size and Dimensions: Choose a mat that fits your propagation tray or container to ensure even heat distribution.
-
Personal Preferences and Budget Considerations: Evaluate your desired features, ease of use, and budget to find the best fit.
-
Popular Seedling Heat Mat Brands and Models: Explore reputable brands and models known for their performance and reliability.
Setting Up and Using Your Seedling Heat Mat
Once you’ve chosen your seedling heat mat, follow these steps for proper setup and use:
-
Choosing a Suitable Location: Select a level, stable surface away from direct sunlight, drafts, and heat sources.
-
Placing the Seedling Heat Mat: Position the mat on the chosen surface, ensuring the cord is safely secured and away from moisture.
-
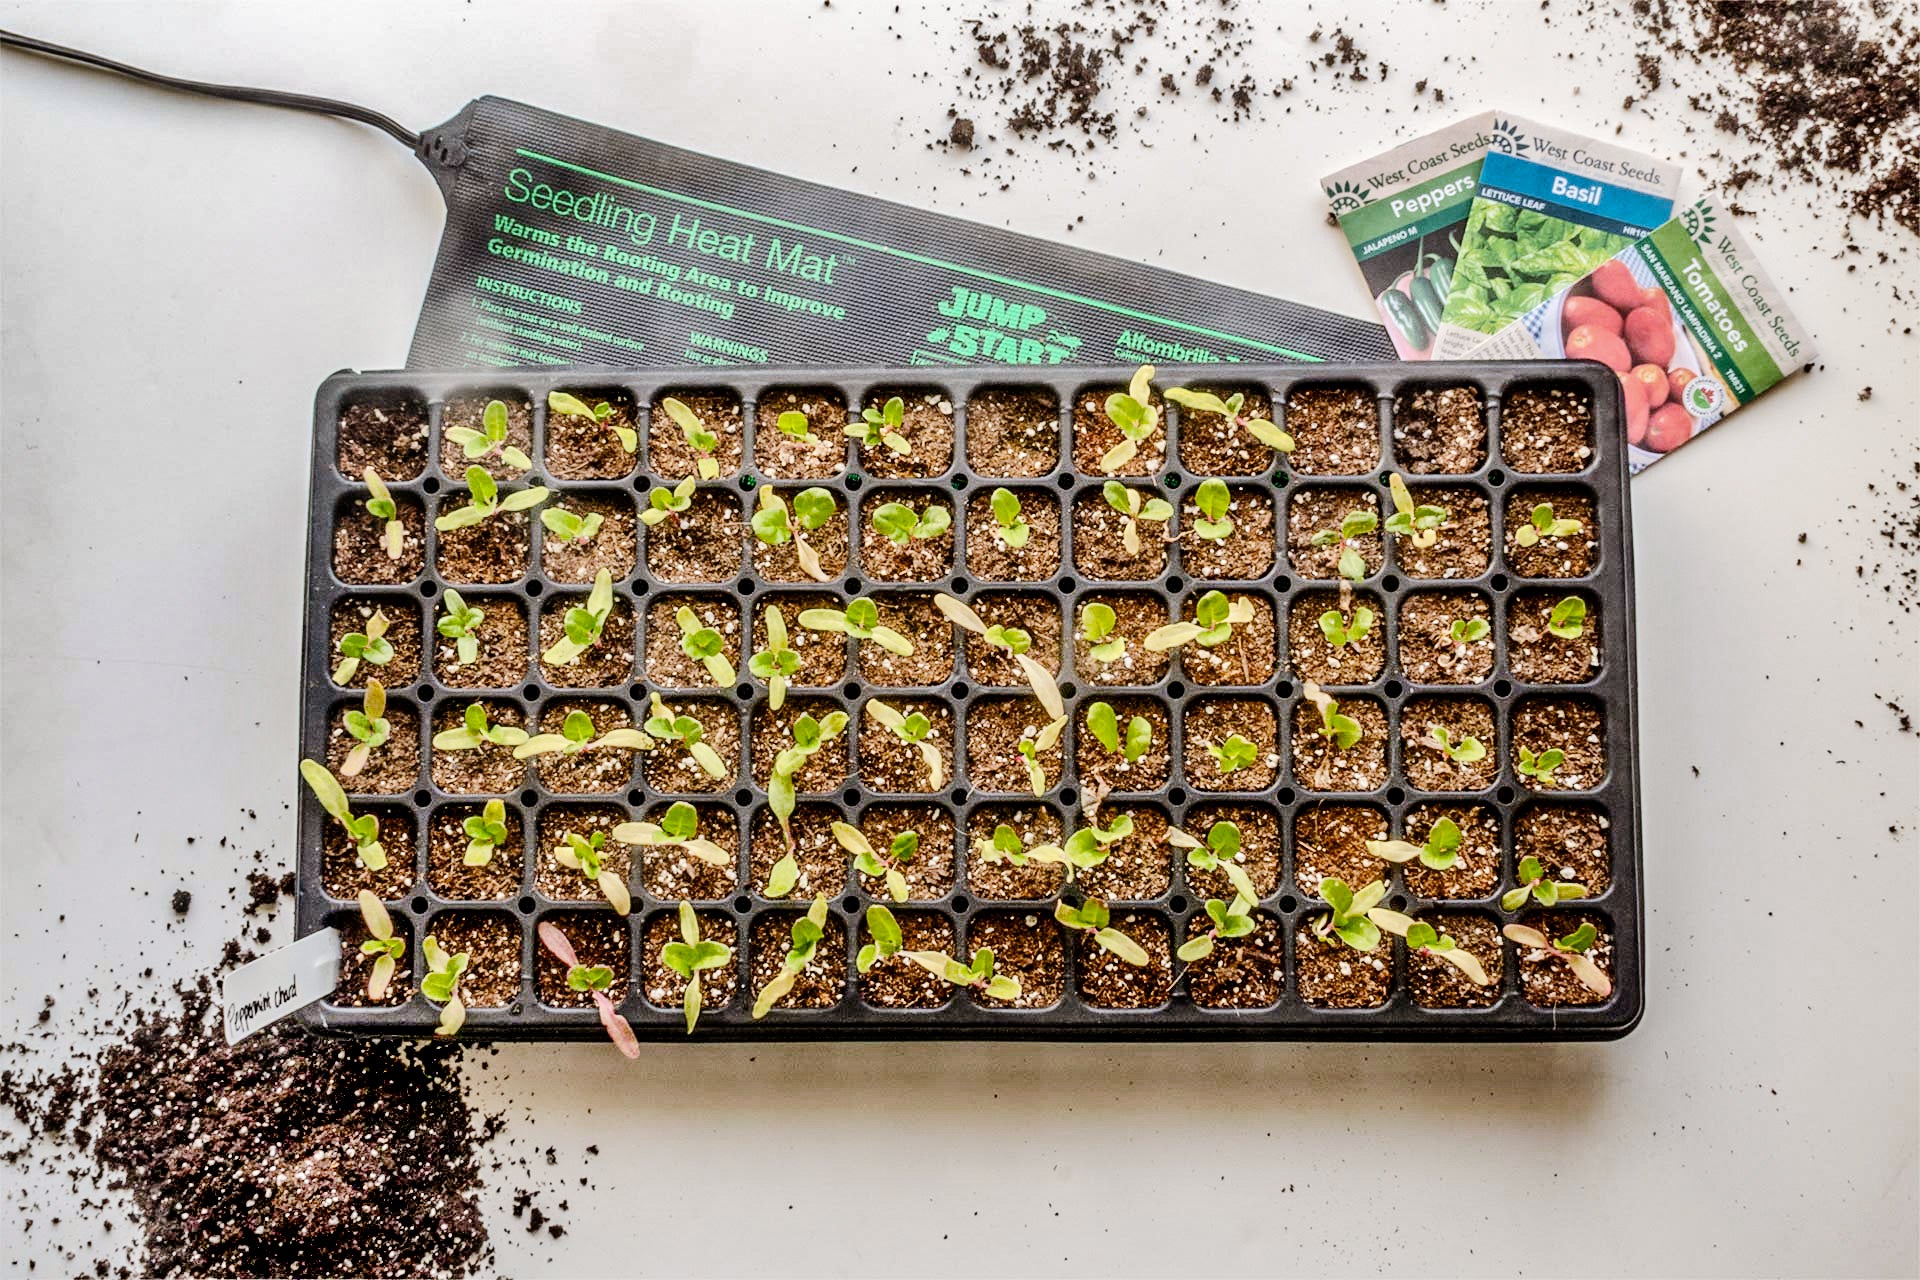
Preparing the Propagation Tray: Fill the propagation tray with a suitable seed starting mix or potting mix.
-
Sowing Seeds and Covering the Tray: Sow seeds according to the recommended spacing and depth for each variety. Cover the tray with a plastic dome or humidity tray to maintain moisture.
-
Monitoring Temperature and Humidity: Use a thermometer to monitor the soil temperature, aiming for the recommended range for your seeds. Check humidity levels regularly and adjust as needed.
Optimizing Seed Germination and Plant Growth
To maximize seed germination and seedling growth, follow these practices:
-
Maintaining Optimal Seedling Temperature: Keep the soil temperature within the ideal range for your chosen seeds, adjusting the heat mat thermostat as needed.
-
Providing Adequate Light and Airflow: Position the tray under grow lights or near a bright window to provide sufficient light for seedling growth. Ensure proper ventilation to prevent fungal growth.
-
Watering and Humidity Control: Water the seedlings as needed, avoiding overwatering. Maintain humidity by misting the dome or tray regularly.
-
Thinning Seedlings as Needed: Once seedlings emerge, thin them to the recommended spacing to prevent overcrowding and competition for resources.
-
Recognizing Signs of Germination and Growth: Observe the seedlings for signs of germination, such as emerging cotyledons or true leaves. Monitor their growth and development regularly.
Troubleshooting Common Seedling Heat Mat Issues
If you encounter problems with your seedling heat mat, follow these steps:
-
Identifying the Source of the Problem: Determine whether the issue is temperature-related, moisture-related, or seedling health-related.
-
Potential Solutions and Remedies: Adjust the heat mat thermostat, regulate humidity levels, address seedling health concerns, or seek expert advice if necessary.
-
Adjusting Heat Mat Temperature: If the soil temperature is too high, lower the thermostat setting. If it’s too low, raise the setting or use a higher wattage mat.
-
Regulating Humidity Levels: If the humidity is too low, mist the dome or tray more frequently. If it’s too high, increase ventilation or crack the dome open slightly.
-
Addressing Seedling Health Concerns: Identify signs of disease or pests and take appropriate action using organic methods or consult a gardening expert.
Transitioning Seedlings from Heat Mats
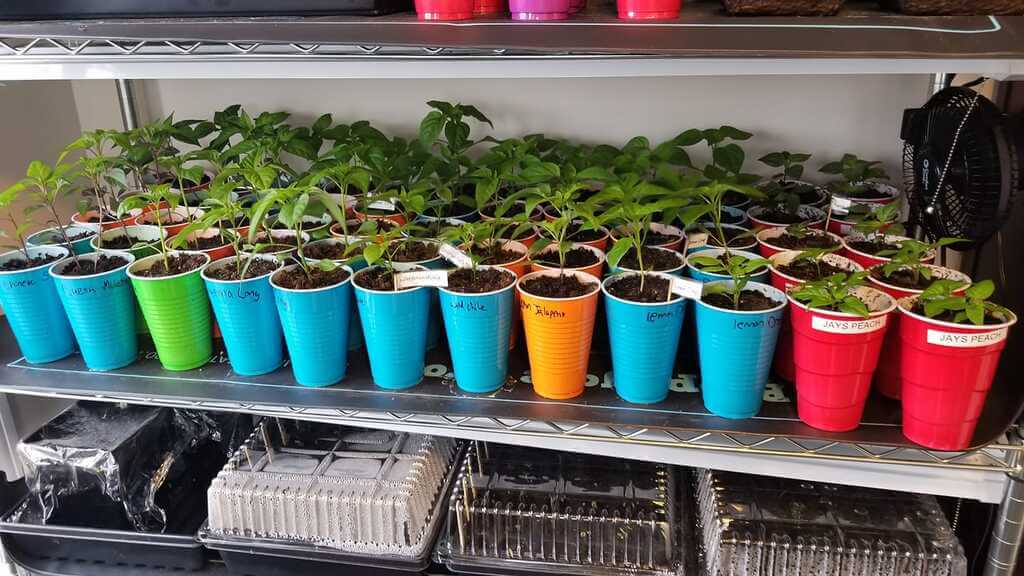
Once your seedlings have established a healthy root system and several sets of true leaves, it’s time to gradually wean them off the heat mat and prepare them for transplanting outdoors. This process, known as hardening off, is crucial for acclimating seedlings to cooler outdoor temperatures and preventing transplant shock.
-
Hardening Off Seedlings: Begin by exposing the seedlings to indirect sunlight and cooler temperatures for short periods each day. Gradually increase the duration and intensity of sunlight exposure over a week or two.
-
Gradual Reduction of Heat Mat Use: Slowly reduce the heat mat temperature over several days or start turning it off for short periods during the day.
-
Introducing Seedlings to Outdoor Conditions: On warm, sheltered days, place the seedlings outdoors in a protected location for a few hours, gradually increasing the duration as they acclimate.
-
Monitoring Seedling Response and Adjustment: Observe the seedlings for signs of stress, such as wilting or stunted growth. Adjust the hardening-off process as needed and provide protection from harsh weather conditions.
Caring for Seedlings After Transitioning
After successfully hardening off your seedlings and transplanting them outdoors, proper care is essential for their continued growth and development.
-
Providing Proper Watering and Fertilization: Water the seedlings regularly to maintain consistent moisture, adjusting the frequency based on weather conditions. Start introducing a diluted fertilizer solution once the seedlings are established.
-
Ensuring Adequate Light and Airflow: Position the plants in a location that receives sufficient sunlight for their specific needs. Provide good air circulation to prevent fungal diseases.
-
Protecting Seedlings from Pests and Diseases: Monitor seedlings regularly for signs of pests or diseases and take preventative measures using organic methods whenever possible.
-
Monitoring Seedling Growth and Development: Observe your seedlings closely, track their growth, and address any issues that may arise promptly.
Additional Tips and Techniques for Successful Seedling Propagation
Here are some additional tips and techniques to enhance your seedling propagation experience:
-
Utilizing Seed Starting Mixes: Opt for lightweight, well-draining seed starting mixes specifically formulated for optimal germination.
-
Employing Seedling Domes and Covers: Utilize humidity domes or clear plastic covers to maintain consistent moisture levels around the seedlings.
-
Bottom Watering Seedlings: Bottom watering involves placing the propagation tray in a shallow dish filled with water, allowing the soil to absorb moisture from below. This helps prevent damping-off disease.
-
Using Seed Starting Kits: Consider purchasing a seed starting kit that includes a heat mat, propagation tray, dome, and seed starting mix, offering a convenient all-in-one solution.
-
Keeping a Seedling Propagation Journal: Maintain a journal to document your seed starting journey, including planting dates, seed varieties, germination rates, and seedling growth observations. This valuable record allows you to refine your techniques and achieve even better results in the future.
Conclusion
Seedling heat mats offer a valuable tool for gardeners of all experience levels, promoting successful seed germination and fostering healthy seedling growth. By carefully selecting the right heat mat, using it correctly, and providing proper care for your seedlings, you can experience the joy of witnessing tiny seeds transform into thriving plants. Remember, successful plant propagation is a blend of knowledge, practice, and continuous learning. With dedication and these helpful tips, you can embark on a rewarding journey of cultivating your own vibrant garden using seedling heat mats.
-