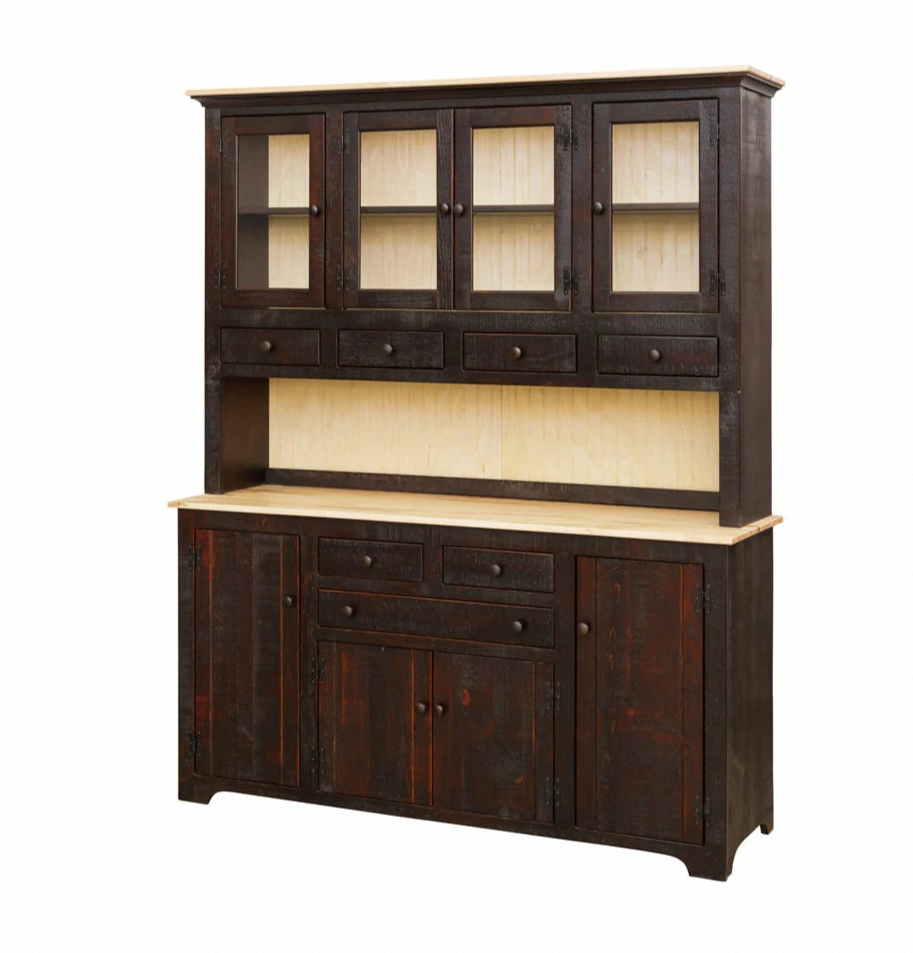
The kitchen hutch is not just a piece of furniture; it is the heart of your kitchen. It holds your most cherished dinnerware, glasses, and serving dishes, and it adds an element of elegance to your kitchen décor. However, over time, it can accumulate dust, stains, and grime, making it lose its luster. Cleaning and polishing your kitchen hutch not only restores its original beauty but also ensures that your dishes and glassware are kept in pristine condition.
Section 1: Preparing for the Task
Clear out the hutch: Before you begin cleaning, remove all items from the hutch shelves and drawers. This will allow you to access every nook and cranny easily. Take this opportunity to declutter and organize your kitchenware.
Gather your cleaning supplies: Make sure you have all the necessary cleaning supplies at hand. You will need a microfiber cloth, a soft-bristle brush, mild dish soap, warm water, white vinegar, baking soda, glass cleaner, and a non-abrasive furniture polish.
Section 2: Dusting and Cleaning the Surfaces
Dusting the hutch: Start by using a microfiber cloth or a soft-bristle brush to remove loose dust from the hutch’s surfaces, including the top, sides, and front. Pay attention to the crevices and corners where dust tends to accumulate.
Cleaning the wood surfaces: Mix a few drops of mild dish soap with warm water in a bucket or sink. Dip a clean cloth into the soapy water, wring out the excess, and gently wipe down the wooden surfaces of the hutch. Be careful not to saturate the wood, as excessive moisture can cause damage. Rinse the cloth frequently and change the water if it becomes dirty.
Removing stubborn stains: For tough stains or sticky residue, make a paste by mixing equal parts baking soda and water. Apply the paste to the stained area and gently rub it with a soft cloth or sponge. Rinse with clean water and dry thoroughly.
Section 3: Cleaning the Glass Doors and Shelves
Removing fingerprints and smudges: Spray a glass cleaner onto a clean cloth or directly onto the glass surface. Wipe the glass doors and shelves in a circular motion, removing any fingerprints, smudges, or dirt. Use a separate cloth to dry the glass for a streak-free finish.
Tackling stubborn stains: If the glass has stubborn stains or streaks, mix equal parts white vinegar and water in a spray bottle. Spray the solution onto the glass, let it sit for a few minutes, and then wipe it off with a clean cloth. Repeat if necessary until the stains are gone.
Section 4: Polishing the Hutch
Choosing the right furniture polish: Select a non-abrasive furniture polish that is suitable for the type of wood used in your hutch. Read the instructions on the polish bottle carefully before applying it.
Applying the furniture polish: Pour a small amount of polish onto a clean cloth and apply it to the wooden surfaces of the hutch, following the grain of the wood. Use gentle circular motions to work the polish into the wood. Allow it to dry according to the instructions before buffing it with a clean, dry cloth.
Section 5: Maintaining the Hutch’s Beauty
Regular dusting: To keep your hutch clean and dust-free, make it a habit to dust it regularly using a microfiber cloth or a soft-bristle brush. This will prevent the accumulation of dust and prolong the intervals between deep cleaning sessions.
Avoiding harsh cleaning products: Steer clear of harsh chemicals, abrasive cleaners, and rough materials when cleaning your hutch. These can damage the wood or leave scratches on the glass surfaces.
Cleaning and polishing your kitchen hutch may seem like a daunting task, but with the right tools and techniques, it can be a rewarding and satisfying experience. By following the steps outlined in this guide, you can transform your hutch from a dusty and dull piece of furniture to a shining centerpiece in your kitchen. Remember to take your time, pay attention to details, and enjoy the process of restoring your kitchen hutch to its former glory.