I. Introduction
In the realm of home gardening, hydroponics has emerged as a revolutionary technique, offering a soilless approach to cultivating plants that has captivated the hearts of both novice and experienced gardeners alike. Hydroponic systems eliminate the need for traditional soil, instead suspending plant roots in nutrient-rich solutions, allowing for optimal growth and enhanced yields. For those who enjoy the thrill of DIY projects and the satisfaction of nurturing their own indoor gardens, DIY hydroponic boxes present an exciting and rewarding endeavor.
II. Understanding Hydroponics
Before embarking on your DIY hydroponic box adventure, it’s crucial to grasp the fundamental principles of hydroponics, the soil-free method of cultivating plants. In hydroponic systems, plant roots are suspended in a nutrient-rich solution, providing them with direct access to the essential elements they need for growth and development. This revolutionary technique offers several advantages over traditional soil gardening methods:
-
Faster Growth: Hydroponic plants often exhibit accelerated growth rates compared to their soil-grown counterparts. The direct and consistent availability of nutrients and water in the nutrient solution contributes to this enhanced growth.
-
Enhanced Yields: Hydroponic systems can produce significantly higher yields per square foot of growing space compared to traditional soil gardening methods. The efficient delivery of nutrients and the absence of soil-related limitations allow hydroponic plants to reach their full potential.
-
Reduced Water Usage: Hydroponics is an incredibly water-efficient method of gardening. Nutrient solutions are recirculated and reused, minimizing water waste and conserving this precious resource.
-
Pest and Disease Control: The absence of soil in hydroponic systems significantly reduces the risk of soil-borne pests and diseases. This contributes to healthier plants and minimizes the need for pesticides or fungicides.
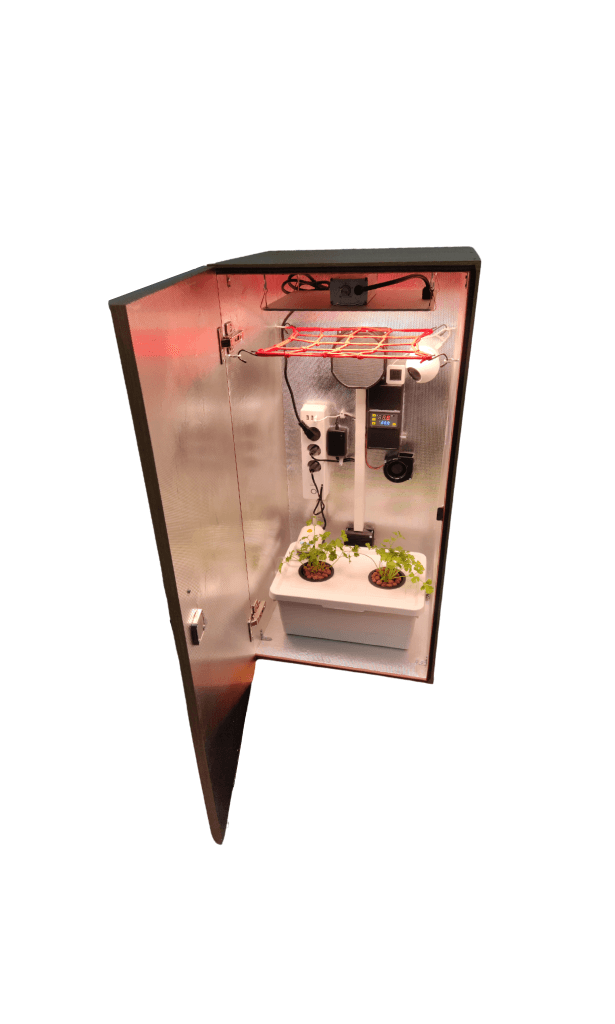
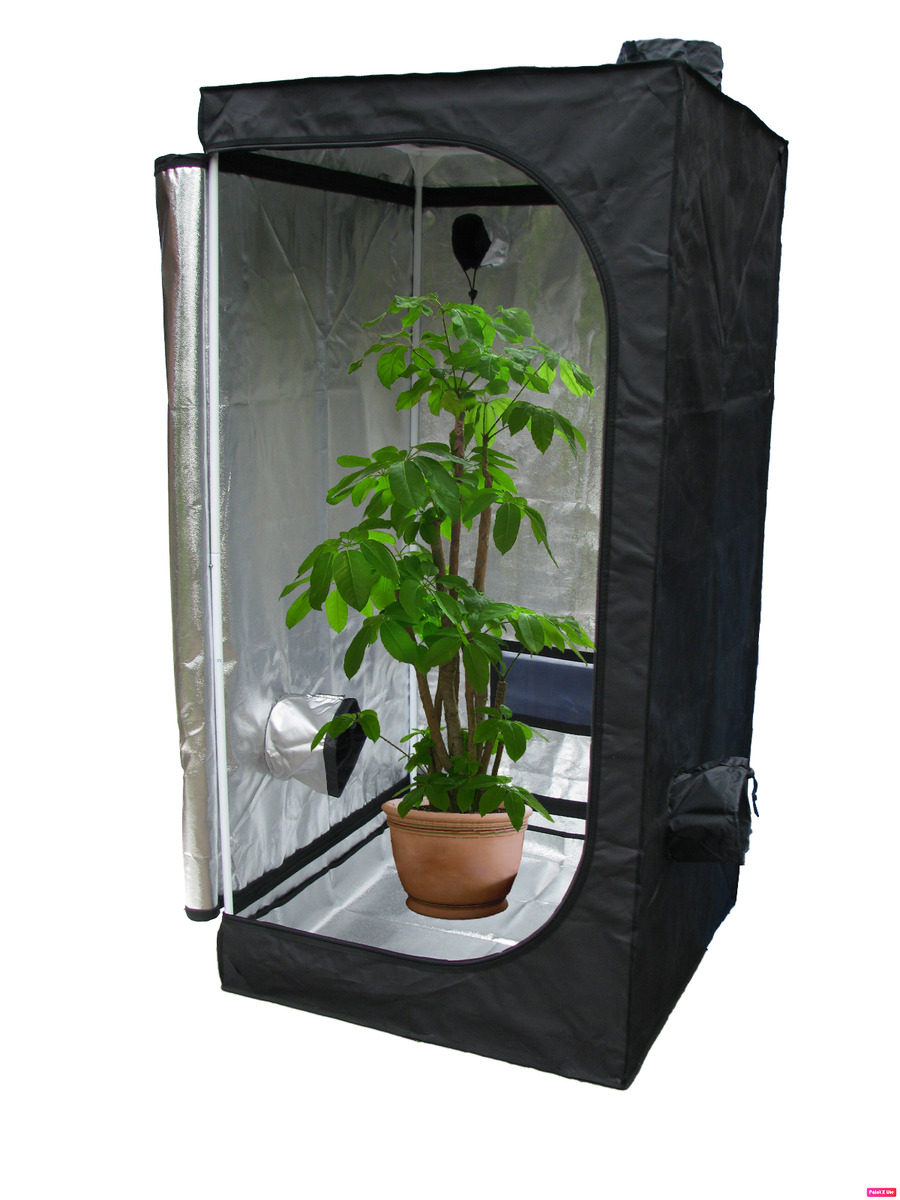
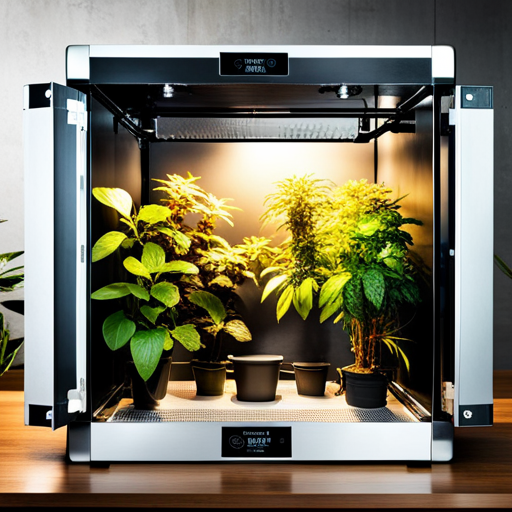
III. Designing Your DIY Hydroponic Box
The design of your DIY hydroponic box plays a pivotal role in the success of your indoor garden. Carefully consider the following factors to ensure your creation meets your needs and preferences:
1. Size and Shape: Determine the appropriate size and shape of your hydroponic box based on the available space in your home and the number of plants you intend to grow. Consider factors like vertical space utilization and ease of access when making your decision.
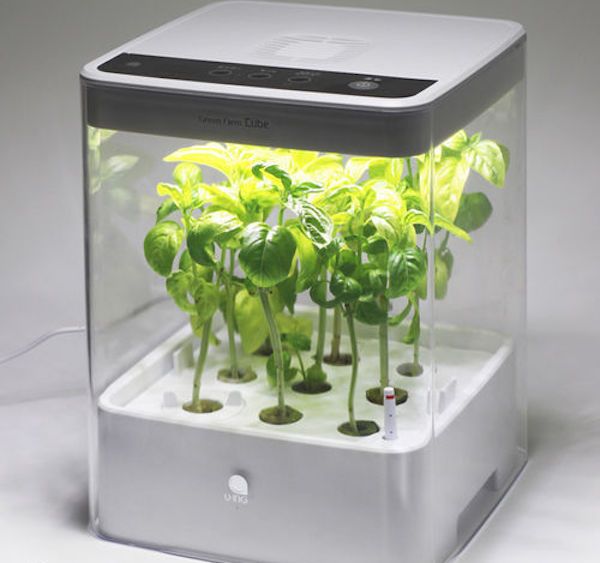
2. System Type: Choose the hydroponic system type that best suits your needs and preferences. Popular options include Deep Water Culture (DWC), Nutrient Film Technique (NFT), and Aeroponics. Each system has its own unique advantages and considerations.
-
Deep Water Culture (DWC): DWC systems are simple and effective, immersing plant roots directly in the nutrient solution.
-
Nutrient Film Technique (NFT): NFT systems continuously flow a thin film of nutrient solution over plant roots, promoting rapid growth and efficient nutrient uptake.
-
Aeroponics: Aeroponic systems suspend plant roots in air and mist them with nutrient solution, providing excellent aeration and preventing root rot.
3. Materials: Select durable and food-safe materials for constructing your hydroponic box. Common choices include PVC pipes, plastic containers, and food-grade plastic sheets. Ensure the materials are compatible with the nutrient solution you intend to use.
4. Lighting System: Plan for an adequate lighting system to provide the necessary light intensity and duration for your chosen plants. LED grow lights are a popular and energy-efficient option, offering a full spectrum of light that promotes healthy plant growth.
5. Nutrient Delivery System: Design a nutrient delivery system to distribute the nutrient solution evenly to the plant roots. This may involve pumps, tubing, and drippers or sprayers. The choice of system will depend on the hydroponic type you selected.

IV. Gathering the Necessary Materials
Once you’ve finalized your hydroponic box design, assemble the required materials to bring your vision to life. Ensure you have all the necessary tools and equipment to complete the construction process safely and efficiently.
-
Cutting and Drilling Tools: Acquire tools for cutting and drilling the materials you’ve selected, such as saws, drills, and hand tools. Choose tools that are appropriate for the materials you will be working with.
-
Measuring and Marking Tools: Gather measuring and marking tools like rulers, tape measures, and markers to ensure accurate construction. These tools will be essential for cutting materials to the correct dimensions and positioning components precisely.
-
Adhesives and Sealants: Choose appropriate adhesives and sealants to join the components of your hydroponic box securely and prevent leaks. Select adhesives that are compatible with the materials you are using and that are safe for use in hydroponic systems.
-
Hydroponic Components: Procure the necessary hydroponic components, such as net pots, grow media (clay pebbles, perlite, etc.), and nutrient solution. Choose net pots that are suitable for the size of your plants and select a grow media that provides adequate drainage and aeration.
-
V. Step-by-Step Construction Guide
Now that you have a firm grasp of the design considerations and necessary materials, let’s delve into the exciting process of constructing your DIY hydroponic box! Follow these detailed instructions, taking your time and ensuring each step is completed accurately.
1. Cut and Prepare Materials:
-
Meticulously cut the materials you’ve chosen according to your design specifications. Utilize the measuring and marking tools to ensure precise dimensions.
-
Debur any rough edges created during the cutting process using sandpaper or a filing tool. This will create a smoother finish and prevent potential injury while handling the components.
2. Assemble the Frame:
- Construct the frame of your hydroponic box using the chosen materials. Secure the frame components firmly using the appropriate adhesives or fasteners, ensuring a strong and stable structure.
3. Install the Reservoir:
- Mount the reservoir, which will hold the nutrient solution that nourishes your plants, at the designated location in the base of the hydroponic box. Ensure the reservoir is properly sealed and level to prevent leaks and maintain consistent nutrient distribution.
4. Create the Planting Area:
- Establish the planting area above the reservoir, where your plants will reside. This may involve installing a net pot grid within the frame, creating a platform for placing individual pots, or implementing a design specific to your chosen hydroponic system.
5. Integrate the Nutrient Delivery System:
- Install the nutrient delivery system, meticulously connecting it to the reservoir. Utilize tubing or pipes to distribute the nutrient solution throughout the planting area. Consider using drippers or sprayers at the end of the tubing to deliver the solution directly to the plant roots.
6. Attach the Lighting System:
- Mount the grow lights in the optimal position above the planting area. Ensure they are properly secured and provide adequate light coverage for your chosen plants. Research the specific light requirements of your plants to determine the appropriate lighting intensity and duration.
VI. Testing and Preparation for Planting
Before introducing your precious plants to their new hydroponic home, it’s crucial to conduct thorough testing to ensure the system is functioning flawlessly.
1. Nutrient Solution Preparation:
- Prepare the nutrient solution according to the instructions provided by the nutrient manufacturer. Ensure you dilute the concentrated solution to the appropriate ratio for your plants and adjust the pH level to fall within the recommended range, typically between 5.5 and 6.5. A pH meter will be helpful for this step.
2. System Check:
- Run the nutrient delivery system to check for leaks and ensure even distribution of the nutrient solution throughout the planting area. Address any leaks promptly to prevent damage and wasted nutrients. Test the lighting system to confirm proper operation and adjust the positioning if necessary.
3. Cleaning and Sanitization:
- Clean and sanitize all components of the hydroponic box to eliminate any potential contaminants that could harm your plants. Use a mild bleach solution or a hydroponic system cleaner, following the manufacturer’s instructions for dilution and application. Rinse all components thoroughly with clean water after sanitization.
4. Planting Preparation:
- Choose suitable seedlings or seeds for your hydroponic system. Pre-soak seeds according to the seed packet instructions if necessary. Prepare your chosen grow media, such as clay pebbles or perlite, by rinsing them thoroughly to remove any dust or debris.
VII. Planting and Initial Care
With your DIY hydroponic box meticulously constructed, tested, and prepared, it’s time to introduce your plant life! Here’s how to establish your thriving indoor garden:
1. Planting:
- Carefully place your chosen seedlings or germinated seeds into the net pots, ensuring the roots are gently nestled within the grow media. If using seeds, plant them at the recommended depth according to the seed packet instructions.
2. Initial Watering:
- Provide your newly planted seedlings or seeds with a gentle watering using clean, preferably pH-balanced water. Avoid overwatering, as this can damage delicate roots. Aim to keep the grow media moist but not soggy.
3. Lighting Adjustment:
- Adjust the lighting system to provide the appropriate light intensity and duration for your chosen plants. Many LED grow lights offer adjustable settings to cater to different plant needs. Refer to plant-specific growing guides or consult online resources for optimal lighting recommendations.
VIII. Ongoing Maintenance and Monitoring
The journey doesn’t stop after planting! Consistent care and monitoring are essential for the continued success of your hydroponic garden.
1. Nutrient Management:
- Regularly monitor the nutrient solution level in the reservoir and top it up with fresh solution as needed. Periodically test and adjust the pH level of the solution to ensure it remains within the optimal range.
2. Plant Monitoring:
- Closely observe your plants for signs of growth and adjust lighting or nutrient levels as necessary. Prune any diseased or overgrown foliage to maintain healthy plant development.
-