
In 2024, breaking concrete can be a daunting task, but with the right hand tools, techniques, and safety measures, it becomes a manageable project. Whether you are renovating, repairing, or redesigning a space, understanding how to effectively and safely break concrete is essential. How to break concrete with hand tools ? This comprehensive guide covers all aspects of breaking concrete with hand tools, ensuring that you can approach your project with confidence and skill.
Understanding the Basics
Why Break Concrete with Hand Tools?
Breaking concrete with hand tools might seem old-fashioned in the age of power tools, but there are several reasons why it remains a popular choice.
- Precision: Hand tools offer superior control, allowing for precision in tasks that require careful removal of concrete.
- Cost-effective: Hand tools are typically more affordable than power tools, making them accessible for DIY enthusiasts and small projects.
- Portability: They don’t require electricity, meaning you can use them anywhere without needing a power source.
- Safety: For beginners, hand tools can be safer to handle compared to heavy machinery.
Common Scenarios
Concrete breaking is necessary in various scenarios, such as:
- Home Renovations: Removing old patios, driveways, or basement floors.
- Repairs: Fixing broken or uneven slabs.
- Redesigning: Creating new paths, garden features, or flooring.
- Construction: Preparing areas for new foundations or installations.
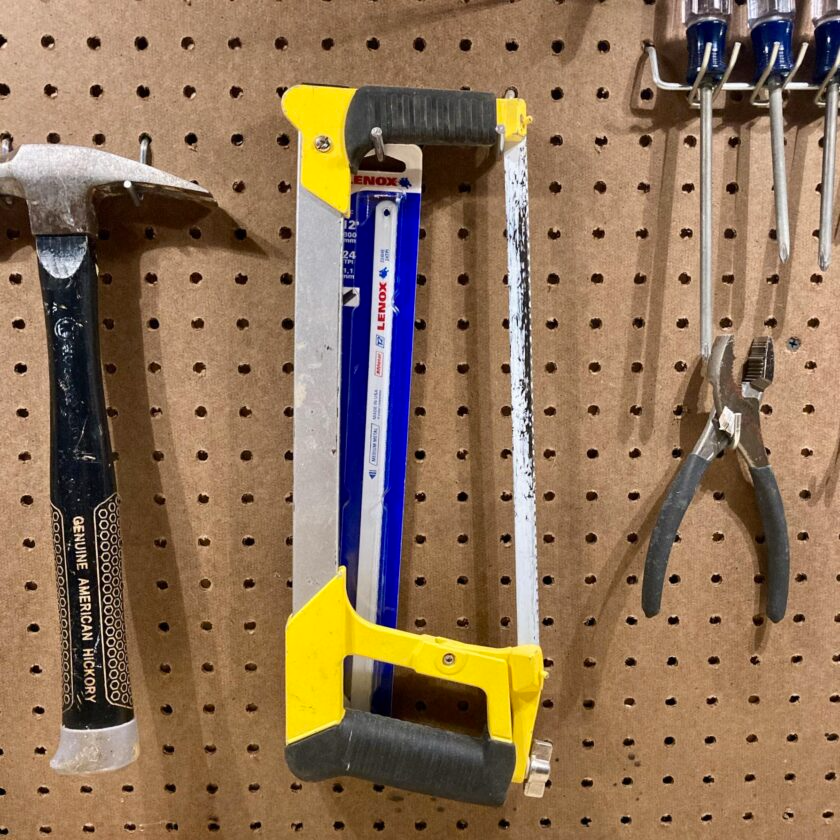
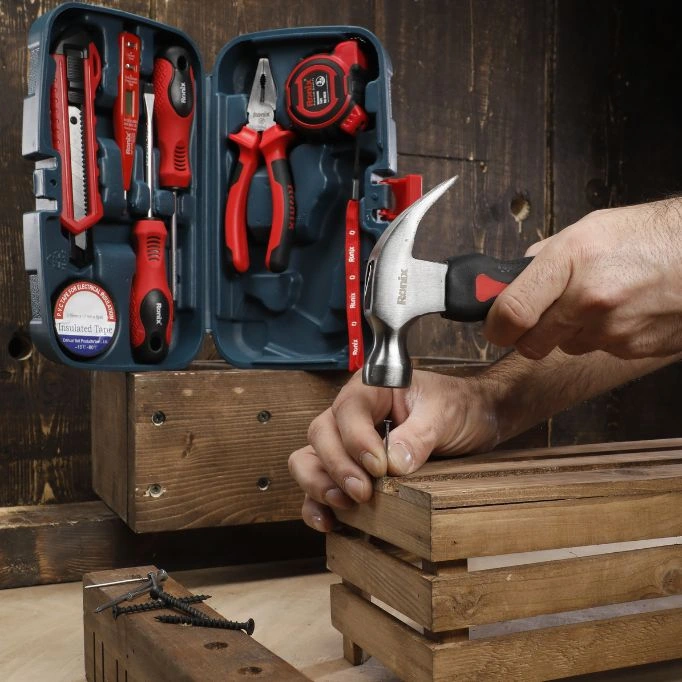
Tools for Breaking Concrete
Essential Hand Tools
Several hand tools are indispensable for breaking concrete effectively.
- Sledgehammer: A heavy sledgehammer is a primary tool for breaking concrete. The weight and force allow you to break through even thick slabs.
- Cold Chisel: Used to score or weaken the concrete before breaking it down further with a hammer.
- Mason’s Hammer: Smaller and more precise than a sledgehammer, suitable for detailed work.
- Pry Bar or Crowbar: Essential for prying up broken pieces of concrete and securing leverage.
- Hand Guard and Gloves: Protecting your hands is crucial, so sturdy gloves and hand protection are required.
- Safety Glasses: Flying debris can cause serious injuries, making safety glasses non-negotiable.
Optional Tools for Efficiency
While the essential tools are sufficient for most projects, additional tools can enhance efficiency and ease.
- Concrete Saw: A manual concrete saw can help score concrete more efficiently.
- Pickaxe: Useful for initial breaking and prying before using a sledgehammer.
- Shovel: Helps in removing debris and clearing the work area.
Techniques for Breaking Concrete
Scoring and Weakening
Before swinging the sledgehammer, preparing the concrete makes the task easier.
- Mark Your Area: Use chalk to outline the area you want to break.
- Score the Concrete: Use a cold chisel and a mason’s hammer to score along the line. This creates a weak point where the concrete will break more easily.
- Start at the Edges: It’s often easier to start breaking at the edges and work your way inward.
Using the Sledgehammer
Swinging a sledgehammer effectively involves technique as much as strength.
- Stance and Grip: Stand with your feet shoulder-width apart. Grip the sledgehammer firmly with both hands.
- Strike with Precision: Aim each blow precisely. Start with lighter taps to further weaken the scored line, then follow with heavier strikes.
- Work in Sections: Break the concrete into manageable sections. Trying to break too large an area at once can be inefficient and exhausting.
Removing Broken Pieces
Efficient removal of broken pieces is crucial to maintaining a safe, organized work area.
- Use a Pry Bar: Insert the pry bar into the cracks and leverage pieces free.
- Shovel and Clear Debris: Use a shovel to remove smaller pieces and clear the work area regularly to avoid tripping hazards.
Safety Considerations
Personal Protective Equipment (PPE)
Safety should be your top priority when breaking concrete.
- Wear Thick Gloves: Protects your hands from blisters, cuts, and bruises.
- Safety Glasses: Essential to shield your eyes from flying debris.
- Sturdy Footwear: Wear steel-toed boots to protect your feet from falling debris.
- Ear Protection: If noise levels are high, use earplugs or earmuffs to protect your hearing.
Safe Working Habits
Adopting safe working habits can prevent accidents.
- Take Breaks: Regular breaks reduce fatigue, which can cause accidents.
- Stay Hydrated: Breaking concrete is physically demanding, so stay hydrated, especially in hot conditions.
- Use Tools Correctly: Always use tools as intended and maintain them in good condition.
- Be Aware of Your Surroundings: Keep your work area clear and be aware of other people and obstacles around you.
Emergency Preparedness
Accidents can happen, so be prepared.
- First Aid Kit: Keep a first aid kit nearby.
- Emergency Plan: Have a plan for what to do in case of an emergency, including the quickest way to contact emergency services.
Tips for Efficiency
Plan Your Work
A well-planned project is more likely to be successful.
- Clear the Area: Ensure the work area is clear of obstacles before starting.
- Gather Tools: Assemble all needed tools beforehand to avoid interruptions.
Leverage and Technique Over Strength
Relying on proper technique and leverage can make the job easier.
- Position Your Body: Use your body’s weight to increase power in your swings and prying.
- Pry Correctly: Use the length of the pry bar to your advantage by applying force at the far end.
Maintain Your Tools
Well-maintained tools perform better and last longer.
- Sharpen Blades: Regularly sharpen chisels and other cutting tools.
- Check for Wear: Inspect tools for wear and damage, replacing them if necessary.
Learn from Others
Observing and learning from others’ experiences can be invaluable.
- Watch Tutorials: Tutorials and videos can provide visual guides on techniques.
- Ask Professionals: If possible, get advice from professionals who have experience in breaking concrete.
Advanced Techniques with Hand Tools
Hand tools have been the cornerstone of craftsmanship for centuries. While many people may be familiar with basic hand tool usage, mastering advanced techniques can elevate your projects to new heights. Advanced hand tool techniques require a deeper understanding of the tools themselves, the materials you’re working with, and the methods to achieve precision and efficiency. This part explores various advanced techniques with hand tools, covering different types of tools, their applications, and essential safety measures.
Precision Cutting Techniques
Advanced Sawing Methods
Sawing is a fundamental skill, but mastering advanced techniques takes practice and knowledge.
Japanese Pull Saw Technique
Japanese pull saws cut on the pull stroke rather than the push stroke, allowing for more control and precision.
- Grip and Stance: Hold the saw handle firmly with your dominant hand and support the blade with your other hand. Position yourself so that the cut is aligned with your body.
- Controlled Motion: Use slow, deliberate pull strokes. Let the saw do the work and avoid applying too much pressure.
- Applications: Ideal for fine woodworking, cabinetry, and detailed joinery.
Coping Saw Mastery
A coping saw is perfect for intricate cuts and curves.
- Blade Tension: Ensure the blade is properly tensioned to prevent it from bending during cutting.
- Pivoting Technique: Use short, controlled strokes and pivot the saw around curves. Practice making tight corners by rotating your wrist.
- Applications: Useful for coping joints, scrollwork, and detailed fretwork.
Advanced Chiseling
Chisels are essential for shaping and detailing wood and other materials. Advanced chiseling ensures cleaner, more precise cuts.
Paring Technique
Paring involves removing thin shavings of wood to refine a surface or create a smooth finish.
- Sharp Blade: Ensure your chisel is razor-sharp. A sharper blade allows for more control and cleaner cuts.
- Controlled Pressure: Apply controlled, even pressure with your dominant hand while guiding the blade with your other hand.
- Applications: Perfect for fine woodworking, creating joinery, and refining edges.
Mortise and Tenon Chiseling
Creating mortise and tenon joints requires precision and skill.
- Layout: Mark the mortise and tenon locations accurately with a marking gauge or square.
- Mortising: Use a mortise chisel to remove material in small increments. Ensure the sides remain straight and the bottom flat.
- Tenoning: Use a sturdy bench and a sharp chisel to create clean, straight tenons that fit snugly into the mortise.
Advanced Sharpening Techniques
Maintaining Blades
A sharp blade is essential for effective hand tool usage. Advanced sharpening techniques ensure your tools remain in peak condition.
Honing Bevels
Honing creates a fine edge on chisels and plane irons.
- Honing Guide: Use a honing guide to maintain a consistent angle. This ensures an even, sharp edge.
- Sharpening Stone: Use progressively finer grit stones to create a razor-sharp bevel. Finish with a strop to polish the edge.
- Applications: Ensures precise cuts and extends the life of your tools.
Scary Sharp Method
A method that uses sandpaper mounted on a flat surface to achieve a mirror-like finish.
- Grit Progression: Start with coarse grit sandpaper and progress to finer grits. Use a flat surface, like a piece of glass or granite, to ensure even sharpening.
- Lubrication: Use water or honing oil to float away metal particles and achieve a smoother finish.
- Applications: Suitable for plane irons, chisels, and other flat-edged tools.
Sharpening Saws
Sharp saw teeth ensure efficient and clean cuts.
Filing Teeth
Regular filing maintains saw sharpness.
- Saw File: Use a triangular saw file that fits the size of your saw’s teeth.
- Consistent Angles: File each tooth at a consistent angle. Count strokes to maintain uniformity.
- Applications: Essential for maintaining crosscut and rip saws.
Setting Teeth
Setting adjusts the angle of the saw teeth to ensure a straighter cut.
- Saw Set Tool: Use a saw set to bend each tooth slightly outwards. Alternate teeth on each side for an even set.
- Applications: Prevents the saw from binding in the cut and ensures smoother operation.
Joint Creation and Assembly
Advanced Joinery Techniques
Mastering advanced joinery techniques ensures strong, precise, and aesthetically pleasing joints.
Dovetail Joints
Dovetail joints are known for their strength and beauty.
- Layout: Use a dovetail marker to mark your tails and pins accurately. Precision here is critical.
- Cutting and Fitting: Use a dovetail saw for straight, clean cuts. A coping saw helps remove waste. Test fit frequently and pare with a chisel to achieve a snug fit.
- Applications: Ideal for drawer construction, cabinetry, and fine furniture.
Box Joints
Box joints offer a strong, decorative joinery option.
- Jig Use: Create consistent box joints with a jig. Mark your wood accurately before cutting.
- Test Fits: Regularly test fit pieces to ensure a tight, precise joint.
- Applications: Common in box making, drawer construction, and decorative furniture.
Assembly Techniques
Proper assembly ensures your project remains strong and aligns correctly.
Gluing and Clamping
Proper gluing and clamping are essential for a strong, long-lasting bond.
- Glue Selection: Choose the appropriate glue for your material. Wood glue for wood, epoxy for mixed materials, etc.
- Clamping Pressure: Apply even clamping pressure to prevent distortion. Use cauls to distribute pressure evenly.
- Applications: Ensures joints remain strong and aligned, preventing movement over time.
Doweling
Doweling strengthens joints with reinforced wooden pegs.
- Accurate Drilling: Use a dowel jig to drill perfectly aligned holes.
- Dry Fit: Assemble the joint without glue first to ensure proper alignment.
- Applications: Adds strength to butt joints, miters, and edge-to-edge joins.
Surface Preparation and Finishing
Advanced Sanding Techniques
Sanding smooths surfaces and prepares them for finishing.
Progressive Grit Sanding
Using progressively finer grits achieves a smooth finish.
- Start Coarse: Begin with a coarse grit to remove large imperfections.
- Progress Gradually: Move to finer grits step-by-step, finishing with very fine grit.
- Applications: Prepares surfaces for staining, painting, or sealing.
Hand Sanding Details
Hand sanding reaches areas that machines can’t.
- Custom Shapes: Use custom-shaped sanding blocks to match the contours of your project.
- Detail Work: Focus on small areas and intricate details for a flawless finish.
- Applications: Essential for fine woodworking, curved surfaces, and detailed craftsmanship.
Finishing Techniques
Proper finishing enhances and protects your work.
Staining and Sealing
Staining adds color while sealing protects the surface.
- Test Areas: Test the stain on a scrap piece of wood to ensure the desired color.
- Even Application: Apply stain evenly with a brush or cloth, following the wood grain.
- Sealers: Use a sealer appropriate for your material to protect against moisture and wear.
- Applications: Enhances the appearance and durability of furniture, cabinetry, and woodwork.
Veneering
Adding veneer can transform ordinary wood into a high-end finish.
- Surface Prep: Smooth and clean the surface before applying veneer.
- Adhesive Selection: Use the right adhesive for your veneer and substrate.
- Pressing: Use a veneer press or clamps to ensure a smooth, even bond.
- Applications: Adds a high-end finish to furniture, cabinetry, and paneling.

Tool Maintenance and Safety
Maintenance Tips
Proper maintenance extends the life of your tools and ensures peak performance.
Cleaning and Oiling
Regular cleaning and oiling prevent rust and wear.
- Clean After Use: Wipe down tools after each use to remove dust and debris.
- Oil Metal Parts: Apply a light coat of oil to metal parts to prevent rust.
- Applications: Ensures tools remain in good working condition and prolongs their lifespan.
Storage Solutions
Proper storage prevents damage and prolongs tool life.
- Organized Storage: Use tool racks, pegboards, or tool chests to organize your tools.
- Controlled Environment: Store tools in a dry, climate-controlled environment to prevent rust and corrosion.
- Applications: Keeps tools organized, accessible, and in good condition.
Safety Measures
Advanced techniques often involve more complex and potentially hazardous procedures.
Proper PPE
Personal protective equipment (PPE) is essential.
- Safety Glasses: Always wear safety glasses to protect your eyes from debris.
- Hearing Protection: Use ear protection if you’re working in noisy environments.
- Gloves: Wear gloves to protect your hands from cuts and abrasions.
- Applications: Reducing the risk of injury and ensuring a safe working environment.
Safe Working Practices
Adopting safe work practices prevents accidents and injuries.
- Tool Inspection: Regularly inspect tools for damage or wear. Replace or repair as needed.
- Work Area: Keep your work area clean and organized to prevent tripping or accidents.
- Proper Techniques: Use tools as intended and follow manufacturer guidelines.
- Applications: Ensures a safe, efficient, and productive workspace.
Mastering advanced techniques with hand tools elevates your craftsmanship to professional levels. From precision cutting and advanced joinery to meticulous finishing and consistent maintenance, each aspect requires skill and attention to detail. Incorporating these advanced techniques into your work not only enhances the quality of your projects but also ensures safety and efficiency.
Investing time in learning and practicing these advanced techniques will pay off in the quality and durability of your work. Whether you’re a hobbyist or a professional, mastering the art of using hand tools is a rewarding journey that offers endless possibilities for creativity and craftsmanship.

Conclusion
Breaking concrete with hand tools is an art that combines strength, technique, and safety awareness. Mastering these aspects allows you to tackle a variety of projects effectively. From choosing the right tools to employing the best techniques and ensuring safety, every step matters in achieving a successful outcome.
By considering ergonomic practices, proper planning, and maintaining your tools, you can turn a challenging task into a manageable one. Whether you are a DIY enthusiast or a professional, understanding the intricacies of breaking concrete with hand tools will enhance your skill set and ensure your projects run smoothly and safely.