Introduction to Lawn Mower Carburetor Issues
How to clean a carburetor on a lawn mower? Understanding carburetor problems is key to smooth lawn mower operation. A clogged or dirty carburetor can lead to starting difficulties. Poor maintenance often turns into performance issues. Fuel not reaching the engine correctly is a common culprit. This issue may show as rough idling, stalling, or even failure to start. Identifying and addressing carburetor issues can restore your mower’s functionality. Regular cleaning prevents these problems and extends mower life. In this post, we’ll explore how to identify and fix carburetor issues, ensuring your mower starts every time.
Identifying the Location of the Lawn Mower Carburetor
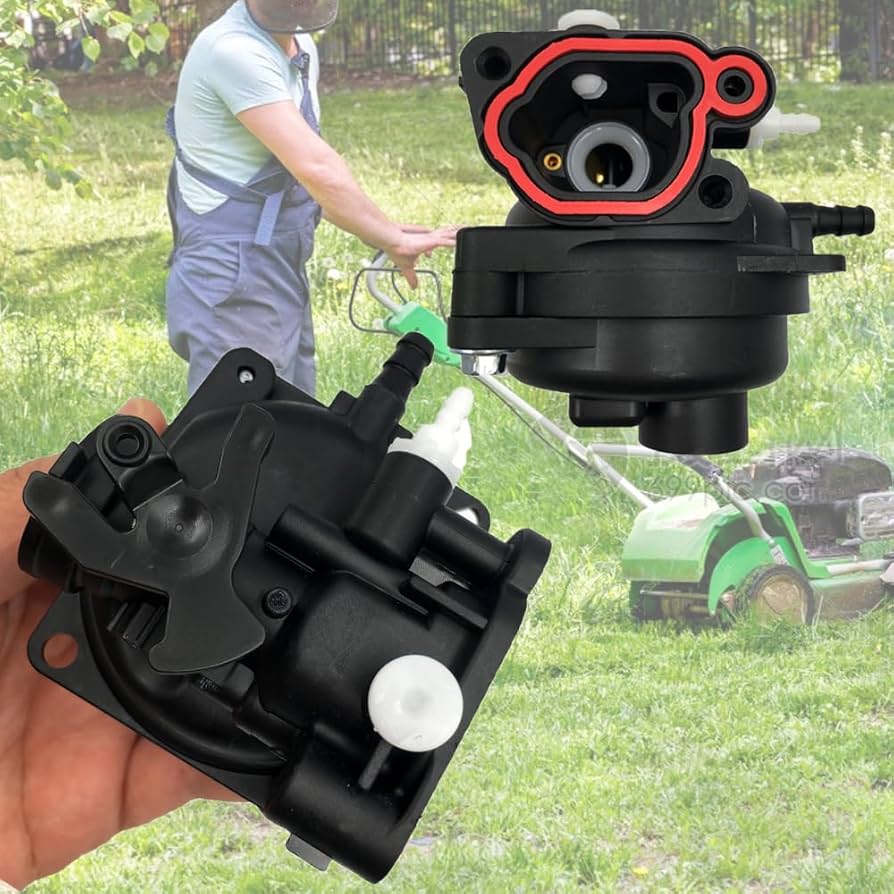
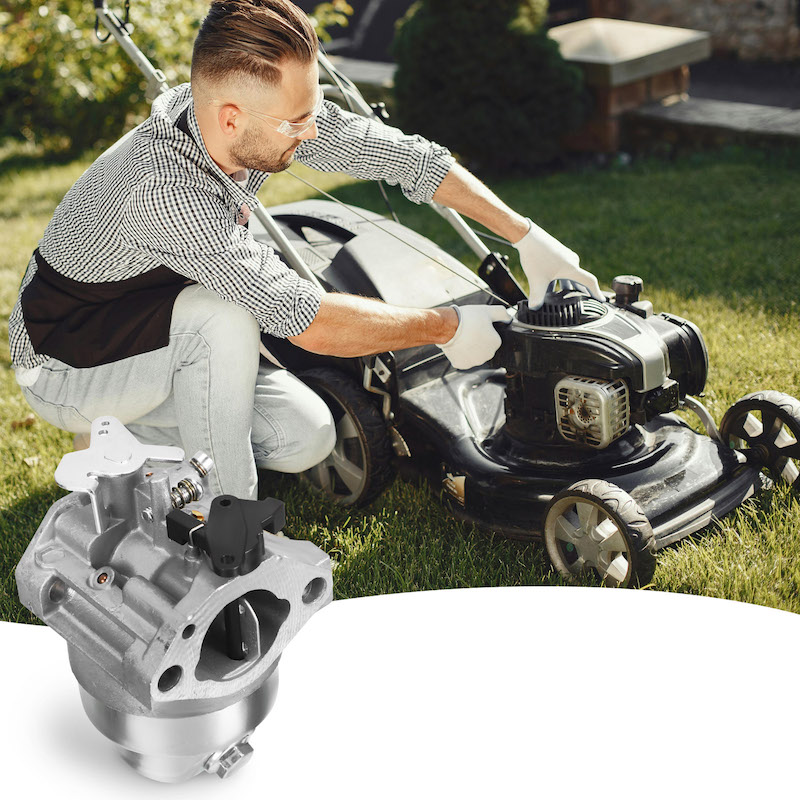
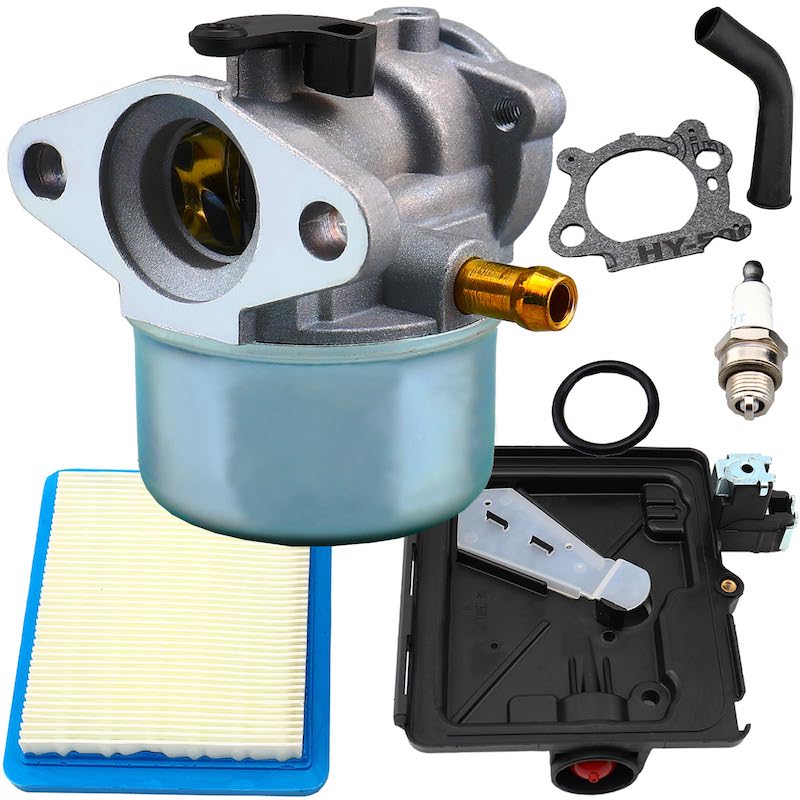
Finding the carburetor is the first step in addressing start-up issues. The carburetor is usually near the air filter and engine. It looks like a small metal box or cylinder. To locate it, follow the fuel line from the gas tank to the engine. The carburetor is where the line connects to the engine. If you’re not sure, the owner’s manual should show the exact location for your mower model. Knowing where your carburetor is helps diagnose problems faster.
Locating the carburetor may seem daunting, but it’s fairly straightforward. Once you know where to look, maintenance becomes much simpler. Remember, a properly working carburetor is crucial for a smoothly operating lawn mower. Keep the carburetor clean and your mower should start without a hitch.
The Function of a Lawn Mower Carburetor
The carburetor is an essential part of any lawn mower. Its main function is to mix air and fuel in the correct ratios for combustion. This mixture is then sent into the engine’s cylinders where it ignites and powers the mower. If the air-to-fuel mixture is off, the mower may run poorly or not start at all.
Correctly functioning lawn mower carburetors ensure your mower operates efficiently. They adjust the mixture based on the mower’s needs. This is crucial for the engine’s performance and longevity. When the carburetor is dirty or malfunctioning, common symptoms include difficulty starting, rough running, or excessive fuel consumption. Understanding and maintaining your carburetor can prevent these issues, saving time and money on repairs.
Remember, a clean and well-maintained carburetor contributes to the smooth functioning of the lawn mower, making it vital to regular mower upkeep.
Preparing to Clean the Carburetor
Before tackling the cleaning process, proper preparation ensures safety and efficiency. Begin by turning off the engine and allowing it to cool. Safety is paramount; never work on a hot engine. Cleaning the engine’s exterior is a good first step. It prevents dirt from getting inside the carburetor later on. Next, set up a well-lit and clean workspace. It should have enough room for all parts during the disassembly. Have your tools ready. A screwdriver, nitrile gloves, and carburetor cleaner are essential. Don’t forget to detach the spark plug cable. It’s a simple pull-away action that stops unintended engine starts.
Gather a socket set, needle-nose pliers, and a bucket for parts. Taking a photo before you start may help with reassembly. With your workspace and tools in order, you’re now set to start cleaning the carburetor. This will help restore your mower’s start-up ability. Remember to dispose of any old fuel and replace it if necessary. Old fuel can lead to more carburetor issues. Lastly, refer to your mower’s manual for specific instructions on carburetor access. Some models may differ, but the cleaning principles are the same. Preparing thoroughly is the key to a successful clean of your carburetor.
Step-by-Step Guide to Removing and Cleaning the Carburetor
Cleaning your lawn mower’s carburetor can be simple. Here is a detailed guide to help you do it the right way.
Step 1: Safety First
Turn off the mower and wait for it to cool. Always avoid a hot engine.
Wear your gloves and have your tools ready.
Disconnect the spark plug cable to prevent accidents.
Step 2: Access the Carburetor
Locate the air filter near the engine.
Remove the housing to expose the carburetor.
Step 3: Remove the Carburetor
Use your screwdriver and pliers to detach the carburetor.
Put screws and small parts in a tray to keep track of them.
Carefully pull the carburetor away from the engine.
Step 4: Disassemble the Carburetor
Clean the outer surface first.
Take apart the carburetor gently, keeping track of the order for reassembly.
Step 5: Clean Each Part
Clean with a carburetor cleaner, focusing on jets and passages.
A soft brush helps remove stubborn dirt.
Rinse and dry all the parts thoroughly.
Step 6: Reassemble and Install
Put the carburetor back together using your photos as guides.
Reattach it to the mower, careful with cables and hoses.
Connect the spark plug cable and set the air filter back in place.
Following these steps makes sure your carburetor gets a thorough clean. This could solve starting issues and improve your mower’s performance. If problems persist, consider seeking professional help.
Tips for Reassembling and Installing the Carburetor
After a thorough cleaning, reassembling and installing the carburetor is crucial. Here are some easy-to-follow tips:
- Double-Check Part Placement: Make sure every piece returns to its original spot. Your earlier photos will guide you.
- Inspect for Damage: Check each part for wear. If you find any, replace it before reassembling. A carburetor repair kit might come in handy.
- Use New Gaskets: Old gaskets may not seal well. New ones prevent fuel leaks and ensure proper fitting.
- Handle Parts Gently: When reattaching, be gentle. Forcing parts can cause damage that affects performance.
- Reconnect Cables and Lines: Attach throttle and choke cables exactly as they were. Make sure fuel lines attach snugly to avoid leaks.
- Securely Tighten Screws: Use the screwdriver to tighten bolts for firm attachment. But don’t over-tighten as it can strip threads.
- Check the Air Filter: Reinstall a clean or new air filter. This helps with air flow and keeps the carburetor clean longer.
- Reconnect the Spark Plug Cable: Plug it back in once you’ve reinstalled the carburetor. This is important for starting the mower.
- Test for Functionality: After reassembly, start your lawn mower. Watch for smooth running and no fuel leaks.
Following these straightforward steps should make reassembling and installing your clean carburetor easy. It can restore your mower’s efficiency and readiness for use. If issues persist, consider seeking expert advice. Regular maintenance and cleaning help prevent future problems.
Cleaning the Carburetor Without Removal
Sometimes, your lawn mower may just need a quick carburetor clean without a full disassembly. Some basic maintenance can be done without removing the carburetor. This can save you time while still improving performance.
To clean the carburetor without taking it out, follow these steps:
- Turn Off the Mower: Ensure the engine is off and cool. Safety first.
- Disconnect the Spark Plug: This stops accidental starts during cleaning.
- Remove the Air Filter Housing: Find the housing and open it to reach the carburetor.
- Spray Cleaner: Use carburetor cleaner on the outside and inside the throat. Follow manufacturer’s instructions.
- Clean Jets and Throat: Move throttle and choke to clean all areas well.
- Blow Out Debris: Use compressed air to remove any remaining dirt particles.
- Reattach the Air Filter: Once cleaned, put the air filter back in place.
- Reconnect Spark Plug: Plug it back for the next mower use.
Regular cleaning, even without removal, can prevent bigger engine problems. Doing this two to three times a year keeps your mower in good shape. It helps avoid needing more serious repairs. Remember to handle chemicals carefully and follow all safety instructions.
Scheduling Carburetor Maintenance for Optimal Performance
To keep your lawn mower running smoothly, schedule regular carburetor maintenance. Planning maintenance can prevent starting problems and ensure optimal performance. Here are steps to help you create a schedule:
- Check Twice a Year: Inspect the carburetor at least twice, before and after the mowing season. This helps catch issues early.
- Full Clean Annually: Take the carburetor apart for a deep clean once a year. Best time is before the first mow of the season.
- Spot Cleaning: Between deep cleans, quickly clean the carburetor without removing it, especially if you notice starting troubles.
- Use Fresh Fuel: Always fill the tank with fresh gas when starting a new season. Stale fuel causes more dirt build-up.
- Add Stabilizer: If storing your mower, add fuel stabilizer. This keeps the carburetor clean over periods of non-use.
- Change the Air Filter: Regularly change or clean the air filter. A clean filter prevents dirt from entering the carburetor.
- Monitor Performance: Watch for signs of trouble. If the mower starts running rough or consuming more fuel, check the carburetor.
- Keep a Log: Track maintenance tasks in a logbook. This record helps you stay on schedule and monitor the mower’s health.
By sticking to this maintenance schedule, you can reduce the risk of carburetor-related problems. Consistent care is key to a mower that starts easily and lasts for years. If you struggle after maintenance, consider a professional check-up.
Final Tips for Ensuring Lawn Mower Readiness Post-Cleaning
After cleaning your lawn mower’s carburetor, do a few final checks before starting the engine. Here are some tips:
- Recheck Connections: Ensure all parts, especially the carburetor and air filter, are secure.
- Inspect the Spark Plug: A clean, properly gapped spark plug is essential for ignition.
- Check the Fuel: Use fresh fuel to minimize carburetor gunk.
- Look Over the Fuel Lines: Fuel lines should be free of cracks or damage.
- Test Throttle and Choke: Make sure they move smoothly and without sticking.
- Check for Leaks: Examine the carburetor for any signs of fuel leaks.
- Perform a Safety Check: Verify that all mower guards are in place and secure.
- Start the Mower: Turn on the mower and let it run for a few minutes. Look and listen for any unusual noises or behaviors.
- Observe the Engine: It should run smoothly without surges or stalling.
- Review Your Work: If problems arise, double-check your cleaning and assembly steps.
By following these simple yet crucial steps, you can ensure your lawn mower is prepared for efficient operation after a carburetor cleaning. Regular maintenance, such as this, helps keep your mower running well and extends its lifespan. If you encounter any problems after cleaning that you can’t resolve, don’t hesitate to contact a professional for assistance.


