Essential Woodworking Hand Tools for Skilled Craftsmanship
Introduction to Woodworking Hand Tools
In the art of woodworking, hand tools hold a special place. They allow for precision that power tools can’t match. Whether you’re a seasoned woodworker or just starting, knowing your woodworking hand tools is crucial. These tools give you full control over every cut, shave, and joint, making your work a true craft.
To begin, familiarize yourself with the basics: saws, chisels, planes, and measuring tools. These are the essentials for most woodworking projects. They help you measure, cut, shape, and smooth wood to perfection. With proper skills, these tools can produce works of art from simple wood boards.
When starting a project, choose the right tool for the job. It makes the process smooth and safe. Quality also matters. Good woodworking hand tools can last a lifetime if you take care of them.
In summary, woodworking hand tools are the backbone of fine woodworking. They connect you to the material in a way machines cannot. They bring out the best in your ability, helping you create with accuracy and beauty. Now let’s delve deeper into each type of hand tool and its use in woodworking.
The Hand Saw Family: Types and Uses
The hand saw is a fundamental tool in woodworking. Mastering different types of saws can offer unparalleled versatility in your projects. Let’s explore some of the core saws and their specific uses in the workshop.
Crosscut Saws
Crosscut saws are designed to cut across the wood grain. They have teeth like knives to slice through fibers easily. These saws are ideal for making clean, straight cuts.
Rip Saws
Rip saws work along the wood grain, aiding in cutting boards to width. Their teeth act like chisels, chipping away at the wood. Rip saws are essential for sizing lumber.
Back Saws
Back saws come with a stiff, reinforced back. They allow for precise cuts and are perfect for joinery work. These include tenon saws and dovetail saws. Their fine teeth make tight and accurate joins.
Coping Saws
Coping saws have thin blades and deep frames. They are excellent for intricate cuts and curves. They are key for detailed work, like coping joints in trim.
Hacksaws
While not always used for woodworking, hacksaws have fine teeth and are ideal for metal. However, they can be handy for cutting hardware used in woodworking.
Keyhole Saws
Keyhole saws, also known as compass saws, are made for cutting small, interior shapes. They also navigate tight spaces well.
Selecting the right hand saw depends on your task. Always consider the grain direction and the precision required. Remember to keep these woodworking hand tools sharp for the best performance. Sharp saws reduce effort and enhance safety. They also give smoother cuts, making your work look professional.
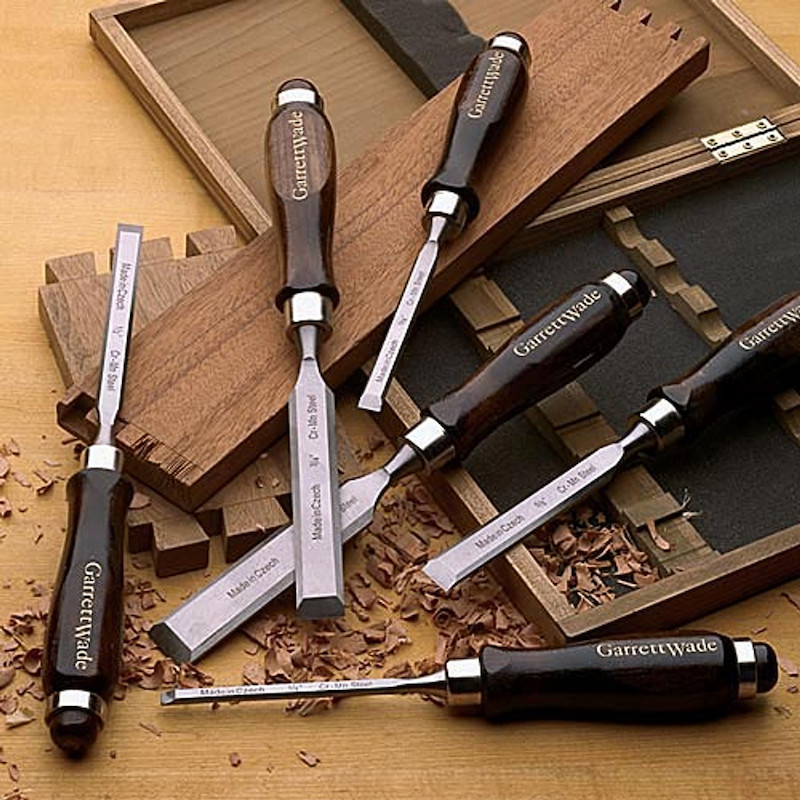
Chisels and Gouges: Shaping Wood by Hand
Chisels and gouges are vital for skilled woodworking. These tools carve, shape, and clean cuts in wood. Chisels have sharp, straight edges. Woodworkers use them to pare, shape, and chop wood. They come in various sizes and shapes for different tasks.
Bevel-Edge Chisels
Bevel-edge chisels feature angled sides. They reach into tight corners easily. Their design makes them versatile for intricate work.
Mortise Chisels
Mortise chisels have thick, robust blades. They remove large wood chunks for mortise and tenon joints. They withstand heavy mallet blows.
Carving Chisels and Gouges
Carving chisels have finer blades than general chisels. Gouges have a curved cutting edge. They scoop out wood, perfect for creating curves and hollows.
Corner Chisels
Corner chisels have an L-shaped edge. They cut square holes and corners. Their shape ensures clean and sharp angles.
Choosing the right chisel or gouge comes down to the job. Consider the wood type and the detail level needed. Keep these woodworking hand tools sharp for the best results. Use honing guides and sharpening stones to maintain the edge. A sharp tool provides control and precision. It also makes woodworking safer and more enjoyable. Use these tools with care, and they will help shape your projects beautifully.
Measuring and Marking Tools for Precision
Accurate measurements are crucial in woodworking. Measuring tools ensure every cut fits perfectly. Here are some essential tools for precision.
Tape Measures
A tape measure is a must-have in any workshop. It helps you gauge lengths quickly and accurately. It’s perfect for large-scale projects. Look for one that’s durable and easy to read.
Rulers and Straightedges
Rulers and straightedges give straight lines for cutting or marking. Opt for metal ones as they are more durable. Precision in measurements equals precision in woodworking.
Squares
Squares check the accuracy of angles and corners. A try square is great for 90-degree angles. For varied angle work, an adjustable square or bevel gauge is key.
Marking Gauges
Marking gauges scribe lines parallel to an edge. They are essential for layout work. Ensure your gauge has a sharp pin for clean, exact lines.
Calipers
Calipers measure thickness and diameters with precision. Digital models offer instant readings. They help you confirm your work is to spec.
Marking Knives
Marking knives give you exact lines for precision cuts. A sharp knife edge offers more accuracy than a pencil line. It’s vital for joinery work.
All these woodworking hand tools help you achieve perfection. Measure twice, cut once is a woodworker’s mantra. Proper use of these tools makes complex projects simpler. They help reduce errors and improve the quality of your work. Keep them close and well-maintained for the best results. Accurate measuring and marking are the blueprints for outstanding craftsmanship.
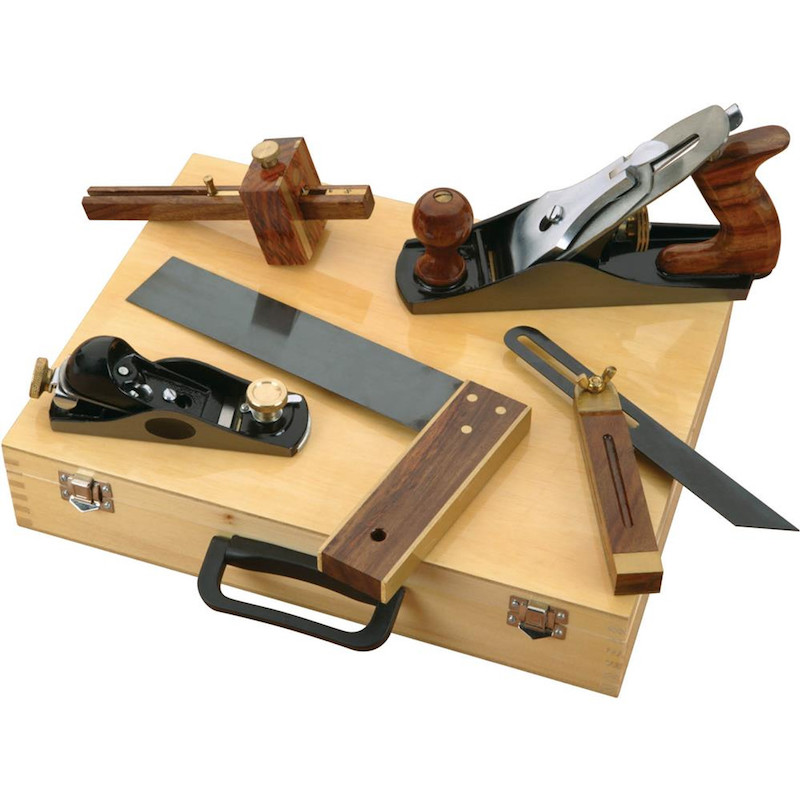
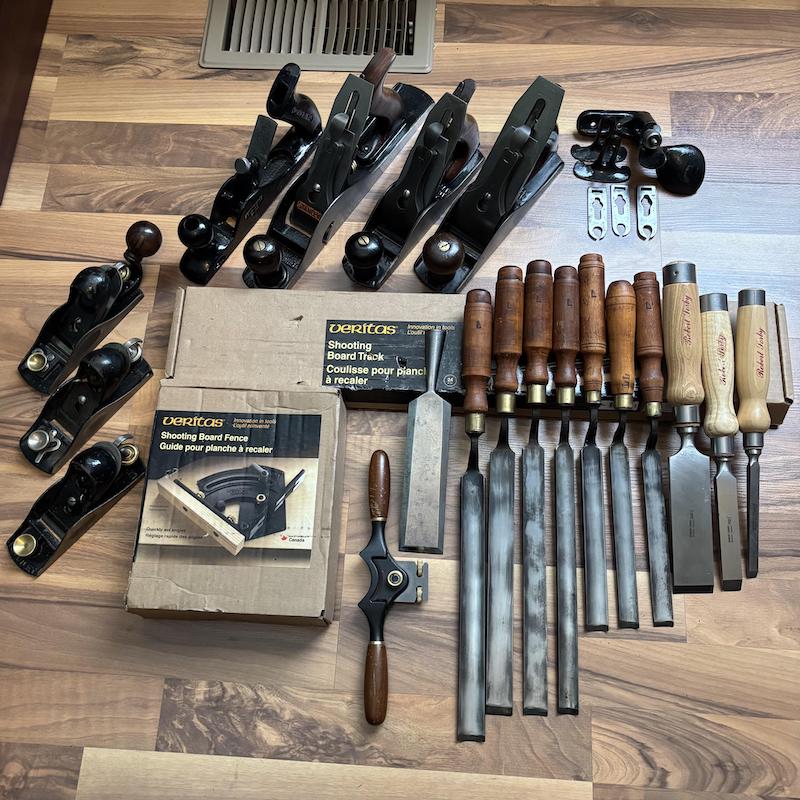
Essential Planes for Smooth Finishing
In woodworking, achieving a smooth finish is paramount, and this is where planes come in. Planes are designed to shave off thin slices of wood, ensuring surfaces are flat and smooth before final sanding. Let’s take a closer look at some essential planes you need in your toolkit for smooth finishing.
Bench Planes
Bench planes are the most common type of plane used for smoothing and flattening wood. They come in various sizes, with the length of the plane determining its purpose. Longer planes are excellent for leveling, while shorter ones are best for finer, more precise work.
Block Planes
Block planes fit in one hand and are perfect for quick tasks. They trim end grain and do small corrections. Their compact size makes them easy to maneuver.
Jack Planes
Jack planes are versatile and can do a bit of everything. They are good for smoothing out rough lumber and for preliminary smoothing before using finer planes.
Smoothing Planes
Smoothing planes make your wood feel glass-like. They remove any small imperfections left from earlier planing. Having a well-tuned smoothing plane is key to a fine finish.
Jointer Planes
Jointer planes are the longest planes and they ensure edges are straight and true. If you’re joining boards side by side, these planes are crucial.
Using planes requires practice, but once mastered, they are invaluable woodworking hand tools. Always keep the blade sharp for the best results, and take light passes to avoid gouging the wood. Planes not only make your work look better, but they also make it fit together more tightly and accurately.
Hammers and Mallets: Striking Tools in Woodworking
Hammers and mallets are crucial for many woodworking tasks. They’re key for assembling and disassembling projects. Craftsmen need these tools for their striking power. They also help with chisels to shape wood joints. We’ll explore their various types and applications.
Claw Hammers
Claw hammers are common in woodworking shops. Their dual-purpose design nails and removes nails with ease. The claw side pulls nails out, while the flat head drives them in.
Ball Pein Hammers
Ball pein hammers shape metal, a useful skill in woodworking. They’re perfect for crafting metal hardware that goes into wood, like hinges.
Mallets
Mallets offer a softer blow than hammers. They’re made from wood or rubber. Woodworkers use mallets with chisels to avoid damaging the tools or workpiece.
Sledgehammers
Sledgehammers are not common but are useful for heavy-duty tasks. They’re ideal for breaking down large pieces of wood or demolition tasks within a project.
Dead Blow Hammers
Dead blow hammers minimize rebound when striking. They are great for adjusting parts or fitting joints snugly together without causing damage.
Woodworkers should pick the right hammer or mallet for their task. The wood type and the job’s delicacy matters. Keep these striking tools handy, as you will often reach for them. Strike true and with care for the best craftsmanship results. Quality striking tools withstand the test of time and use. With these woodworking hand tools, you can rely on your own strength to shape and build with precision.
Sharpening Tools: Keeping Your Tools in Top Condition
Sharp tools are vital in woodworking. They make cutting easy and keep the work precise. Dull tools can ruin your projects and are dangerous too. In this section, we’ll look at the key sharpening tools. Each is important to keep your woodworking hand tools in their best shape.
Sharpening Stones
Sharpening stones, or whetstones, are the most common sharpening tools. There are various grits to choose from. Start with a coarse grit and move to a fine grit for a sharp edge.
Honing Guides
Honing guides hold tools at the right angle while sharpening. They make the process simple and consistent. Every woodworker should learn to use them.
Strops
After sharpening, strops polish the edge to a mirror-like finish. They also straighten any micro-burrs left behind. Leather or canvas strops can be used with a polishing compound.
Diamond Plates
Diamond plates are durable and stay flat over time. They work faster than traditional stones. Use them to flatten your whetstones or for quick touch-ups on tools.
Oil and Water
Sharpening oils and water prevent stones from clogging. Oil works with oil stones, while water works with water stones. Keep them handy when sharpening.
Every woodworker must know how to sharpen their tools. It’s a skill that improves with practice. Remember to regularly hone your tools for the best results. Dull tools mean more work and less fun in the workshop. So, keep them sharp, and enjoy woodworking even more.
Clamps and Vises: The Importance of a Secure Workpiece
When working with woodworking hand tools, securing your workpiece is vital. Clamps and vises are the go-to tools for this job. They hold the wood still while you measure, cut, and shape it. Having your wood move mid-cut not only ruins precision but can be dangerous.
Clamps come in many forms:
- Bar clamps apply pressure along a bar, great for large pieces.
- C-clamps have a fixed shape and can fit various thicknesses.
- Hand screws adjust to different angles, useful for odd-shaped pieces.
- Spring clamps are quick to use for light tasks.
Vises are mounted to your workbench. They free both your hands for the task. There are several types of vises:
- Woodworking vises grip the wood without damaging it.
- Metalworking vises are stronger and suited for heavy-duty work.
- Bench vises hold the wood from the sides or top.
Always choose the right clamp or vise for your project. Their grip strength and size should match the workpiece. Tightening them just right is key. Too loose, and your wood moves. Too tight, and you risk damaging the wood or the tool. Secure workpieces show in the final product’s quality. With well-clamped wood, your cuts and joins will meet just right. Remember, your safety and project’s success depend on a solid setup. Use clamps and vises to achieve both.